

The most useful Halloween cross stitch patterns are the ones you can finish, mount and enjoy before October 31. Start with the display format, then choose a pumpkin, ghost, black cat or haunted scene whose stitch count and fabric contrast suit that format. A tiny silhouette can make a stronger seasonal finish than an ambitious chart left unfinished.
Calendar reference: October 31, 2026 and October 31, 2027. Check the calendar reference and your recipient’s local plans before setting a deadline.
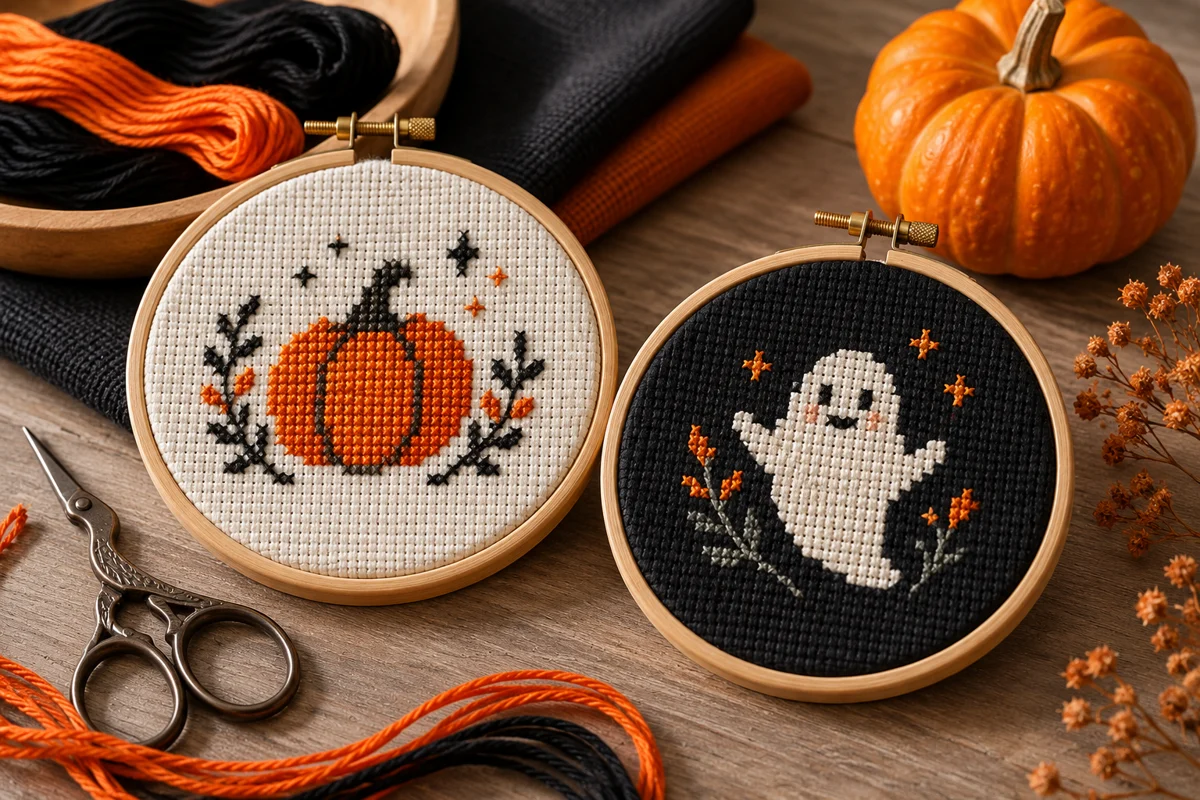
Choose the silhouette before the color list
A pumpkin needs a readable outline and a stem; a ghost needs enough separation between its face and body; a black cat depends on the ears, tail and negative space. Inspect those features in the actual chart rather than relying on a styled photograph. At small scale, a few squares determine whether the subject remains recognizable.
For a first seasonal project, look for full crosses in connected groups and a clearly printed symbol key. A chart with only three colors can still contain awkward isolated stitches or fractional details. If the deadline is close, reduce the number of separate motifs you plan to make rather than removing charted details at random.
Use dark Aida only when it helps the design
Black fabric can make an orange pumpkin glow, but it can also swallow dark outlines and make counting less comfortable. Lay your darkest and lightest threads against the actual cloth before starting. Try a small sample with the intended strand count, then look at it from the distance where the finish will be displayed.
A cream or pale gray background is often a practical alternative for spooky motifs. It gives dark silhouettes an obvious edge while keeping counting straightforward. If you choose dark cloth, use comfortable lighting and avoid pulling stitches tight enough to open distracting gaps. Our black-cat fabric contrast guide explains this decision in more detail.
Turn one motif into a finished seasonal object
Choose a card, small frame or backed hanging before cutting your fabric. A 42-square chart area measures 3 inches on 14-count Aida, before any allowance for holding and finishing. A nominal 3-inch opening may cover the outer stitches, so check the real aperture rather than trusting a frame label.
For a hanging decoration, plan a backing and secure loop that do not pull directly on loose Aida edges. Keep fabric objects away from candles and other heat sources. For paper cards, mount one test piece first and check that adhesive stays outside the visible embroidery. Small batches become easier once that first complete finish works.
Before you begin
- Read the actual symbol chart, thread key and stitch-type notes.
- Calculate the design area and add the allowance required for your chosen finish.
- Test the intended cotton and fabric together on an offcut.
- Keep a readable working copy and check the first completed motif before repeating it.
Questions and next steps
Are small Halloween patterns always beginner friendly?
No. Check stitch types, isolated stitches, backstitch and symbol clarity. Size alone does not describe difficulty.
Can I finish a large haunted house quickly by using fewer colors?
Not necessarily. Arbitrary substitutions can merge windows, outlines and shadows. Choose a smaller chart if your available time is limited.
Does the article include the charts shown in its image?
The cover is an editorial illustration, not a downloadable chart. Follow a purchased or genuinely provided symbol chart for the stitches.
For practical preparation, see mounting small stitched cards, and protecting raw Aida edges.
For another seasonal project, explore Thanksgiving Cross Stitch Patterns or Christmas Cross Stitch Patterns. Choose a chart that is actually supplied or available to buy; this selection guide does not promise a new downloadable pattern.
 English
 French
 Spanish
 German
 Arabic