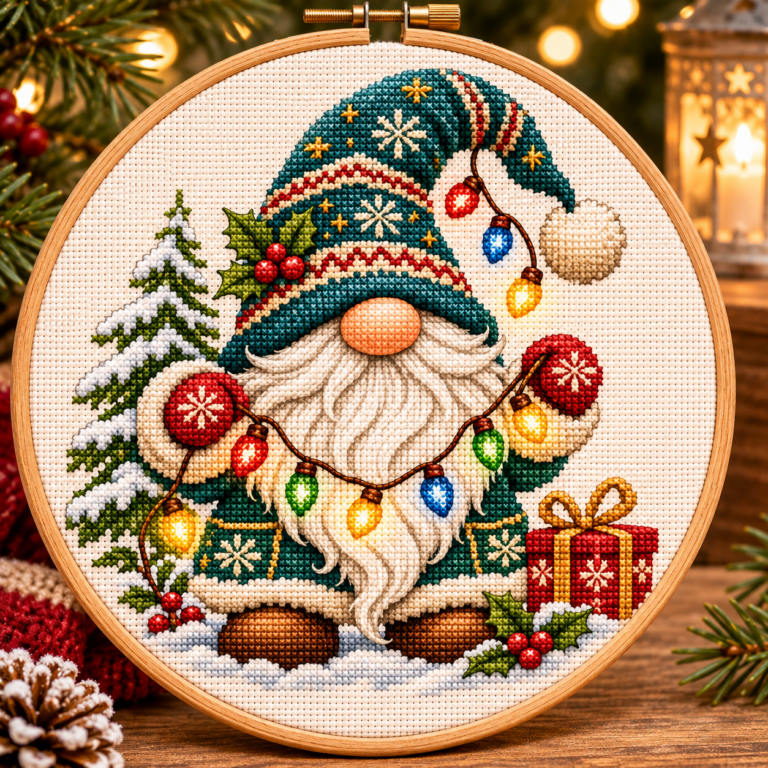

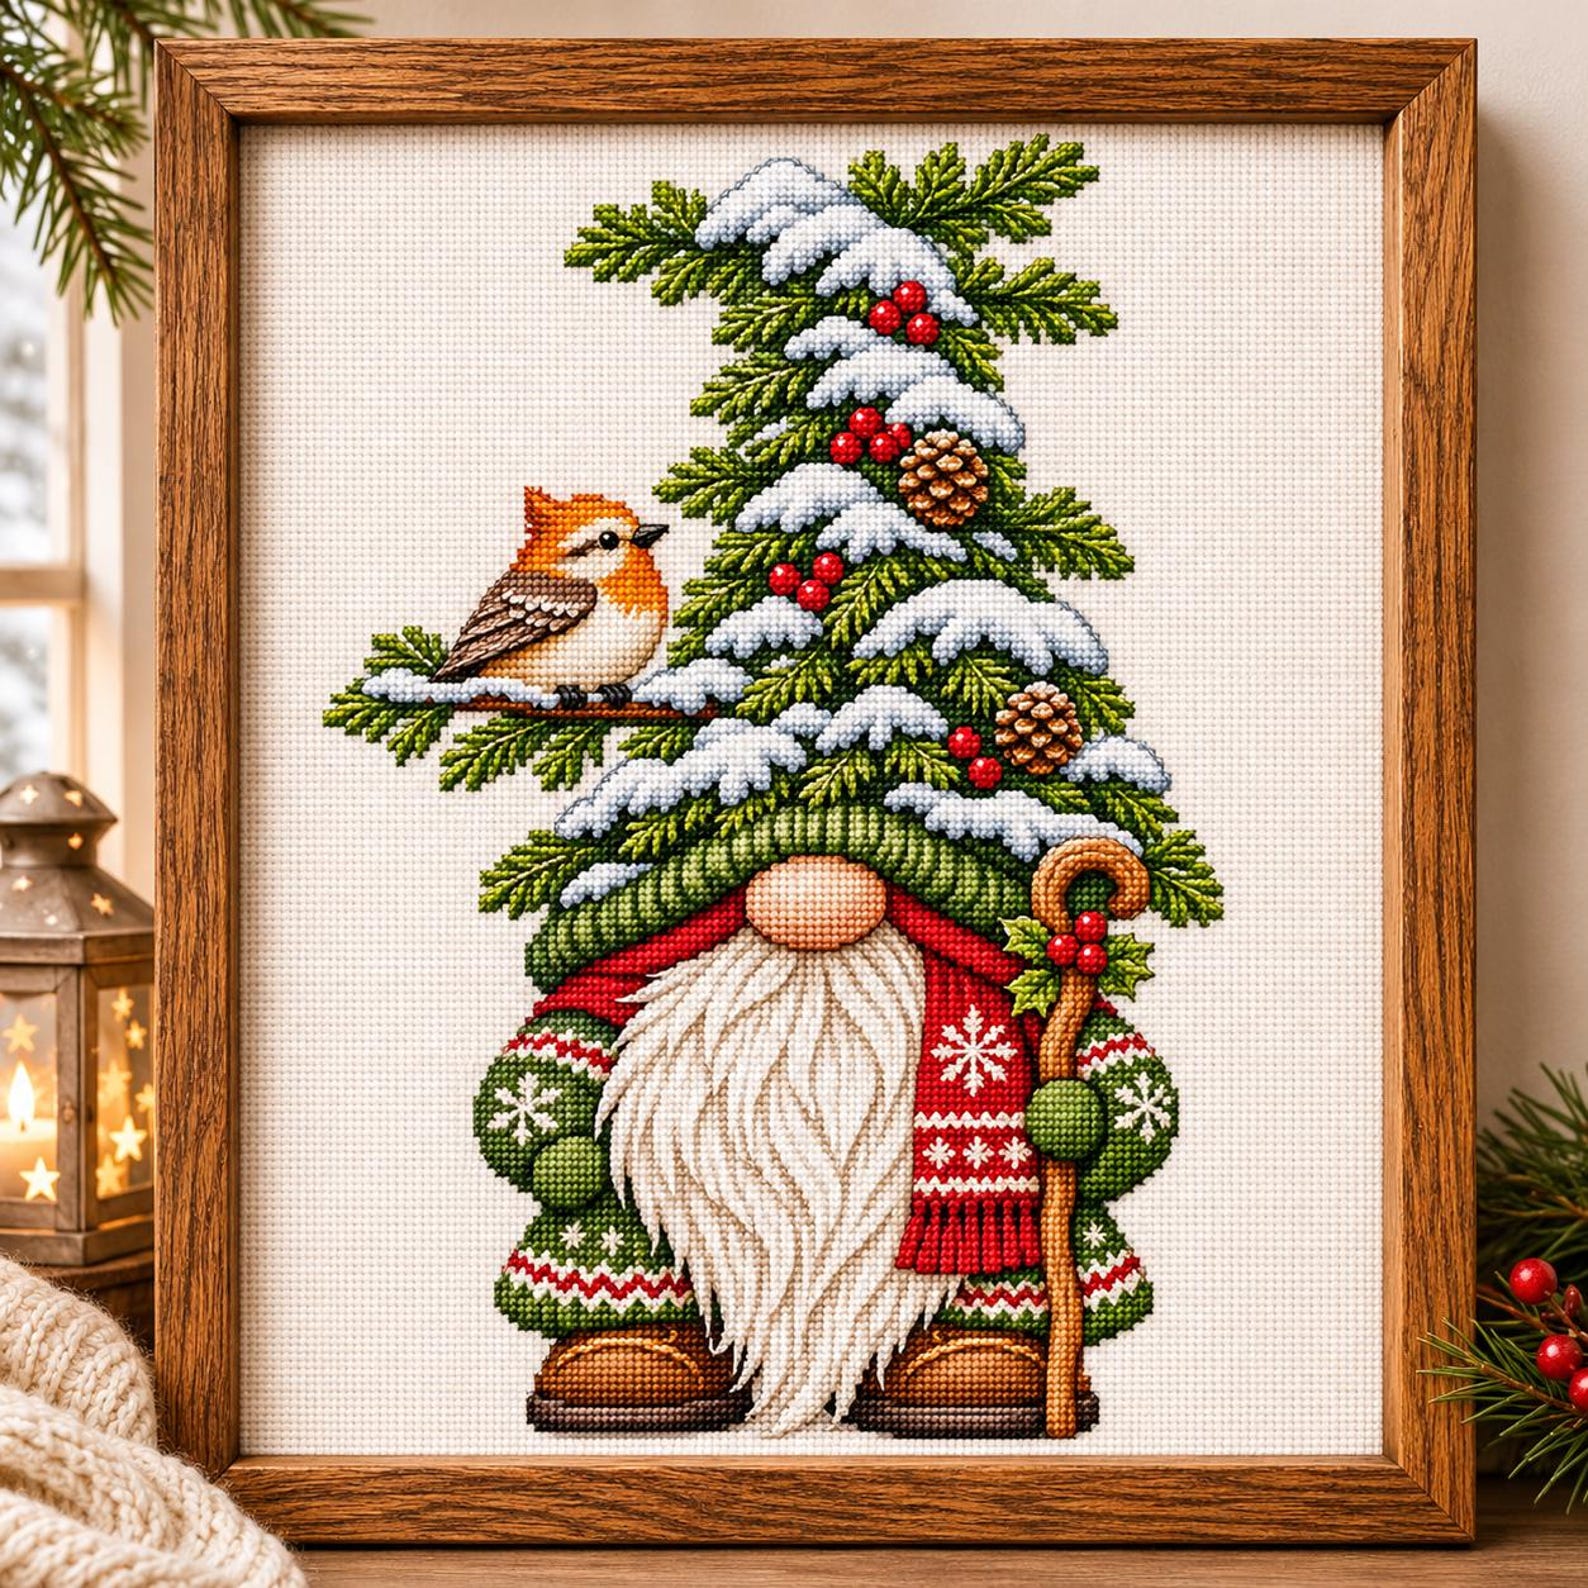
A Christmas gnome can be instantly recognizable without a single word: a round nose beneath an oversized hat, a long beard, warm winter clothes and a little woodland personality. This one adds an unexpected detail. Its tall hat is built from snow-covered evergreen branches, with a small orange-breasted robin resting near the top. A bright red scarf and wooden walking staff finish the scene. For a more playful winter accessory, see our Christmas gnome with colorful lights guide, focused on organizing bulbs and DMC shades. To compare other styles beyond winter, browse our cute seasonal gnome cross stitch pattern guide.
If you’re planning to stitch this snowy Christmas gnome cross stitch, the most useful first step isn’t picking a frame—it is understanding the PDF chart. Stitch count determines the real finished size, while fabric count and thread contrast determine how comfortably you can make the smaller snow, berry and foliage details.
We’ll use the Snowy Christmas Gnome with Robin PDF pattern as a real worked example. Its chart has a 200 × 200-stitch grid, 14 DMC colors and 16,039 counted full crosses. Below, we’ll work through practical size calculations, thread organization, stitching order, and display ideas that apply to other woodland gnome patterns as well.
What makes a snowy gnome with a robin different?
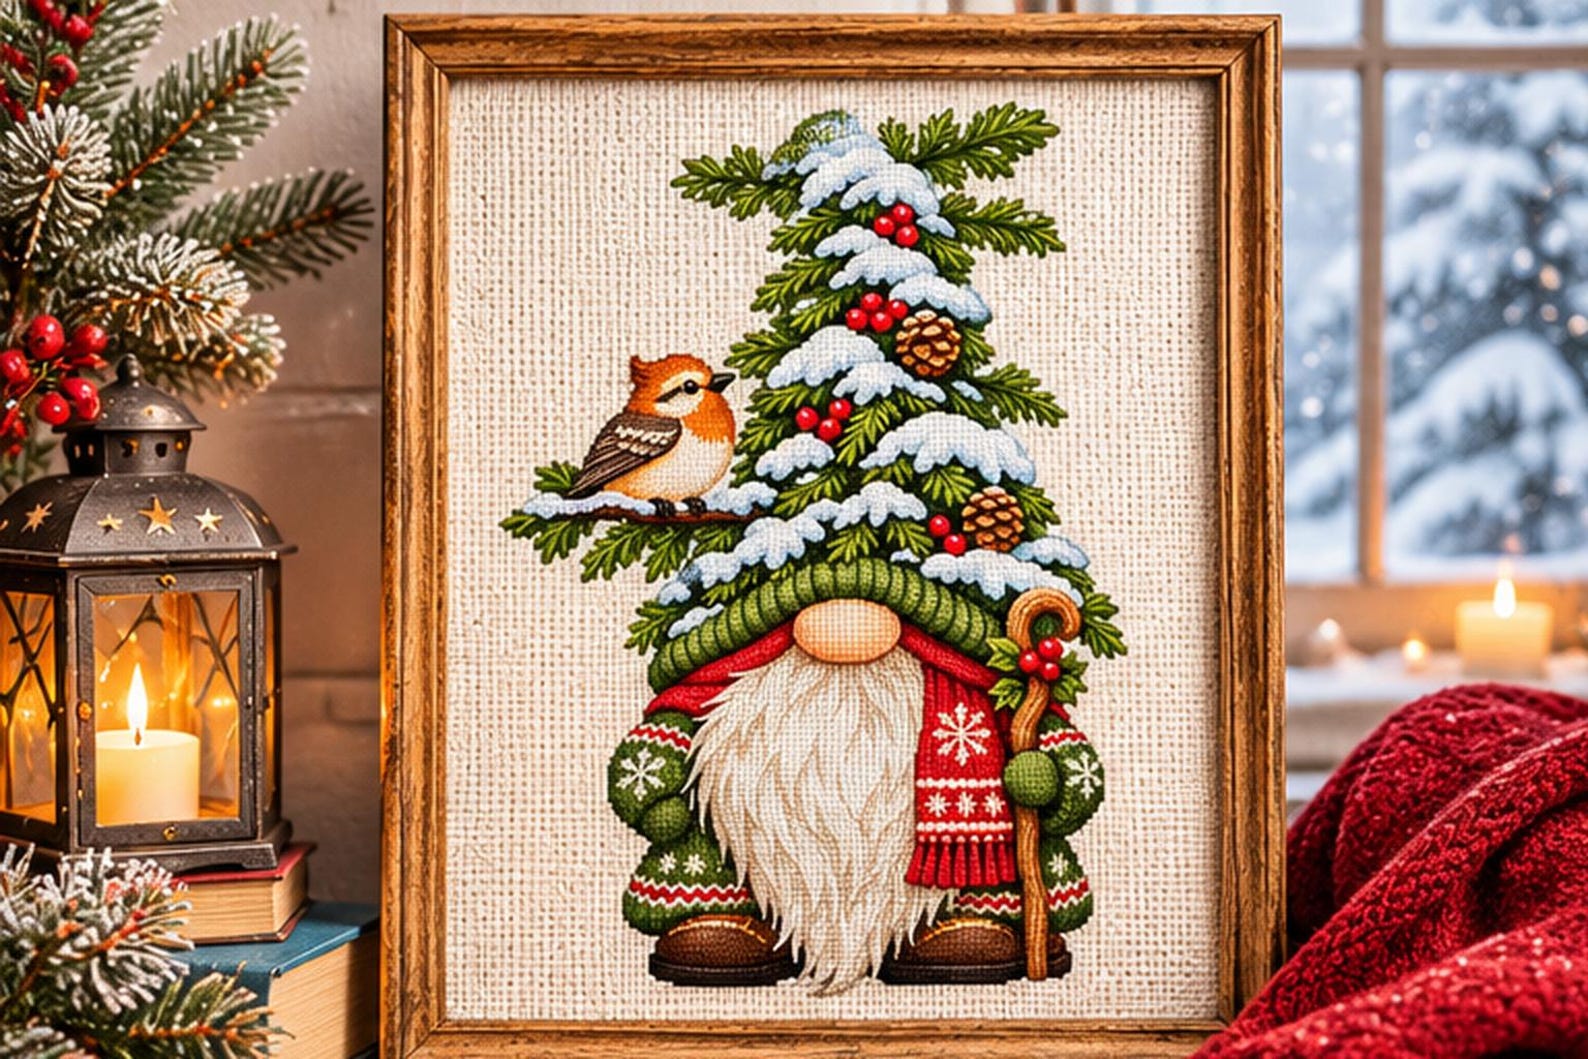
Many traditional Christmas gnomes wear a simple pointed fabric hat. This design’s hat has a silhouette like a miniature snowy spruce tree: dark green boughs carry white snow, red berries and pinecones. The robin sits on the gnome’s left, while a rustic hooked staff balances the composition on the right. A thick cream-colored beard, rounded nose, green patterned clothing and red scarf keep the character friendly rather than severe.
Those details aren’t just decorative. They affect stitching: white and pale cream areas need enough contrast for the snow and beard to stay distinct; the robin needs a clean outline; and the red berries can become difficult to follow if you jump around the chart.
If you enjoy woodland characters beyond this specific motif, visit our winter gnome cross stitch planning guide for more design styles and finishing inspiration.
Read the pattern details before you buy fabric
Styled cross stitch photographs can suggest a beautifully framed finish, but they don’t tell you the actual number of squares in a chart. Before preparing a project, look at the chart grid, the DMC key, the symbols and the file format.
| Pattern specification | Verified in the example PDF |
|---|---|
| Chart grid size | 200 × 200 stitches |
| DMC colors | 14 |
| Full crosses in floss list | 16,039 |
| PDF pages | 14 |
| Thread recommendation | 2 strands for cross stitches |
| Chart presentation | Multi-page color-symbol chart with floss key |
A 200 × 200 grid contains 40,000 positions, but this pattern’s floss list adds up to 16,039 full crosses. That’s about 40% of the possible positions. The unused positions are not necessarily stitches in another color—they remain part of the negative space around the design. This is why the background fabric you choose matters, especially around a beard made from pale thread.
How big is a 200 × 200-stitch Christmas gnome?
For counted cross stitch, calculate the physical size of the complete chart by dividing the stitch dimension by your fabric count. A 200-stitch width on 14-count Aida takes up 200 ÷ 14 = approximately 14.29 inches. The same 200 stitches on 18-count Aida take up about 11.11 inches.
| Aida count | Complete chart area | With 3-inch border on every side |
|---|---|---|
| 14 count | 14.29 × 14.29 in / 36.29 × 36.29 cm | 20.29 × 20.29 in / 51.53 × 51.53 cm |
| 16 count | 12.50 × 12.50 in / 31.75 × 31.75 cm | 18.50 × 18.50 in / 46.99 × 46.99 cm |
| 18 count | 11.11 × 11.11 in / 28.22 × 28.22 cm | 17.11 × 17.11 in / 43.46 × 43.46 cm |
These are full grid dimensions, not tight measurements of the stitched gnome’s outer silhouette. Adding three inches of fabric on each side is a common planning example, not a universal instruction. Your mounting technique might need a different allowance. Measure your intended frame and the chart carefully before cutting your fabric.
For a more detailed comparison, read our 14-, 16- and 18-count Aida size guide.
14-count: larger stitches and a substantial finished piece
14-count Aida can be more comfortable to see, particularly when moving between many narrow shapes in a hat or coat. On this chart, the resulting full grid is relatively large, so consider where you will frame or display it.
16-count: a balance between size and detail
16-count brings the full grid down to 12.5 inches square. This may suit a wall frame or larger decorative fabric panel, as long as you’re comfortable working with slightly smaller squares.
18-count: a more compact result, not a mini ornament
18-count reduces the full chart to just over 11 inches square. That is still far larger than a typical small Christmas tree ornament. If your goal is a tiny hoop decoration or card, choose a separately designed mini pattern rather than shrinking this chart digitally.
White, ivory or colored fabric: what works with snowy details?
Fabric color has a particularly visible effect on designs with a pale beard and snowy evergreen hat. Because this chart includes empty positions around the silhouette, the background is part of the composition rather than something you stitch over entirely.
White Aida
White fabric creates a clean winter feeling and strong contrast with forest green, red, brown and black-brown. The delicate snow-white and pale cream details may have less contrast where they meet blank areas, so check that the outlines still feel clear when you lay your DMC colors over a fabric sample.
Natural ivory Aida
Ivory can add a warmer, Scandinavian-inspired look beside wooden frames and cozy holiday textiles. But the thread list contains both Snow White and light beige colors, so compare them with your chosen material before starting.
Pale blue-gray Aida
A light cool background could give the snow and beard a little more separation from the fabric, but it also changes the mood of the design. Stitch a small test with the lightest shades and one dark outline color first. Do not assume a background tone shown in a digital mockup will match real cloth.
How to organize the 14 DMC thread colors
The pattern’s floss key specifies 14 DMC threads. They cover warm skin and beard tones, darker outlines, wintry greens and festive red and orange accents. You don’t need a huge color organizer, but good labels save time because neighboring dark greens and light beiges can look similar under warm indoor lighting.
The verified color list includes DMC 890 (Pistachio Green – Ultra Dark), 905 (Parrot Green – Dark), 989 (Forest Green), 666 (Red – Bright), 816 (Garnet), 948 (Peach – Very Light), 3371 (Black Brown) and B5200 (Snow White), along with other chart-listed shades.
Use bobbins, floss cards or clearly labeled small bags. Keep the symbol legend nearby and match every color to its DMC number—not simply to the color you think you see on a screen. Consider separating your organizer into greens, warm accents, skin/beard tones and outlines.
One useful exercise is a tiny sampler: stitch a small group of pale beard crosses next to a few snow-white ones, then include a dark outline. It lets you judge contrast and fabric color before beginning a long seasonal project.
Stitching the gnome step by step
The best starting point depends on your working style, but the layered silhouette offers several reliable landmarks.
1. Mark a confirmed starting point
Find the center of the complete 200 × 200 chart and align it with the center of your fabric, or use another starting method you trust. The center of the grid may fall in an unstitched area, so check coordinates rather than guessing from the image.
2. Establish the main outline
Areas around the beard, the evergreen hat and the edges of the coat give you recognizable forms to check as you work. Avoid making long jumps across the fabric to reach every stitch of one color at once.
3. Separate the foliage from the snow
The hat is made from green branches broken up by snowy caps. The contrast is important to its tree-like shape. Follow the actual chart symbols as the branches narrow and reconnect rather than smoothing the boundary by eye.
4. Check the robin and berry clusters
Small distinctive features are easy to miscount if they share neighboring color sections. Verify the robin’s outline and the location of each red berry cluster against the symbol grid, working from known nearby stitches.
5. Keep your crosses consistent
When stitching full cross stitches, try to make the top diagonal leg run in the same direction throughout. This helps larger cream and green areas appear more even as they catch the light.
6. Check each chart-page join
The PDF separates the full grid across multiple pages. Locate row and column numbers before moving across a page boundary, and use a trackable copy to mark completed stitches. Our guide to reading cross stitch PDF charts
Winter styling and finishing ideas
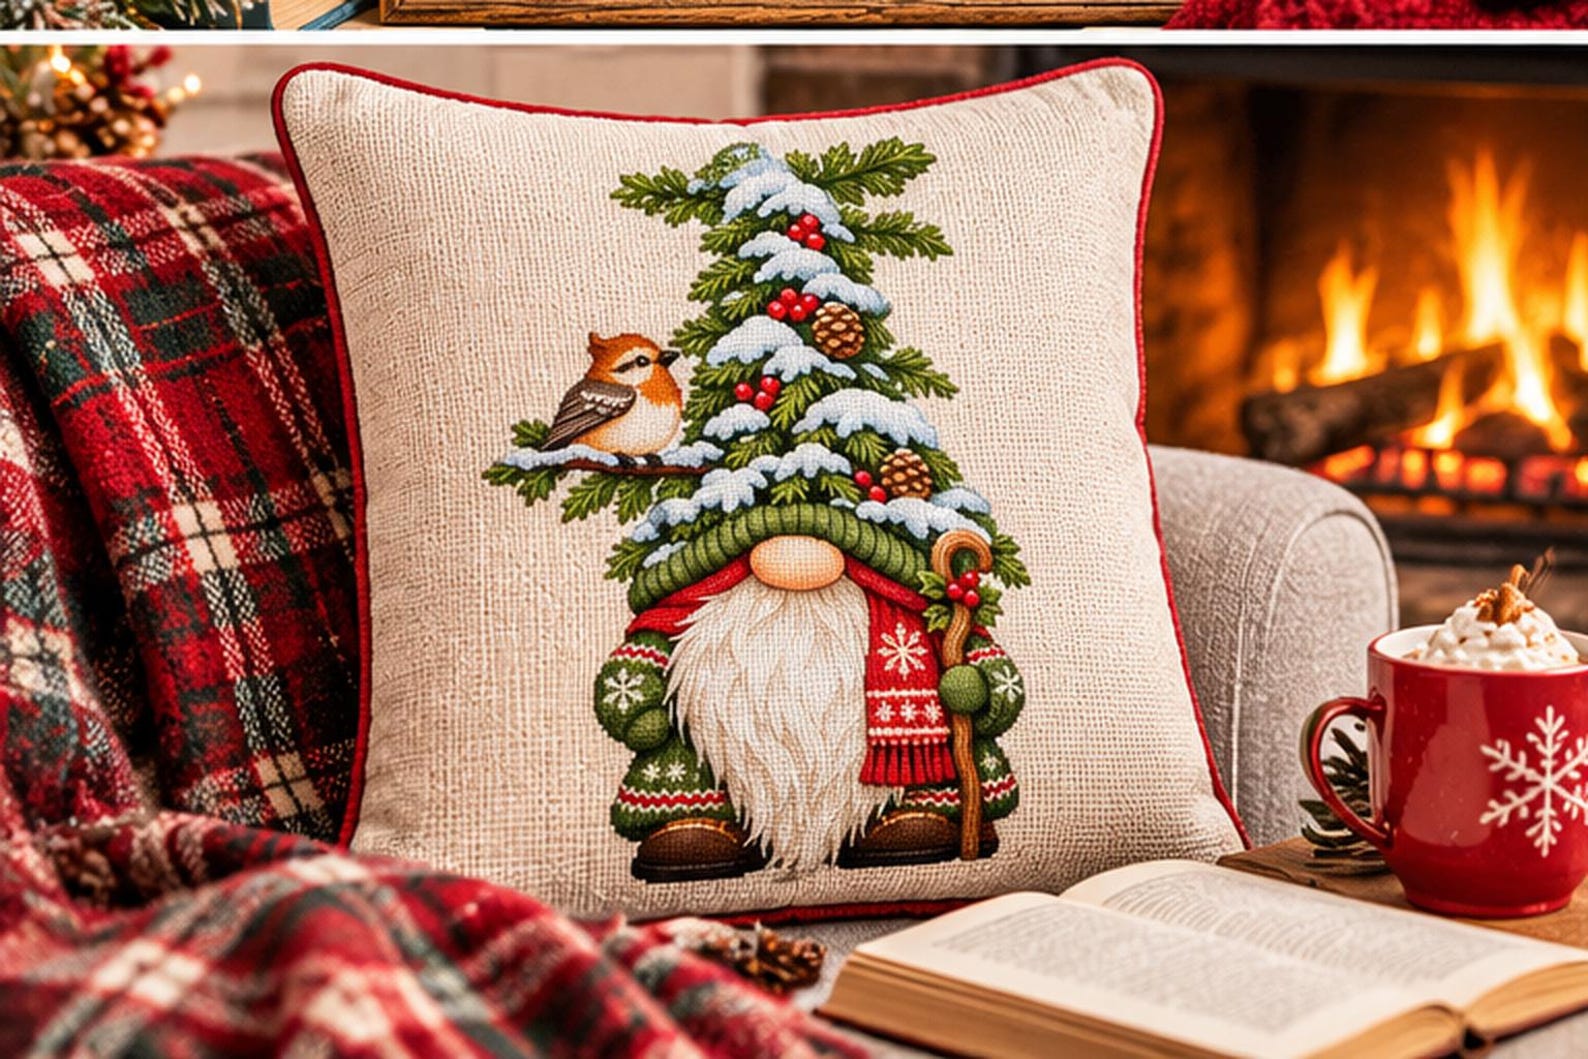
This is a substantial stitched design, so it deserves a finishing plan that respects its real size. A natural-wood frame can emphasize the woodland feeling. A pale frame offers a clean contrast around the red scarf and green branches. If you want a textile panel, allow room for seams and think about how the stitches will be protected from frequent handling.
For a handmade gift, consider the recipient’s home colors and how long the pattern will take you to complete. Sixteen thousand crosses is not a quick evening project. You can make the process more enjoyable by working in smaller sections, taking progress photos and keeping your threads in the same order after every session.
If you want a truly small festive project instead, read our guide to mini Christmas patterns for cards and ornaments.
Common mistakes to avoid
- Choosing a tiny hoop based on a styled image: use the stitch count and fabric count to calculate your real result.
- Mixing similar greens: keep the three green shades separated and labeled by DMC number.
- Not checking Snow White against ivory fabric: compare your light colors and background before committing.
- Jumping over unstitched areas without counting: verify coordinates to keep the robin and staff aligned with the gnome.
- Assuming a mockup proves the pattern was tested: the PDF is the source of stitch placement and dimensions; a digital lifestyle rendering is not a physical sample.
Christmas gnome cross stitch FAQs
Is a 200 × 200-stitch Christmas gnome beginner-friendly?
It is possible for a patient newcomer who already knows how to follow a counted chart, but the length and multi-page layout make it more comfortable for intermediate stitchers. A small silhouette is a better first project if you want a quick finish.
Does the pattern have 40,000 cross stitches?
No. Forty thousand is the number of possible positions in the grid. The provided floss key totals 16,039 assigned full crosses, leaving some background positions unstitched.
What size is the full chart on 16-count Aida?
Approximately 12.5 × 12.5 inches, or 31.75 × 31.75 cm, before finishing margins.
Can I swap the gnome’s green or red colors?
Color substitutions are possible in a personal project, but test the contrast between new shades, snow, dark outlines and the robin before replacing an entire color group.
Do the illustrations show a real completed item?
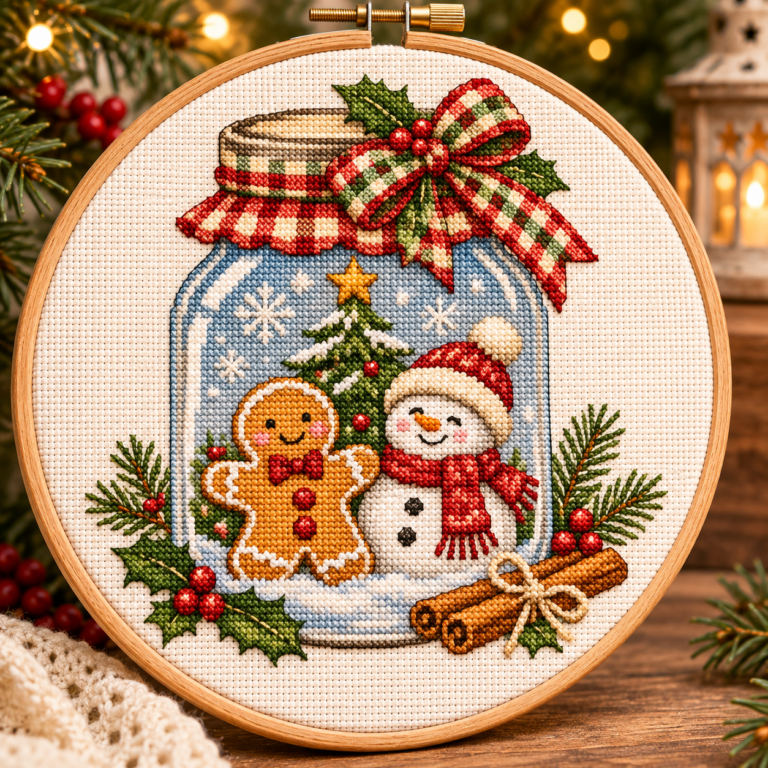
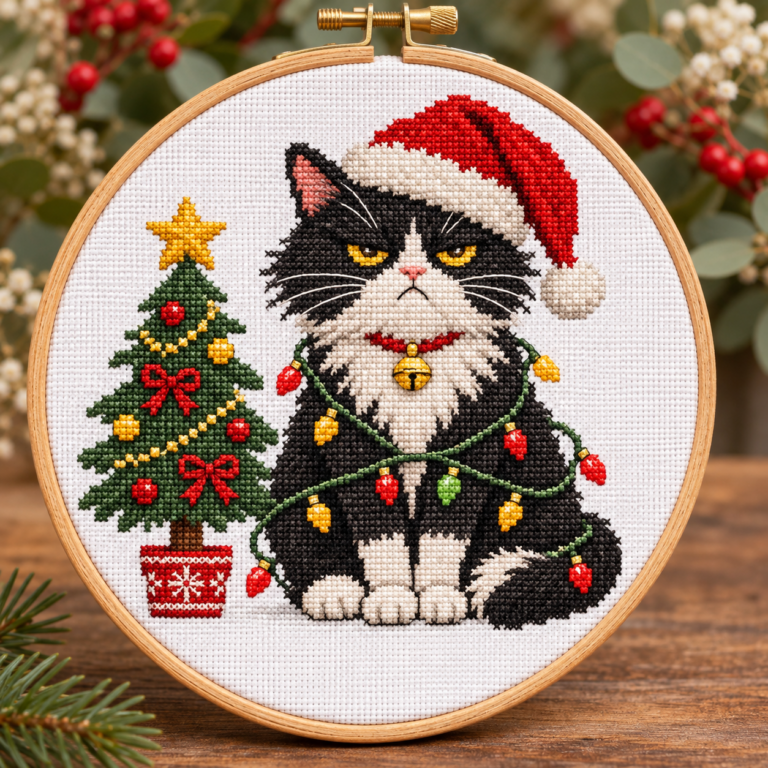
Not necessarily. The product images shown here are digital mockups unless explicitly identified otherwise. The PDF contains the verified pattern dimensions and thread key.
Where can I purchase the chart?
Our Snowy Christmas Gnome with Robin product page links to our matching Etsy digital listing for payment and download delivery.
Make your next winter stitching project memorable
What makes this gnome especially appealing is the balance between big, recognizable forms and a few carefully placed details: the snowy forest hat, the robin, the cream beard and the bright scarf. Plan the fabric size carefully, label the DMC threads, keep the chart key close, and let the design take shape section by section.
If you’d like to stitch this exact design, view the Snowy Christmas Gnome with Robin PDF pattern. For more festive project ideas, explore our Christmas cross stitch guide و join the XStitchPattern newsletter for new pattern announcements.
Transparency note: Pattern dimensions, floss colors, thread recommendation and counted crosses above were checked against the uploaded 14-page FlossCross PDF. The artwork was developed with AI assistance; physical test-stitching has not been verified and lifestyle mockups are illustrative.