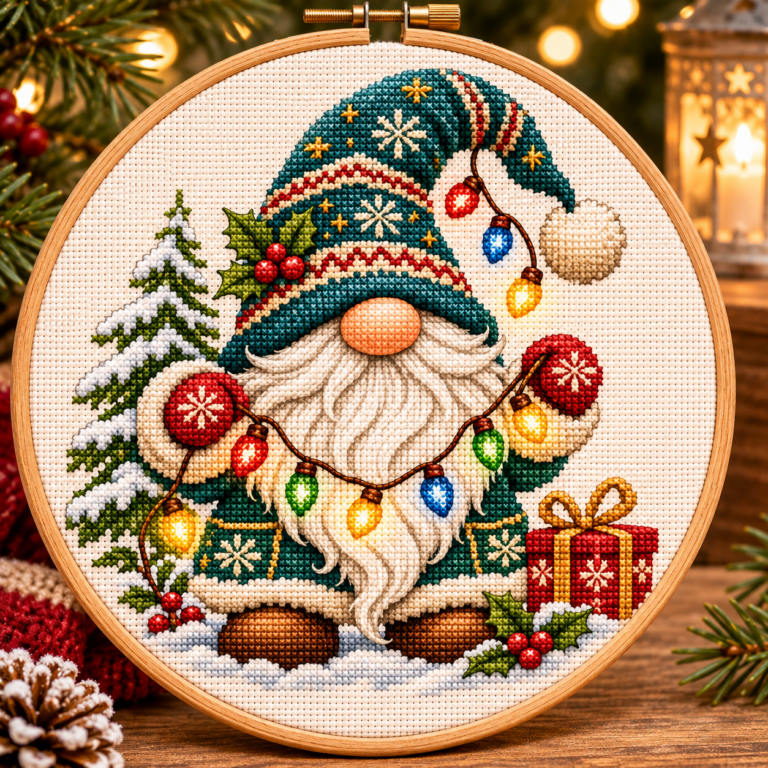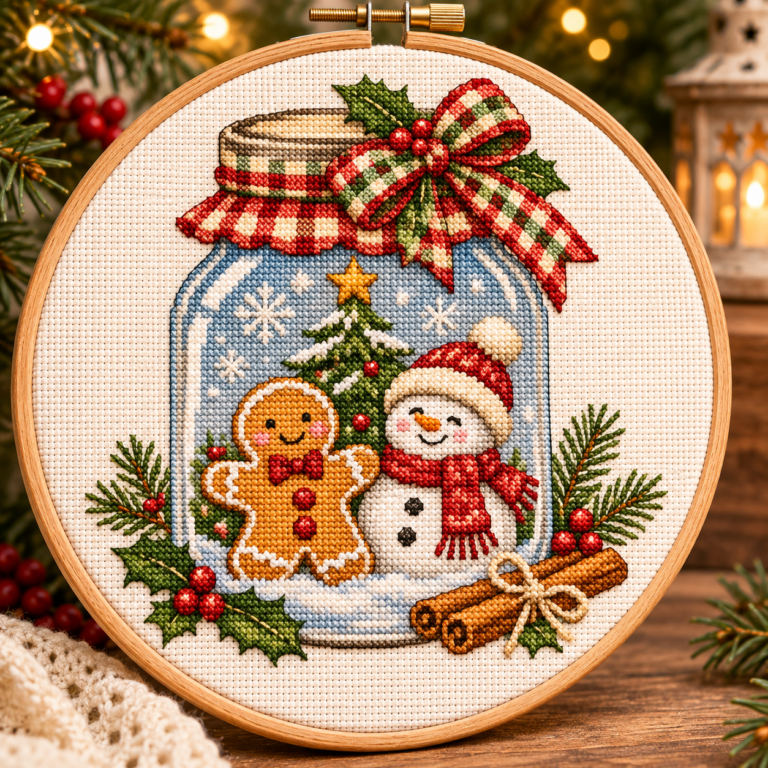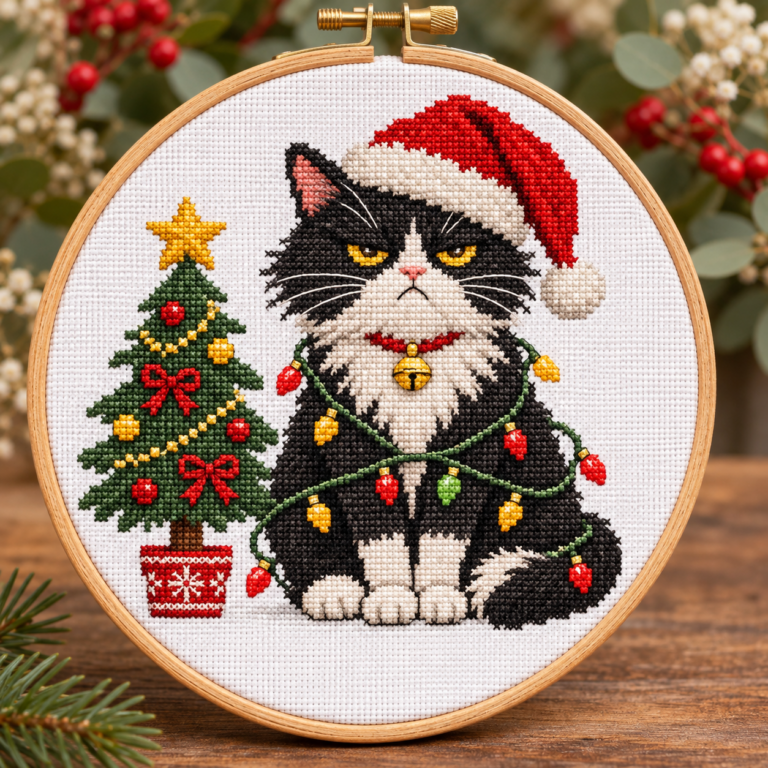

ان autumn cats cross stitch pattern with falling leaves captures the part of fall that cat lovers remember best: warm windowsills, quiet afternoons and curious paws investigating a drifting leaf. For a spring-inspired contrast to those fall colors, our adorable floral kitten cross stitch guide explores kitten faces, flowers and fabric planning. The strongest designs do more than place orange foliage around a cat. They make each animal instantly recognizable while letting the season frame the scene.
If you are choosing a fall cats PDF chart—or already have one ready to stitch—this guide helps with the most visually demanding decisions: keeping several cats distinct, preserving light and dark fur markings, choosing a readable fall-leaf palette and turning the finished embroidery into seasonal decor. It also includes worked Aida size calculations, a practical stitching sequence and finishing options. It does not reproduce or provide the chart from the linked Etsy listing.
For reference, the Autumn Cats – Fall Leaves PDF listing on Etsy is the commercial design that prompted this topic. The seller’s exact stitch dimensions, thread codes and delivered chart files have not been independently inspected, so the sizing example and palette discussion below are educational—not product specifications. The images in this article are original conceptual visuals, not claimed stitched samples of that PDF.
What makes an autumn cats and fall leaves composition special?
A pair or group of cats creates a different stitching challenge from a single-cat silhouette. One outline can disappear into the next, particularly when both animals have similar dark coats. Falling leaves bring another problem: if every little leaf contains multiple colors, the picture can become scattered and lose its focus.
Look at the design from three viewing distances. At arm’s length, can you distinguish the cats’ head shapes and tails? From across the room, does the general scene still read as cats in autumn, rather than a patchwork of oranges? At the chart’s printed scale, are the eyes and leaf edges easy to count? Answering all three questions before starting often prevents hours of unpicking.
A useful visual hierarchy is cats first, main leaf clusters second, background accents third. A few larger leaf shapes can anchor the season while small scattered leaves suggest movement. If the PDF depicts several animals, give each one a clear landmark: an upright ear, a curled tail, a light chest or a darker patch of fur.
Choose a style that fits the intended finish
A small, open-background design can look charming in a wooden hoop, a card or a compact frame. A painterly full-coverage scene is better planned as a more involved framed project. A repeating row of little cats works beautifully on a longer bookmark or textile band, provided the chart actually supports that format. Do not assume a decorative listing mockup is the same size as the stitched chart.
For a broader comparison of silhouette, tabby and portrait treatments, see our guide to cross stitch patterns of cats. The large autumn kittens project-planning article addresses a separate concern: estimating the scale and effort of a substantial chart.
Build a fall color palette that keeps every cat visible
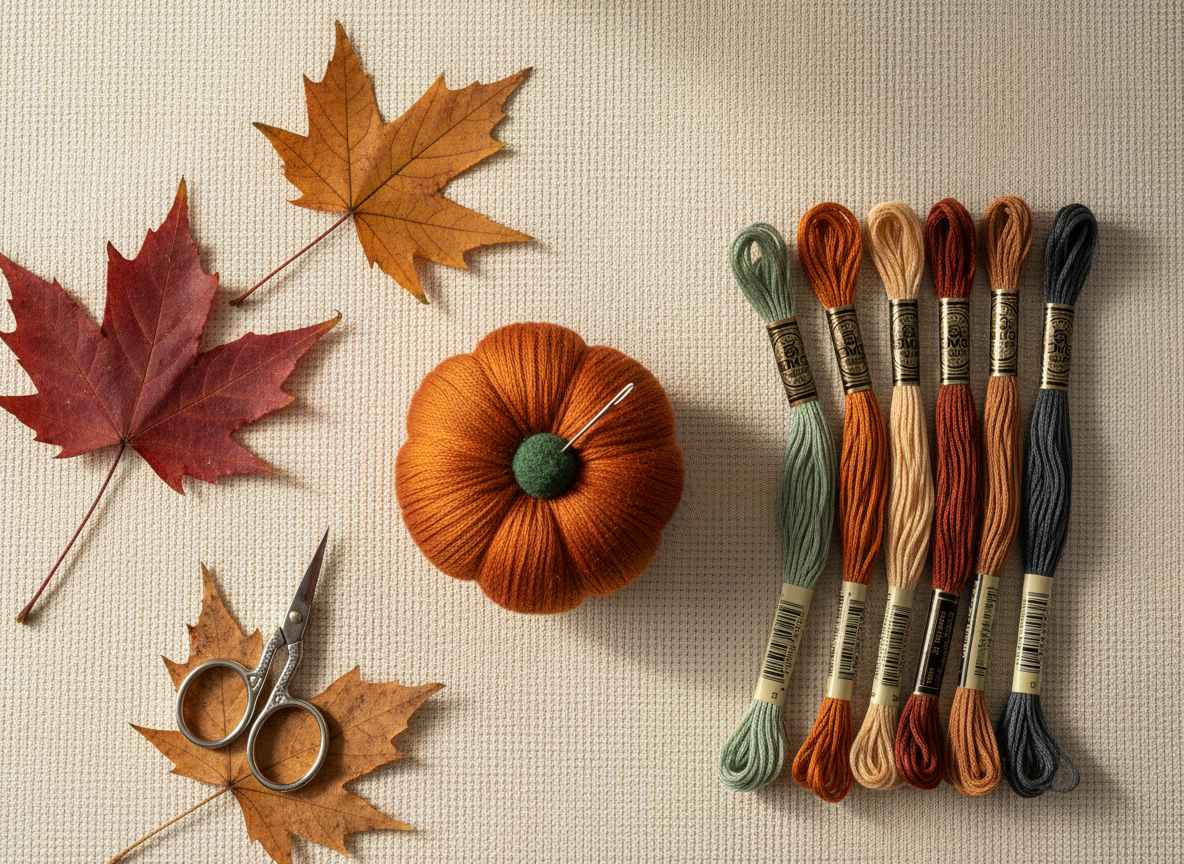
Autumn colors are often described as orange, red and gold, but the quieter shades do much of the work. Soft gray, charcoal, mushroom brown, pale cream and a little cool blue make warm leaves more vivid without using a greater number of colors. That matters when a chart includes multiple fur patterns close together.
Begin with the actual floss legend in your PDF. Sort the codes by their job in the picture rather than by color number. Keep the original key beside your organizer; palette examples in this article are for planning only and are not claimed to be the DMC codes or color count of the Etsy design.
| Visual element | Color relationship to check | Why it matters |
|---|---|---|
| Dark cat or outline | Deep charcoal versus warm brown | The outside edge must stay separate from leaf shadows. |
| Ginger or tabby cat | Cinnamon, honey and light cream | Enough tonal change to make stripes read as fur. |
| Pale chest, paws or muzzle | Off-white against the fabric background | Light highlights can disappear on white Aida. |
| Maple, oak or scattered leaves | Rust, ochre, muted gold and olive | Several leaf groups should read as one season, not disconnected confetti. |
| Optional sky or background | Pale blue-gray or warm neutral | A restrained background gives the cats breathing room. |
A fast contrast test before the first stitch
Place the selected skeins beside the fabric under indirect daylight. Take one photograph in color and one in grayscale. If the darkest cat and nearby brown leaves merge into a solid shape, inspect the chart for light separators or outlines. If two adjacent fur shades become indistinguishable, keep their chart symbols carefully labeled rather than casually substituting one thread for the other.
For dark animals, also review our black cat stitching and contrast guide. It covers how the contour and nearby fabric color affect what the eye sees.
How to stitch fur and facial features without losing expression
A cat’s expression is often built from very few stitches. In a small chart, a one-square shift in an eye or the position of an ear can noticeably change the face. The solution is to establish a small set of measured anchors, not to work the entire face at once without checking.
Start with the animal’s silhouette
Identify the outer curve of each back, head and tail. Check where one cat ends and the next begins, especially if two bodies overlap. Stitch a connected area of a reliable shade and verify its coordinates before extending it. If the chart includes a light gap between the animals, preserve it carefully instead of filling it by intuition.
Follow the direction of tabby markings
When a tabby coat has alternating shades, group stitches by the direction the stripes travel. Mark which groups run across the shoulders, which turn around the cheek and which form the tail. This avoids the speckled appearance that comes from treating every isolated dark stitch as interchangeable.
Do not reduce color changes automatically. A few carefully placed intermediate shades may explain the shape of a rounded cheek or paw. Equally, don’t add uncharted single stitches from a blurry seller photograph: use the symbol grid as your reference.
Check eyes, noses and whiskers separately
Before stitching the face, count from a fixed edge or distinctive stripe to both eyes. Compare their spacing and height, then add the nose and mouth. Where the PDF includes backstitch, work it after the surrounding crosses so the outline lies cleanly over the finished texture. Follow the designer’s stitch key for whether whiskers are backstitched, crossed or not included at all.
Our backstitch tutorial shows how to keep long lines tidy. If you find an error after finishing a section, use the mistake-repair guide before removing an entire cat outline.
Make the falling leaves feel light, not cluttered
The same contrast principle applies to fall scenery: our Autumn Porch cross stitch guide shows how doorways, a dark chair and warm pumpkin shapes can remain visually distinct in a larger seasonal composition.
Leaf placement is what gives this subject its movement. Some leaves can sit near the cats, while others drift away into negative space. Your goal when stitching is to respect the rhythm of the original PDF—especially the gaps between the leaves—rather than adding extra decorations just because empty fabric looks unfinished.
Read different leaf silhouettes
- Maple-like leaves: look for pointed lobes and an identifiable central tip. In a tiny cross-stitch motif, too many isolated points can make them look jagged; prioritize the chart’s strongest outer shape.
- Oak-like leaves: a rounded, lobed edge often reads best when the middle shade is connected, with only a few darker edge accents.
- Simple oval or birch-like leaves: the direction of the long axis and a contrasting stem may be enough to suggest motion. Don’t assume every leaf needs multiple internal shades.
These descriptions are design-reading advice, not instructions to alter a copyrighted chart. Check the original symbols before deciding whether a differently shaped leaf is a mistake or a deliberate simplification.
Stitch scattered motifs in manageable islands
Begin with one clear leaf and finish its connected color area. Then move to the next nearby motif where you can count the space accurately. Avoid dragging a dark orange thread far across the back of pale, unstitched fabric to reach a single square; long carries may show from the front. End the thread and restart when necessary.
For leaves with isolated highlights, a thread organizer and marked working chart can help you return to each color without losing your position. If your piece includes a lot of truly scattered stitches, our guide to managing confetti stitches explains strategies that also apply to autumn foliage.
Which Aida fabric should you choose?
Aida count tells you how many full crosses fit in one inch when working one stitch over one fabric square. A higher count gives a smaller finished stitched design. According to DMC’s fabric guidance, 14-count Aida is a popular beginner-friendly choice because its holes are easy to distinguish. Sixteen-count is a middle ground and 18-count produces smaller stitches, but the best count depends on visibility, comfort and the PDF’s stitch types.
For a many-cat scene, soft ivory may help dark outlines stand out. Warm oatmeal can suit a rustic harvest palette, provided cream fur still remains visible. Pale gray-blue fabric provides a subtle contrast to orange and red leaves. Don’t switch to very dark Aida without checking whether the darkest cat disappears into the background.
Example fabric sizes for 140 × 110 stitches
The following measurements use a hypothetical 140-stitch-wide by 110-stitch-tall design. They are illustrative calculations—not specifications taken from the Etsy listing. To calculate a stitched dimension in inches, divide each stitch dimension by the chosen fabric count. For the fabric cut below, add 2.5 inches (6.35 cm) on each side.
| Aida count | Stitched area, inches | Suggested cut, inches (illustrative) |
|---|---|---|
| 14 count | 10.00 × 7.86 | 15.00 × 12.86 |
| 16 count | 8.75 × 6.88 | 13.75 × 11.88 |
| 18 count | 7.78 × 6.11 | 12.78 × 11.11 |
For example, on 16-count Aida, 140 ÷ 16 gives 8.75 inches and 110 ÷ 16 gives 6.875 inches. Adding 5 inches to each total dimension leaves 2.5 inches on every side, before folding or mounting. A professional framer or specialty finish may need a different allowance. Confirm the chart’s actual stitch dimensions first, then consult our cross stitch fabric-size calculator guide.
A six-stage stitching plan for a multi-cat autumn scene
A useful sequence is built around dependable shapes, not a rigid requirement to stitch the upper left corner first. Use this plan as a decision framework, then adjust it to the chart you’re working from.
- 1. Prepare the PDF. Check the grid width and height, full-cross and backstitch symbols, DMC legend, page numbering and any overlaps. Print the symbols at a readable scale or use a compatible digital viewer after confirming compatibility.
- 2. Cut and protect your fabric. Calculate the required cut, mark the center gently if appropriate, and secure raw edges so fraying does not eat into your mounting margin.
- 3. Establish the two or more cat positions. Find distinct anchors such as an ear, tail curve or chest shape. Check them against two grid reference points, especially across PDF page breaks.
- 4. Build the fur in connected sections. Stitch stable blocks and preserve lighter boundaries between overlapping cats. Keep the top leg of each full cross running in the same direction.
- 5. Add leaf groups and seasonal accents. Work from the largest motifs to the smaller scattered leaves. Recount the gaps between them rather than carrying threads across long areas of unstitched cloth.
- 6. Finish fine lines and assess the whole picture. Add charted backstitch, check facial features, then view the piece from normal display distance before washing or finishing.
If your chart is very large or full coverage, your working plan may be completely different. The large autumn cat project guide goes deeper into page navigation, progress pacing and practical deadlines, so this article can stay focused on appearance and finishing.
Organize the thread without making the reverse bulky
Start by matching every physical skein to the printed key. Keep labels attached until you’re finished, especially when several neighboring oranges and browns look similar. For most everyday cross stitching, a blunt tapestry needle is preferred, but choose the needle size and number of strands from your fabric, stitch coverage and the chart’s instructions, not from this article alone.
Shorter working lengths make it easier to keep dark thread from fraying. When changing colors around the cat’s eyes, finish the old thread securely instead of knotting a bulky cluster behind the face. Hold work under a light to check whether dark floats will show through pale areas. Keep the hoop comfortably taut; excessive tension can distort the Aida grid and lead to uneven crosses.
If you plan to wash a finished piece, check the care instructions for the exact fabric, thread and any specialty materials first. Test unfamiliar fibers or hand-dyed fabric separately. Allow a piece to dry appropriately and press from the reverse on a padded towel with a protective cloth if the materials permit it.
If you’re collecting autumn ideas for a future weekend, you can also browse the XStitchPattern Etsy shop for our own downloadable cross stitch designs. The fall-cats PDF linked at the start of this guide is a third-party reference, not a pattern sold by XStitchPattern; always check the listing’s current files and specifications before ordering.
Four ways to display finished fall cats embroidery
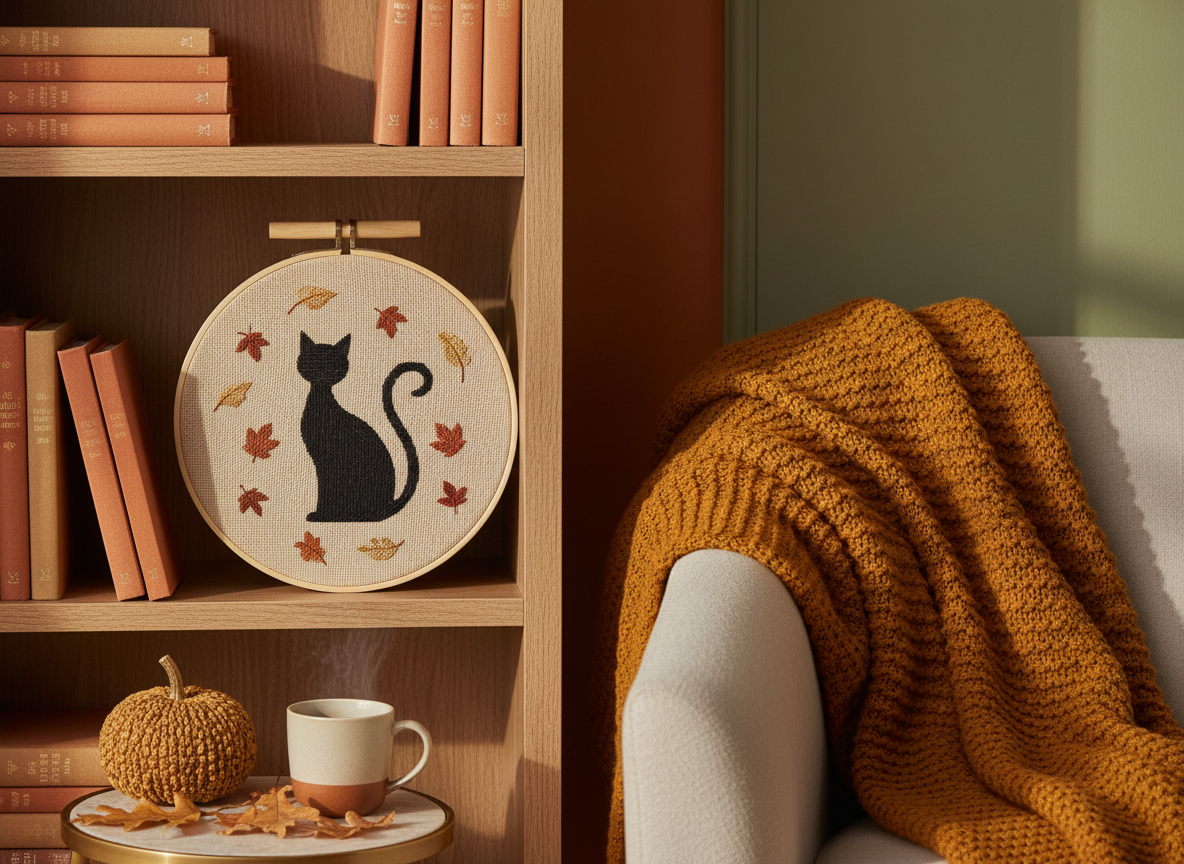
A wooden hoop for seasonal wall art
A hoop suits a compact, centered design and is easy to swap when the season changes. Before cutting the fabric, ensure the entire stitched area and margin will fit comfortably within the hoop opening. Gather or lace the excess at the back and cover it with a neatly cut fabric or felt backing if you want a polished gift.
A simple frame for a reading nook
Warm wood or understated dark frames work well near shelves and books. Use archival mounting materials for keepsake work and avoid flattening raised stitches directly against glass. Place the stitched cats where natural light highlights the colors without prolonged harsh direct sunlight that can fade textiles.
A handmade fall greeting card
A small, independently charted cat or leaf motif can be mounted in a card window. Avoid shrinking a complex multi-cat design by simply cutting away parts of the existing chart: the result may lose essential outline stitches. For an appropriately small motif, see our guide to mini cross stitch cards.
A coordinated autumn shelf collection
Create a small seasonal grouping by displaying the finished cats beside acorn or pumpkin motifs that are either original or properly licensed. Our autumn acorn cross stitch planning guide helps tie those accents together without assuming all patterns share the same stitch count or color key.
Explore a real seasonal project from our own collection: the Autumn Kittens in a Basket cross stitch PDF has a cozy cat-focused subject. For a botanical companion, see Autumn Oak Leaves & Acorns. If you prefer a year-round collection, our Four Seasons Cats pattern set approaches cats through different seasonal motifs. These are separate XStitchPattern products, not the Etsy seller’s reference chart.
Before purchasing any autumn cats PDF: a careful checklist
Because shop listings may change, confirm the details on the seller’s current page and in the actual downloadable file. In particular, check whether the design is one chart or a bundle, whether a color-symbol and black-and-white chart are both included, the complete stitch dimensions, whether the floss codes are DMC, the number of printable pages and which stitch types appear in the legend.
Look for a stated level of detail around the cats’ faces and leaf tips. Some designs are mostly full cross stitches, while others add backstitch or fractional stitches. File format and app compatibility also vary; a PDF is not automatically compatible with a chart-tracking application. No stitch count, specific palette or stitch type from the referenced Etsy PDF has been independently verified for this article.
Frequently asked questions about autumn cats cross stitch
Are autumn cats cross stitch patterns beginner-friendly?
Some are. One or two simple cat silhouettes with larger leaf shapes may be a comfortable first seasonal design. A highly detailed scene with several overlapping cats, many similar fur shades or scattered leaf stitches can take much more concentration. Judge by the actual chart, not the number of colors in a preview.
Can I stitch the same PDF on 14-count or 16-count Aida?
Usually yes for conventional one-over-one counted full crosses, but the stitched dimensions change. Check for any fractional stitches, special fibers or designer guidance before substituting fabric. The grid still contains the same number of stitches.
Which thread colors should I use for the fall leaves?
Use the designer’s verified floss key for the actual PDF. As general visual inspiration, rust, mustard, burnt orange, brown and muted olive evoke autumn, but substituting them without testing can remove the contrast that separates leaves from cat fur.
How can I keep black and orange cats from blending into the leaves?
Compare the darkest shades in grayscale before stitching. Preserve the chart’s lighter outlines, leaf gaps and small highlights. Use the stitch positions and any charted backstitch to define each animal rather than adding arbitrary colors from the seller’s photo.
Is this page a free downloadable fall cats pattern?
No. It is an independent educational guide about choosing, stitching and displaying autumn cat-and-leaf embroidery. It does not reproduce the linked Etsy designer’s copyrighted PDF or claim to include the seller’s downloadable chart.
Where can I find more cat and seasonal projects?
Explore our cat cross stitch project hub, the cat-and-books fall stitching guide for a bookish variation, or browse autumn acorn ideas if you’d rather stitch plants and woodland details.
Bring the season into every stitch
You do not need to stitch every autumn detail to create the feeling of fall. A well-positioned pair of cats, a handful of leaf shapes and carefully chosen contrast can be enough. Start with the actual chart’s specifications, keep the faces readable and choose a finish you’ll enjoy displaying every September through November.
For fresh tutorials, new project inspiration and free-pattern updates, join the XStitchPattern Stitch Studio. Our free patterns and newsletter are separate from any paid designs referenced in this article.
Love the rust and leaf colors here but want a geometric sampler instead of a cat picture? Read our Autumn Squares cross stitch inspiration guide for measured mini-grid layouts, warm floss contrasts and an original free acorn motif. It’s a different project from these autumn cat designs.