
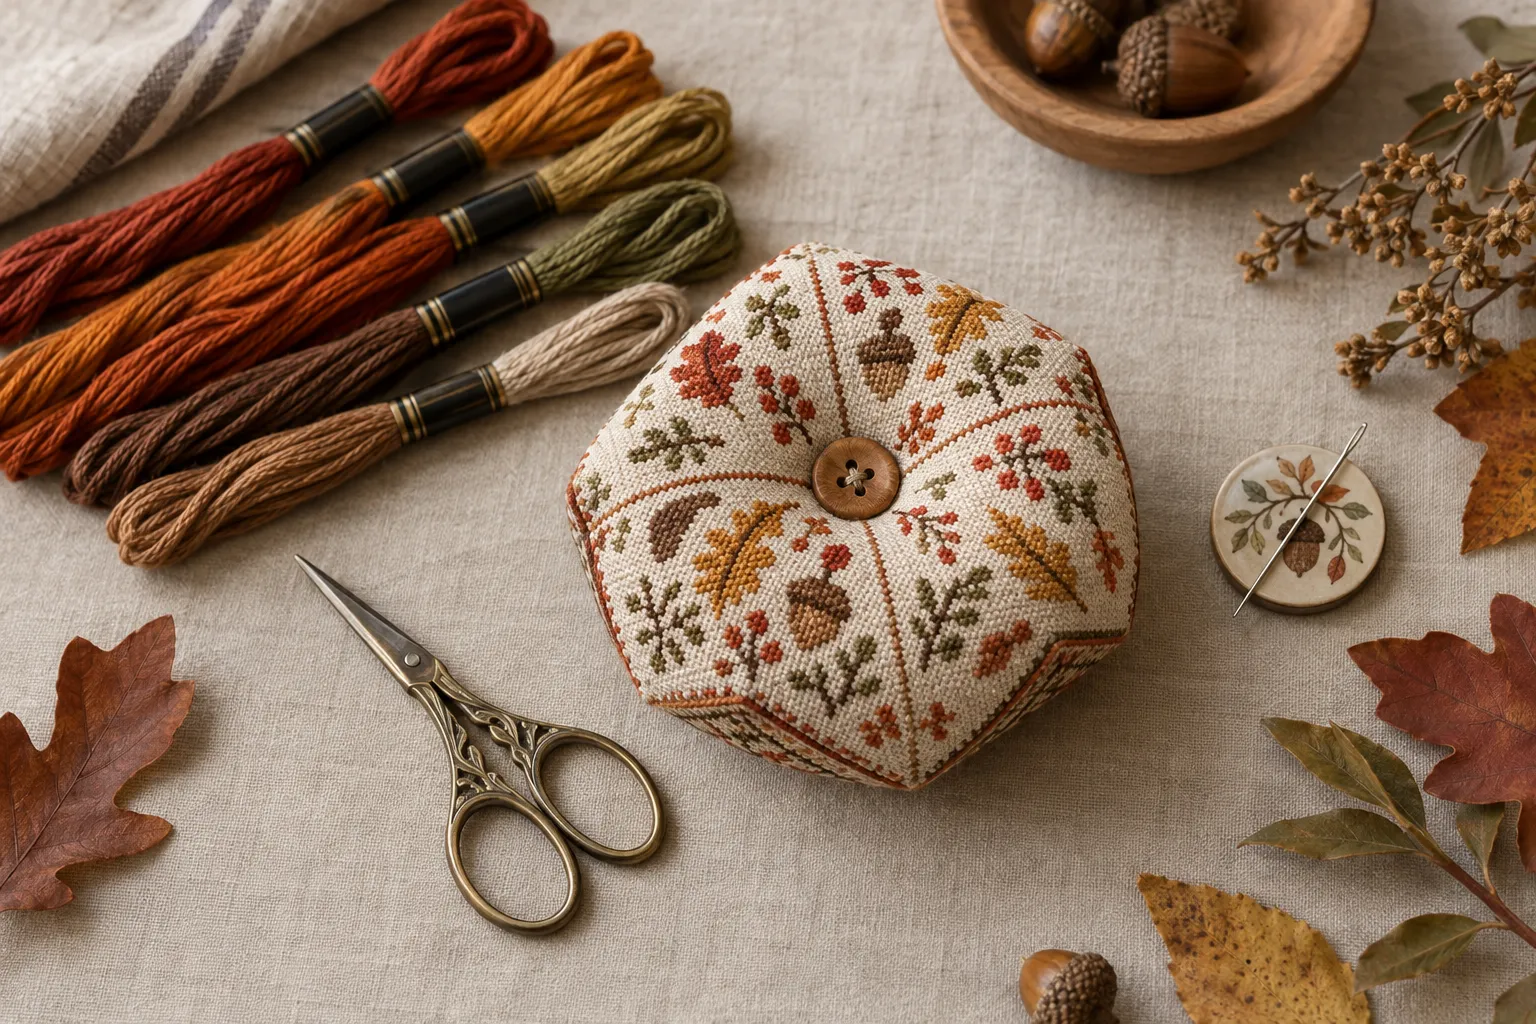
ان autumn biscornu cross stitch is a small project with a very particular finish. The stitched pieces are usually square, but the finished object is not a plain cushion. One square is turned so a corner meets the midpoint of the other square, then the two counted borders are joined. That offset creates the eight little points and the slightly twisted shape that makes a biscornu so appealing as a pincushion, ornament or seasonal bowl filler.
The important lesson is this: a biscornu is not just a cute autumn motif. It is a construction project. A neat acorn, oak leaf or berry sprig will only finish well if the fabric count, floss coverage, backstitch border and joining stitches all work together. This guide is written so you can use any suitable square chart rather than depending on one specific pattern.
If you are using a digital chart and still sorting out symbols, colour keys and page joins, read how to read a cross stitch PDF pattern before you cut fabric. Biscornu finishing becomes much calmer when you know exactly where the design ends and where the assembly border begins.
What Makes a Biscornu Different from a Flat Cross Stitch Project
A flat cross stitch project can be framed, mounted in a card, finished in a hoop or sewn into a simple ornament. A biscornu is different because the seam is part of the design. The two stitched squares are joined in an offset position, so the corners and midpoints become visible features rather than hidden edges.
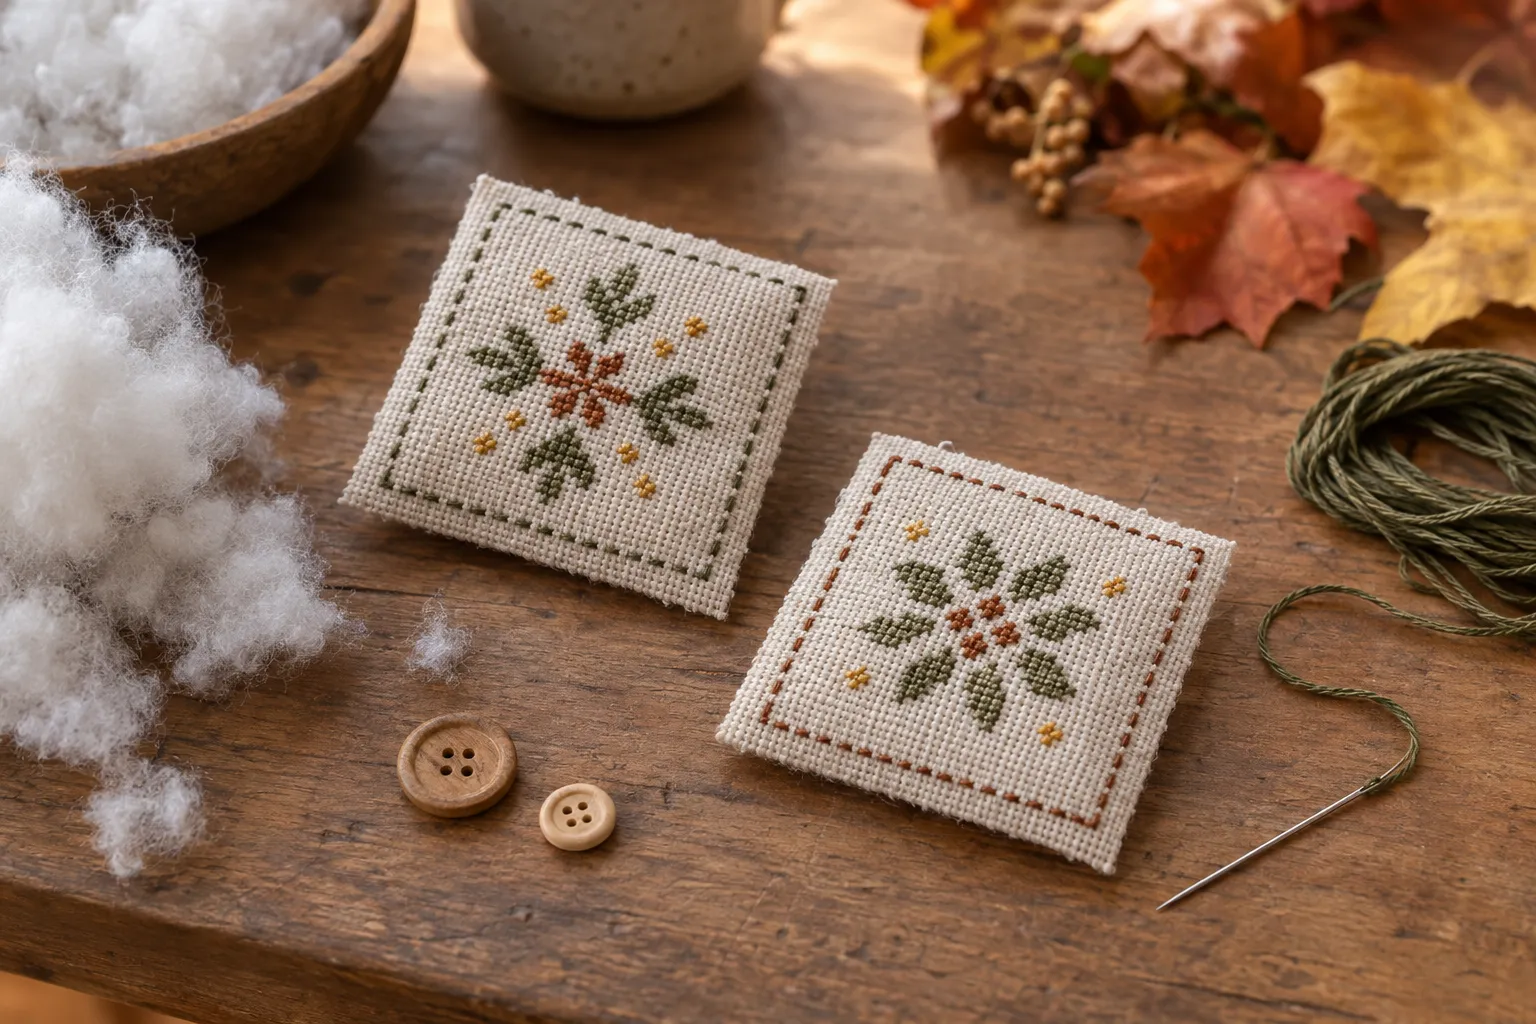
The front and back do not have to be identical. In fact, many successful biscornu designs use a detailed front and a quieter reverse. For autumn, the front might feature an acorn cross stitch motif, oak leaves, a pumpkin-coloured floral sprig or a tiny wreath. The back might be a simple repeat, initials, a date or a border-only square. What must match is the counted border. Both squares need the same number of backstitches around the joining line, or the whip stitch assembly will fight you.
That is the part beginners sometimes underestimate. A biscornu is forgiving because the stuffing adds plumpness and hides the wrong side of the stitching. It is unforgiving because an uneven border, a missed stitch or a distorted corner will show when you start joining the pieces. Treat the backstitch border as the framework, not as decoration added at the end.
Choose the Motif Before You Choose the Fabric
Start with the chart. A biscornu needs a square or nearly square stitched area, with room around the design for a clean counted border. Small autumn motifs work well because they read clearly at a compact scale: acorns, single leaves, berries, mushrooms, seed heads, branches and simple geometric bands in warm colours.
Before you commit to a chart, check five things:
- Is the design square? The easiest biscornu uses two square panels with matching border dimensions.
- Can you find the centre point? You will need the centre for starting, checking balance and adding a button if you use one.
- Is there space for a backstitch border? The border should sit outside or around the motif without crowding important details.
- Will the corners still look good after twisting? Details placed at corners and midpoints become more noticeable in the finished shape.
- Does the reverse feel intentional? It can be simple, but it should not look like an afterthought if the piece is handled or hung.
If you want to adapt a small autumn cross stitch project that was not designed as a biscornu, draw or chart a plain backstitch square around it first. Then create a second square with the same border count. Do not use the ragged outside edge of the motif as your sewing line. For biscornu finishing, you need a continuous counted backstitch border that gives your needle a reliable path.
Aida Count: How 14, 16 and 18 Count Change the Finish
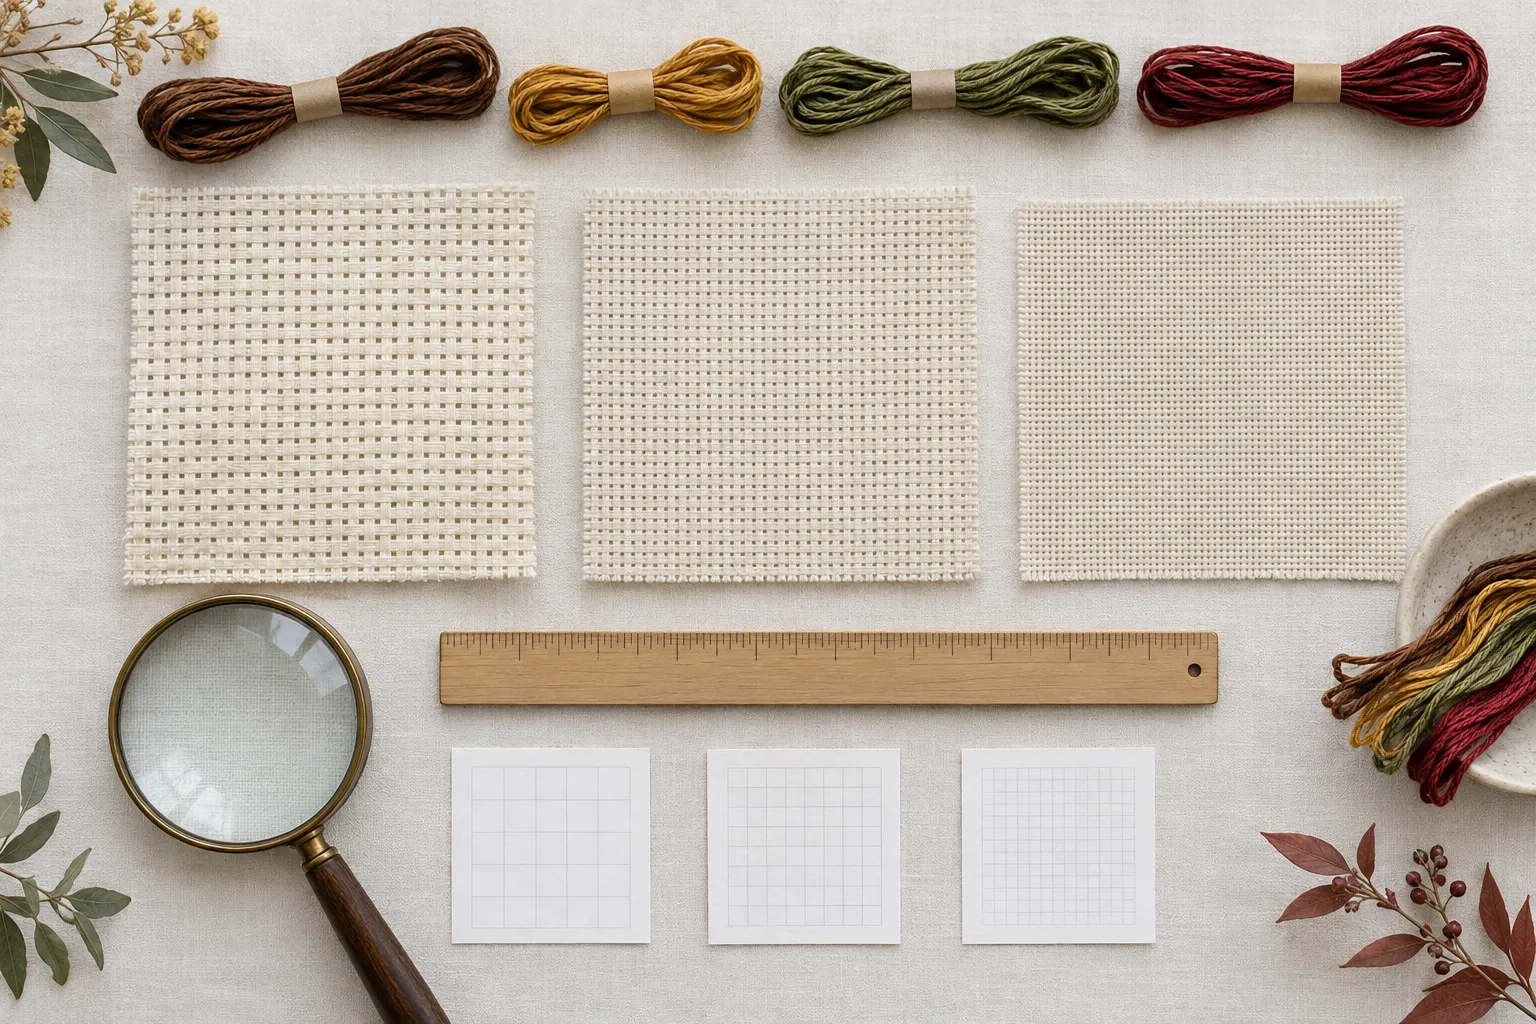
DMC explains that Aida count refers to the number of stitches per inch. A higher count means smaller stitches and a smaller finished design. DMC also recommends 14-count Aida for beginners, because the holes are easy to see and it helps new stitchers make even crosses.
For a biscornu, fabric count affects more than size. It changes the feel of the seam, the amount of bulk in the corners and how easy the backstitch border is to catch during assembly.
| Fabric choice | Useful when | Watch for |
|---|---|---|
| 14-count Aida | You want visible holes, relaxed stitching and an easier first biscornu | The finished piece will be larger, and the corners may feel sturdier |
| 16-count Aida | You want a balanced size with good detail and still-manageable holes | Tension and needle placement need a little more attention |
| 18-count Aida | You want a smaller ornament or a more refined finish | The holes are smaller, so whip stitch assembly can be slower |
| Evenweave fabric | You are comfortable counting over threads and want a softer finish | It is less beginner-friendly if you are not confident with thread intersections |
Use your own chart to calculate the stitched size: stitch count divided by fabric count = stitched inches. Do the calculation for both width and height. Then add enough handling fabric around the design for stitching and finishing. After the stitching is complete, trim more carefully so the seam allowance is even and not so wide that it bunches inside the points.
If the piece will be a working fall cross stitch pincushion, 14-count or 16-count Aida is often practical because the holes are comfortable and the finished cushion has enough presence. If it will hang as a small ornament, 16-count or 18-count may give a neater scale. Choose the count you can stitch and assemble accurately, not simply the smallest count available.
DMC Floss Planning for Warm Autumn Colours
Autumn palettes can become muddy if every colour is the same strength. Instead of choosing every rust, brown, gold, olive and cranberry in the box, decide what each colour is doing. One family should lead, one should support, and one should accent.
For an acorn motif, warm browns might carry the nut and cap, with olive or moss tones for leaves and a small deep red or gold accent for berries. For an oak leaf cross stitch, the golden or copper leaf may be the star, while the branch and outline stay quieter. On cream fabric, pale gold can disappear; on natural, mushroom or light tan Aida, the same shade may look richer. Always check contrast against the actual fabric, not just against the paper chart or screen.
When using DMC stranded embroidery thread, separate the strands before stitching. DMC notes that stranded thread is designed to be separated and that stitchers usually do not stitch with all six strands at once. Follow the pattern instructions first, because strand count can vary with fabric count, desired coverage and the designer’s intended texture.
Bulk matters in a biscornu. Fuller coverage can look lovely, but heavy stitching close to the border may make the seam harder to close. If you are changing the recommended strands or substituting colours, test a small area on the same fabric if possible. For more help with substitutions, see how to substitute DMC floss colours without losing the design’s contrast.
The Backstitch Border Is the Seam, Not an Optional Outline
For biscornu finishing, the backstitch border does the real work. Assembly instructions from established stitching resources, including Tiny Modernist and the Embroiderers’ Guild of America biscornu finishing guide, use a backstitch border on the stitched pieces and then join the pieces by whip stitching through or around that border.
This is why the border must be counted, complete and consistent. Each side of the front square and the matching side of the back square must have the same number of backstitches. The border gives your needle something predictable to catch. Without it, you end up piercing random fabric threads, which can distort the Aida, pull the seam unevenly and make the corners lumpy.
A good biscornu border should:
- form a complete square around each panel;
- sit far enough from the motif that the design is not swallowed by the seam;
- match the second square exactly in stitch count;
- be easy to see while assembling;
- be stitched with firm but not puckering tension.
If the chart does not include a border, add one before you start stitching. Count it on graph paper or in your charting app. Check the corners twice. A missing backstitch is a small error on flat fabric and a large annoyance once the pieces are trimmed and half joined.
A Sensible Stitching Order
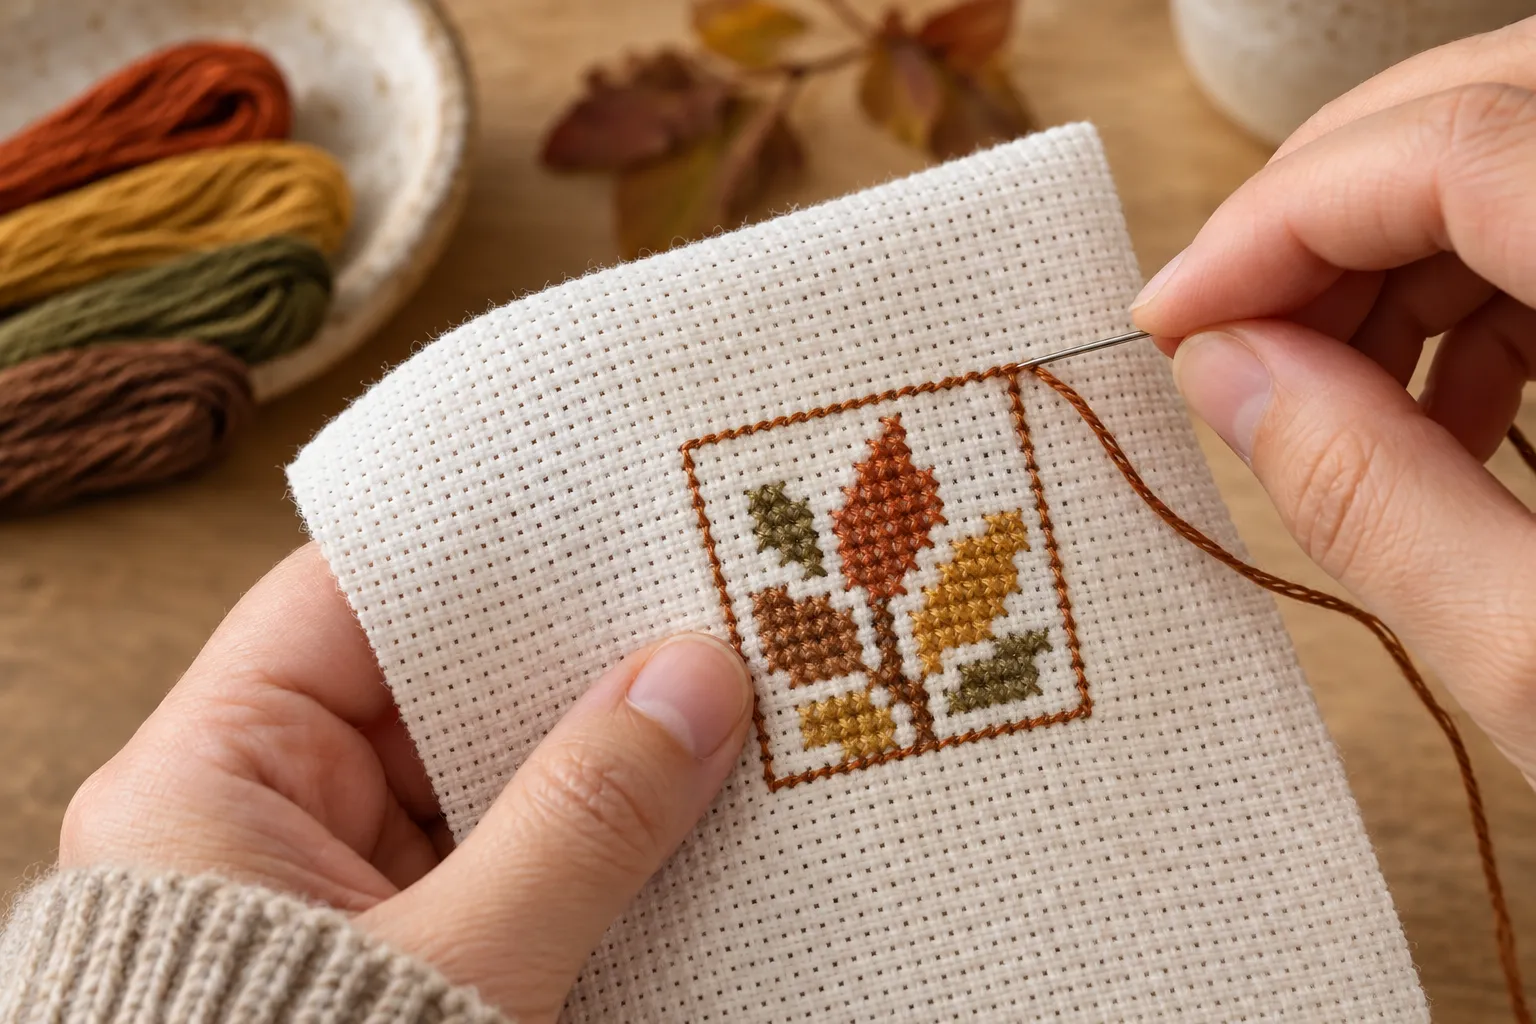
Stitch the main motif first, then the border, then any delicate final details. This order keeps the centre easy to check and lets you see whether the motif has enough breathing room before the border is committed. It also means you can correct placement before tiny accents, initials or specialty stitches make unpicking more frustrating.
Keep the two squares as similar in tension as you can. If one panel is pulled tight and the other is relaxed, the offset seam will exaggerate the difference. DMC’s cross stitch guidance notes that Aida has clearly identifiable holes and that cross stitch can be worked by completing each cross individually or by working a row of half crosses and returning. Either method can work; what matters here is consistent tension and consistent top-stitch direction.
Press the finished pieces from the back if your materials allow it. Use a clean towel underneath so the stitches are supported rather than crushed. Avoid heavy pressing over beads, metallic threads or raised details. Do the final border count after pressing and before trimming.
Joining the Two Squares Without Distorting the Corners
When both pieces are stitched and checked, place them wrong sides together with the stitching facing outward. Align one corner of the top square with the midpoint of one side of the bottom square. This corner-to-midpoint placement is what creates the classic biscornu twist.
Use a tapestry needle and a smooth joining thread, often a strand or two of embroidery floss in a colour that matches or coordinates with the border. If your pattern specifies a joining thread, follow it. Catch a backstitch from one piece, then the corresponding backstitch from the other piece. Continue in sequence. The join should look like a neat laced or whip-stitched seam sitting on the border, not like random stitches through the fabric.
Work slowly through the first few turns. The first corner sets the rhythm. If the fabric begins to skew, stop and check whether you skipped a border stitch or accidentally caught two backstitches on one side. Do not force the corner into place by pulling harder. Tight pulling can gather the border and create ridges. The seam should close the edges securely while still allowing the biscornu to keep its shape.
Leave an opening for stuffing. Do not make the opening too tiny; you need room to add filling gradually and adjust the points.
Stuffing, Buttons and Final Shaping
Stuff with small pieces rather than one large lump. Ease the filling into the points with the blunt end of a needle, a stuffing tool or a clean chopstick. Aim for evenly plump, not hard. Overstuffing can pull the whip stitch assembly open and make the centre button distort the fabric.
Before closing the seam, set the biscornu down and look at it from above. You should be able to see the eight points. If one point is hollow, add a little stuffing there. If one side bulges, redistribute the filling before the opening is closed. This is much easier now than after the last whip stitches are secured.
A centre button is common, but it is not compulsory. A button draws the top and bottom inward and gives the biscornu its pinched cushion shape. If you use buttons, use one on each side or one decorative button with a secure anchor on the reverse. Sew through the centre several times and pull gently. Too much tension can collapse the motif, especially on softer fabric.
For an ornament, add a hanging loop during finishing and secure it into the seam area rather than only into a couple of fabric threads. Keep the loop, buttons and embellishments in scale with the piece so it hangs cleanly.
Common Biscornu Mistakes to Avoid
- Starting without matching borders. The front and back motifs can differ; the border count cannot.
- Cutting fabric too early. Stitch, check and press first. Trim only when you are ready to assemble.
- Crowding the motif. Leave space between autumn details and the seam so leaves and acorns do not disappear into the edge.
- Using too much stuffing. A pincushion should be firm enough to use, but not so hard that the seam strains.
- Choosing fabric you cannot comfortably see. An 18-count ornament is only a good choice if you can stitch and join it accurately.
- Losing contrast in the palette. Autumn colours still need light, dark and mid-tone values to stay readable.
- Pulling the whip stitch too tight. Close the seam; do not gather the border.
Pre-Stitch Checklist
| Question | Why it matters |
|---|---|
| Do both squares have the same backstitch border count? | This controls the entire whip stitch assembly. |
| Have you calculated size from stitch count and Aida fabric count? | The same chart changes size on 14, 16 and 18-count Aida. |
| Are floss strands chosen according to the pattern and fabric? | Coverage and seam bulk both depend on strand count. |
| Can you find the centre point? | Centres help with motif placement and button positioning. |
| Is there enough seam allowance? | Too little can fray; too much can bunch inside the points. |
FAQs About Autumn Biscornu Cross Stitch
Can I turn any square chart into a biscornu?
Often, yes, if you can add a complete counted backstitch border and make a second square with the same border count. Dense full-coverage designs and motifs with important details right at the edge are harder to finish neatly.
Is 14-count Aida too large?
No. It will produce a larger biscornu than 16-count or 18-count, but it is easy to see and assemble. For a first fall cross stitch pincushion, 14-count Aida is a sensible choice.
Do the front and back have to match?
No. They only need matching border dimensions. A detailed autumn front and a simpler reverse often make the finished piece feel balanced without doubling the stitching time.
What should I use for the joining thread?
Use the thread specified in your pattern if one is given. Otherwise, many stitchers use embroidery floss that matches or coordinates with the border. It should be smooth enough to pass cleanly through the backstitches and strong enough for handling.
Next Steps
If you want to practise before making a full biscornu, start with a small square motif on leftover fabric. The guide to mini cross stitch patterns on fabric scraps is useful for testing fabric count, colour contrast and tension on a small scale.
You can also browse free tools and guides or join the free cross stitch pattern signup if you would like small charts to practise with. If you prefer a flat seasonal project rather than a 3D finish, the Autumn Acorn Cross Stitch Pattern planning guide covers fabric size, colours and project planning for an autumn design. For a dedicated seasonal PDF, see the Autumn Oak Leaves & Acorns Cross Stitch Pattern PDF.
A biscornu rewards careful preparation. Choose a square chart thoughtfully, give the backstitch border the respect it deserves, keep your tension even and assemble slowly. The finished piece may be small, but the skills carry over into every ornament, pincushion and shaped cross stitch project you make next.