
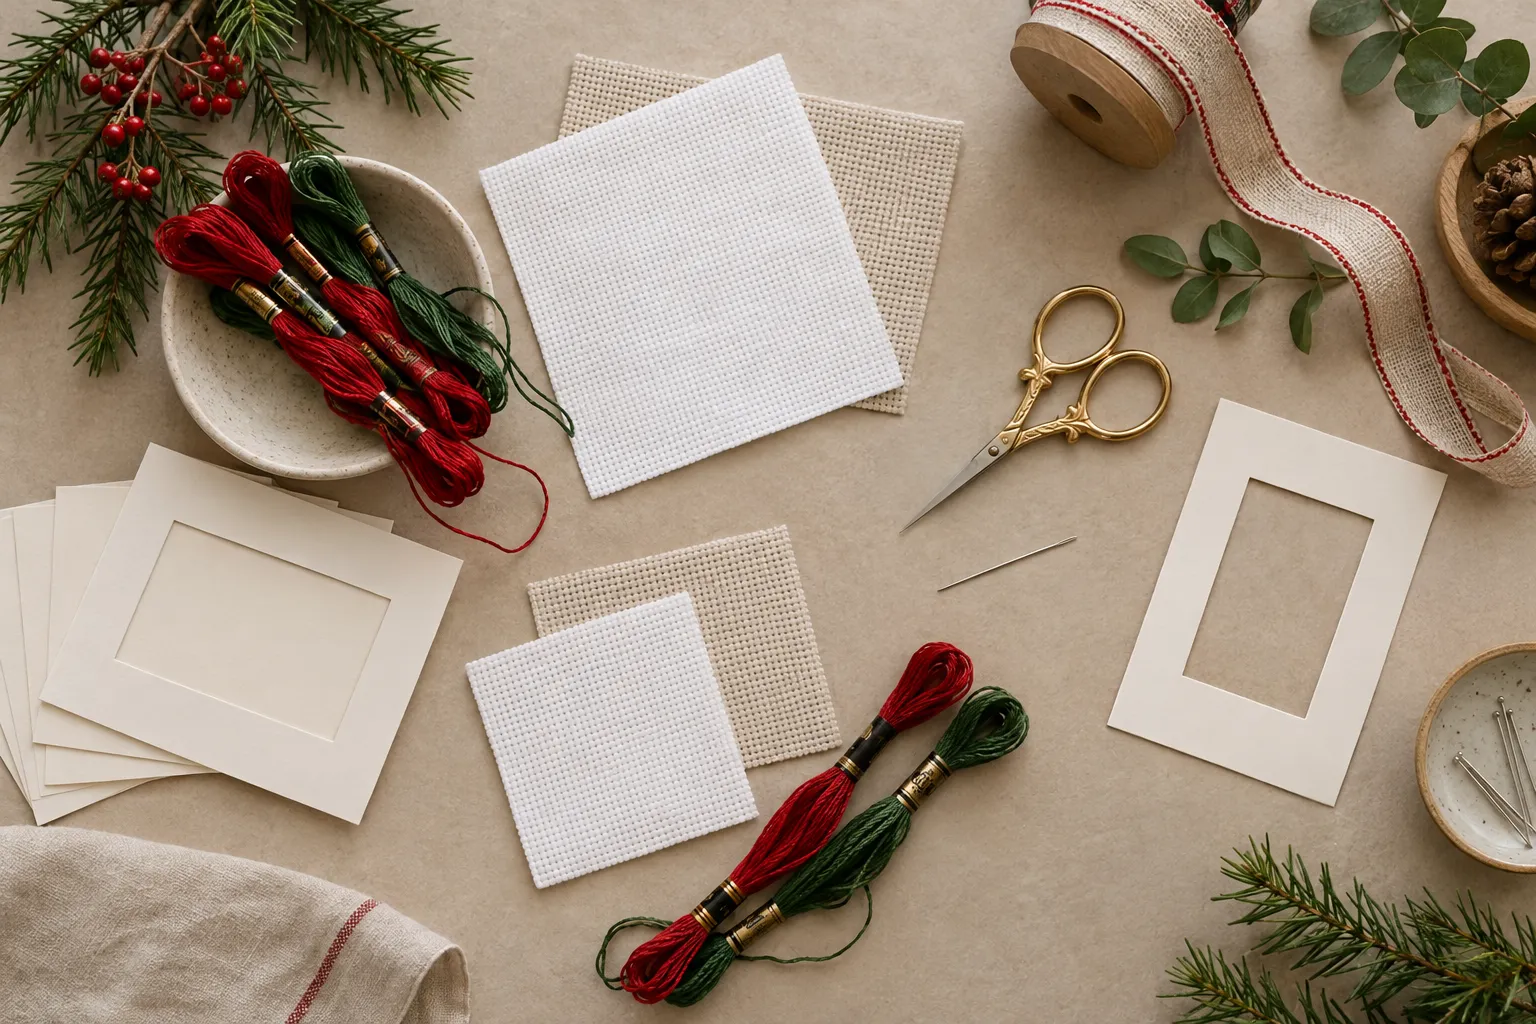
Free mini Christmas cross stitch patterns are some of the most useful festive projects: compact enough for a manageable seasonal project, personal enough for a handmade card, and flexible enough to become ornaments, gift tags or keepsakes. The problem is that “free” and “mini” do not automatically mean “right for your card blank”. A chart can look tiny in a website preview and still finish too large for an aperture card, too detailed for batch stitching, or too awkwardly shaped for an ornament insert.
This guide is for choosing well before you print, cut fabric or thread a needle. The aim is not to list every free Christmas chart online. It is to help you judge whether a free chart will actually work for the thing you want to make: a neat card, a tree ornament, a tag, or a small stitched gift.
Why Mini Christmas Cross Stitch Patterns Work So Well for Ornaments and Cards
Small Christmas motifs suit the way many people stitch in November and December: between postal deadlines, family plans, gift wrapping and other seasonal jobs. A little robin, star, tree, bauble, gingerbread house, snowflake or holly sprig can feel festive without requiring weeks of work.
Mini designs are also good stash projects. One scrap of Aida fabric, a few lengths of DMC floss, a card blank and some ribbon can become a finished gift. The same motif might work as a card topper, a felt-backed ornament, a mini hoop, or a gift tag.
The tradeoff is detail. A very small Christmas motif needs a clear shape. Strong silhouettes, limited colors and simple outlines usually read better than tiny scenes with heavy shading. If a design only makes sense because of subtle color changes, it may not be the best choice for a two-inch ornament or a small card window.
What Counts as “Mini” for a Christmas Ornament or Card?
There is no universal stitch-count rule for the word mini. One designer may call a 90-stitch chart small; another may reserve “mini” for a 25-stitch motif. For ornaments and cross stitch Christmas cards, the label matters less than the finished size.
Use these ranges as practical starting points, then measure your own blank:
| Project | Useful stitch-count range | Planning note |
|---|---|---|
| Gift tag | About 15–35 stitches wide | Leaves room for backing, trimming and a punched hole |
| Small aperture card | About 25–55 stitches wide | Often fits a card window without crowding the edge |
| Tree ornament | About 30–70 stitches wide | Visible on a tree but still manageable |
| Small hoop decoration | About 45–90 stitches wide | Good for display, but may be too large for a card |
These are not rules. A candy cane may be narrow and tall. A wreath may need more width. A stitched word such as Joy or Noel can become surprisingly wide, especially if the letters include borders or flourishes. Always check both width and height before you commit.
Verified free chart sources for mini Christmas projects
Start at the original designer’s page, where the chart and thread key belong together. The following pages advertised free downloads when checked on 27 October 2026. Download access can change, and free charts do not include fabric or finishing materials.
Craft with Cartwright: 15 Christmas mini motifs. This PDF collection offers several seasonal subjects to compare. The page states that first-time access requires an email sign-up. Measure the individual motif you want to use rather than treating the full sheet as one mini design.
Craft with Cartwright: small Christmas bells. The designer offers colour and backstitched download versions. Check the actual chart’s outline and stitch dimensions against your intended ornament or card opening.
Craft with Cartwright: holly motif. This free chart page identifies a compact holly design and describes first-time email access. Its subject can suit a Christmas card, but use its actual width and height to choose the mount.
For card-specific calculations, use the companion mini Christmas cross stitch card-making guide. For winter-only motifs, see the free snowflake chart-source guide. These are links to designer-owned resources, not a collection of copied pattern files.
Before You Print: Check Stitch Count, Color Count and Backstitch
A printable chart is only useful if it suits your finish. Before printing, check these three points.
1. Stitch count
The stitch count tells you the stitched size. The basic formula is:
stitch count ÷ fabric count = finished design size in inches
On Aida fabric, 14-count Aida has 14 stitches per inch. Higher counts make the same chart smaller. A calculation from your actual chart dimensions helps you compare fabrics without relying on a preview image.
For example, if a chart is 42 stitches wide, the stitched width is 3 inches on 14-count Aida, about 2.6 inches on 16-count Aida, and about 2.3 inches on 18-count Aida. That difference can decide whether a motif fits a card aperture or an ornament blank.
2. Color count
A chart with three to six colors is usually easier for quick cards or repeated ornaments. A chart with fifteen colors may still be physically small, but frequent color changes can make it feel slower. Neither option is wrong. Choose the simpler chart for batch stitching; choose the richer chart for one special ornament.
3. Backstitch and specialty details
Backstitch can sharpen small Christmas motifs, especially lettering, holly leaves, gingerbread features and birds. It also adds time. If you are stitching ten cards, a design with heavy backstitch may become tedious. If you are making one keepsake, the crisp detail may be worth it.
Also check for fractional stitches, French knots, beads, metallic thread or blended colors. These can be beautiful, but they are not always ideal for perforated paper, gift tags or last-minute stitching.
Choosing Aida Count: 14, 16 or 18 Count for Small Holiday Motifs
Aida fabric is a sensible choice for many beginner and intermediate stitchers because the holes are clear and the grid is regular. For mini Christmas cross stitch patterns, the fabric count affects both the finished size and the stitching experience.
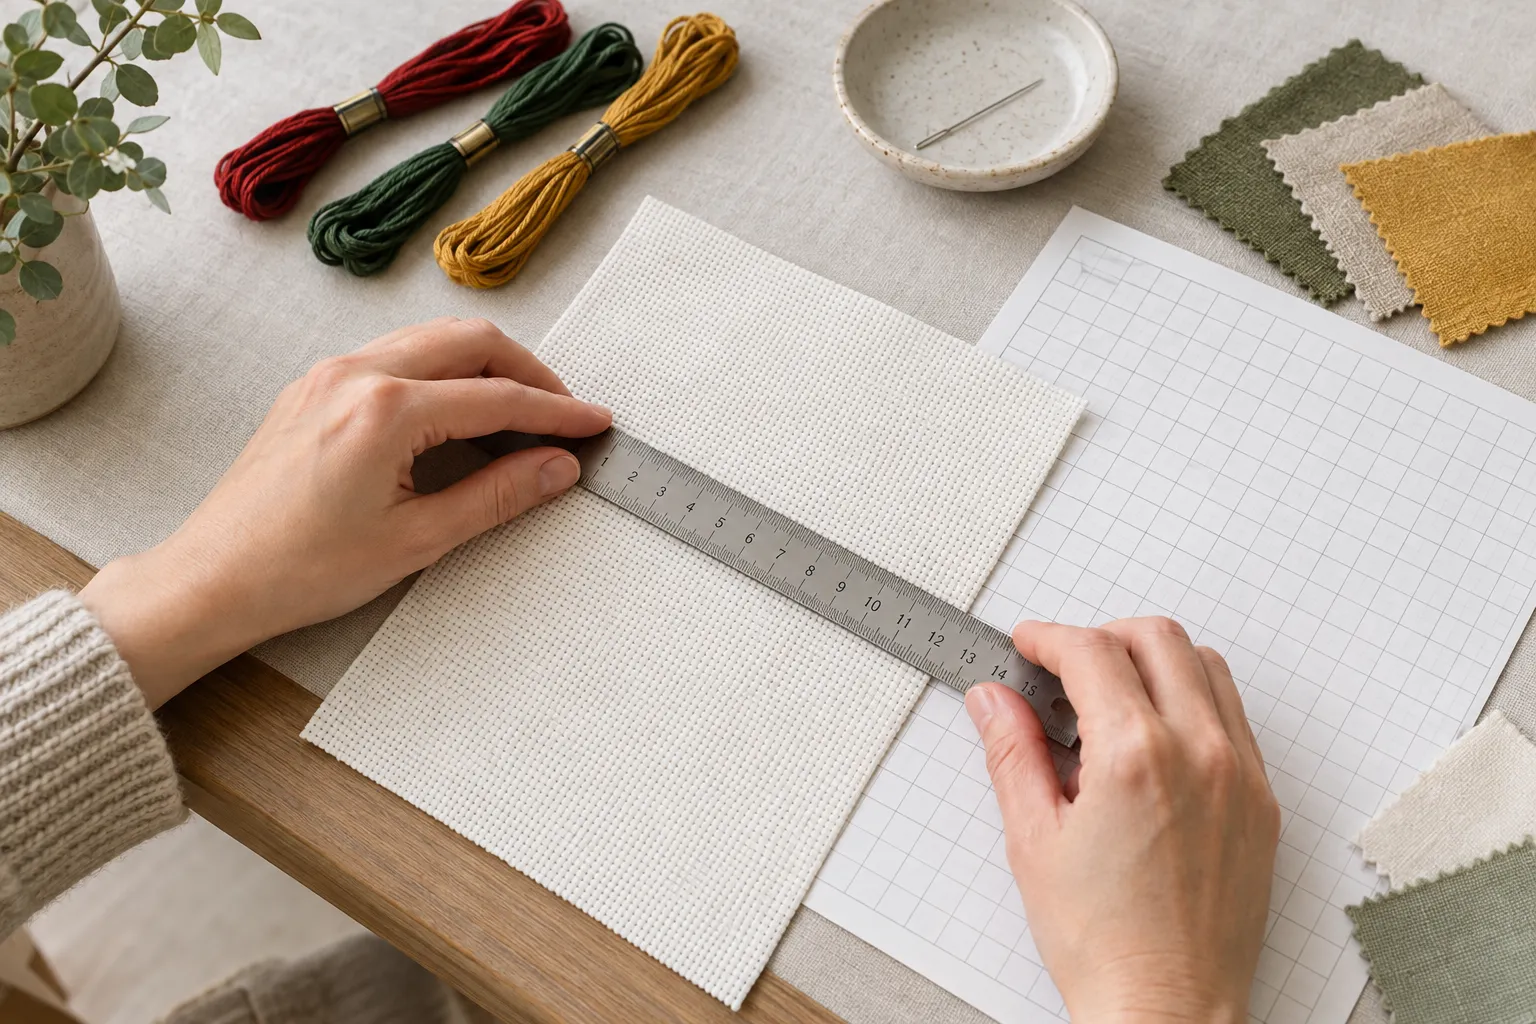
| Fabric | Effect on the same chart | Good for |
|---|---|---|
| 14-count Aida | Larger, easy to see, quick to handle | Beginners, ornaments, bold motifs |
| 16-count Aida | Slightly smaller and neater | Cards, small hoops, polished ornaments |
| 18-count Aida | Compact finish with finer scale | Aperture cards, tags, stitchers comfortable with smaller holes |
For Christmas cross stitch ornaments, 14-count Aida often gives a cheerful, visible finish. For cross stitch Christmas cards, 16-count or 18-count can help a motif sit neatly inside the window. The caveat is comfort: 18-count looks refined, but it is harder on tired eyes, especially in evening light.
Do not forget fabric margin. The stitched design size is not the same as the fabric cut size. A card needs enough extra fabric to secure behind the aperture. An ornament needs enough margin to lace, gather, wrap around card, or cover with felt. If a chart fits the visible area exactly, it is probably too tight for easy finishing.
Best Fabrics for Cards, Ornaments and Gift Tags
White or antique white Aida is the most straightforward option for free mini Christmas cross stitch patterns. It suits red, green, gold, blue, brown and black floss, and it looks clean behind most card apertures. Natural, oatmeal or pale grey Aida can give a softer rustic look for Scandinavian-style stars, trees, deer and wreaths.
Perforated paper is also useful for small motifs. It is commonly associated with cross stitch motifs, borders, ornaments, bookmarks and greeting cards, and it can be trimmed more closely than fabric. It is handy for gift tags and card toppers, but it is less forgiving than Aida if you need to unpick stitches or if the finished piece will be handled roughly.
Plastic canvas can make sturdy ornaments, especially for simple shapes, but it gives a chunkier finish. Evenweave can be beautiful, but for quick holiday cards and beginner-friendly ornaments, Aida or perforated paper will usually be easier.
DMC Color Planning for Classic Christmas Motifs
Many free cross stitch charts use DMC floss because it is widely available. DMC describes its Six-Strand Embroidery Floss as 100% cotton, sold in 8.7-yard or 8-metre skeins, with six separable strands so stitchers can vary how many strands they use.
For mini motifs, contrast matters more than having an enormous palette. Classic Christmas color families include:
- Red and green: stockings, holly, trees, baubles and candy canes.
- White, blue and silver tones: snowflakes, snowy cottages and winter birds.
- Brown, cream and red: gingerbread, cocoa mugs, robins and rustic tags.
- Gold and deep green: stars, wreaths and traditional ornaments.
Sparkle threads such as DMC Light Effects or DMC Étoile can add a festive accent, but use them sparingly if speed matters. Metallic-style threads can be less forgiving than standard cotton. A few gold stitches in a star may be more satisfying than replacing every yellow area with metallic thread.
If you do not own the exact floss listed, preserve the contrast first: dark against light, red against green, outline against background. For a more careful approach, see How to Substitute DMC Floss Colours in a Cross Stitch Pattern.
Get a Free Cross Stitch Pattern from the Stitch Studio
If you want to practise reading a chart, checking a thread key and calculating fabric size before choosing a seasonal project, you can join the XStitchPattern Stitch Studio here: Free Cross Stitch Pattern — Join the Stitch Studio.
This is a general free cross stitch pattern signup. It should not be described as a guaranteed free Christmas PDF unless the signup page specifically says so at the time you visit. Use it as a practical way to build confidence with chart reading and project planning before moving on to ornaments, cards and holiday gifts.
How to Turn a Mini Chart into a Card
Card finishing is mostly about measuring and centring. The stitching can be simple, but the mount needs to be tidy.
- Measure the aperture first. The visible window is the limit, not the full folded card size.
- Calculate the stitched size. Divide the chart width and height by your fabric count.
- Add a mounting margin. Cut the fabric larger than the aperture so it can be secured from behind.
- Centre the design. Lightly fold the fabric in half both ways, or use the centre mark if the chart provides one.
- Press from the back. Use a clean towel underneath so the stitches are not crushed.
- Mount neatly. Use acid-free tape where possible, or keep double-sided tape away from the stitched area.
- Cover the inside. Add a paper insert to hide fabric edges and make the card feel finished.
If the stitched piece is slightly too small, mount it behind the aperture with a contrasting paper mat. If it is too large, do not force it into the card; save it for an ornament and choose a smaller motif. For more card-specific planning, read Mini Cross Stitch Patterns for Cards: Size, Center and Mount.
How to Finish a Mini Chart as an Ornament
Choose the ornament finish according to the shape of the chart, not just the look you like online.
Mini hoop ornament
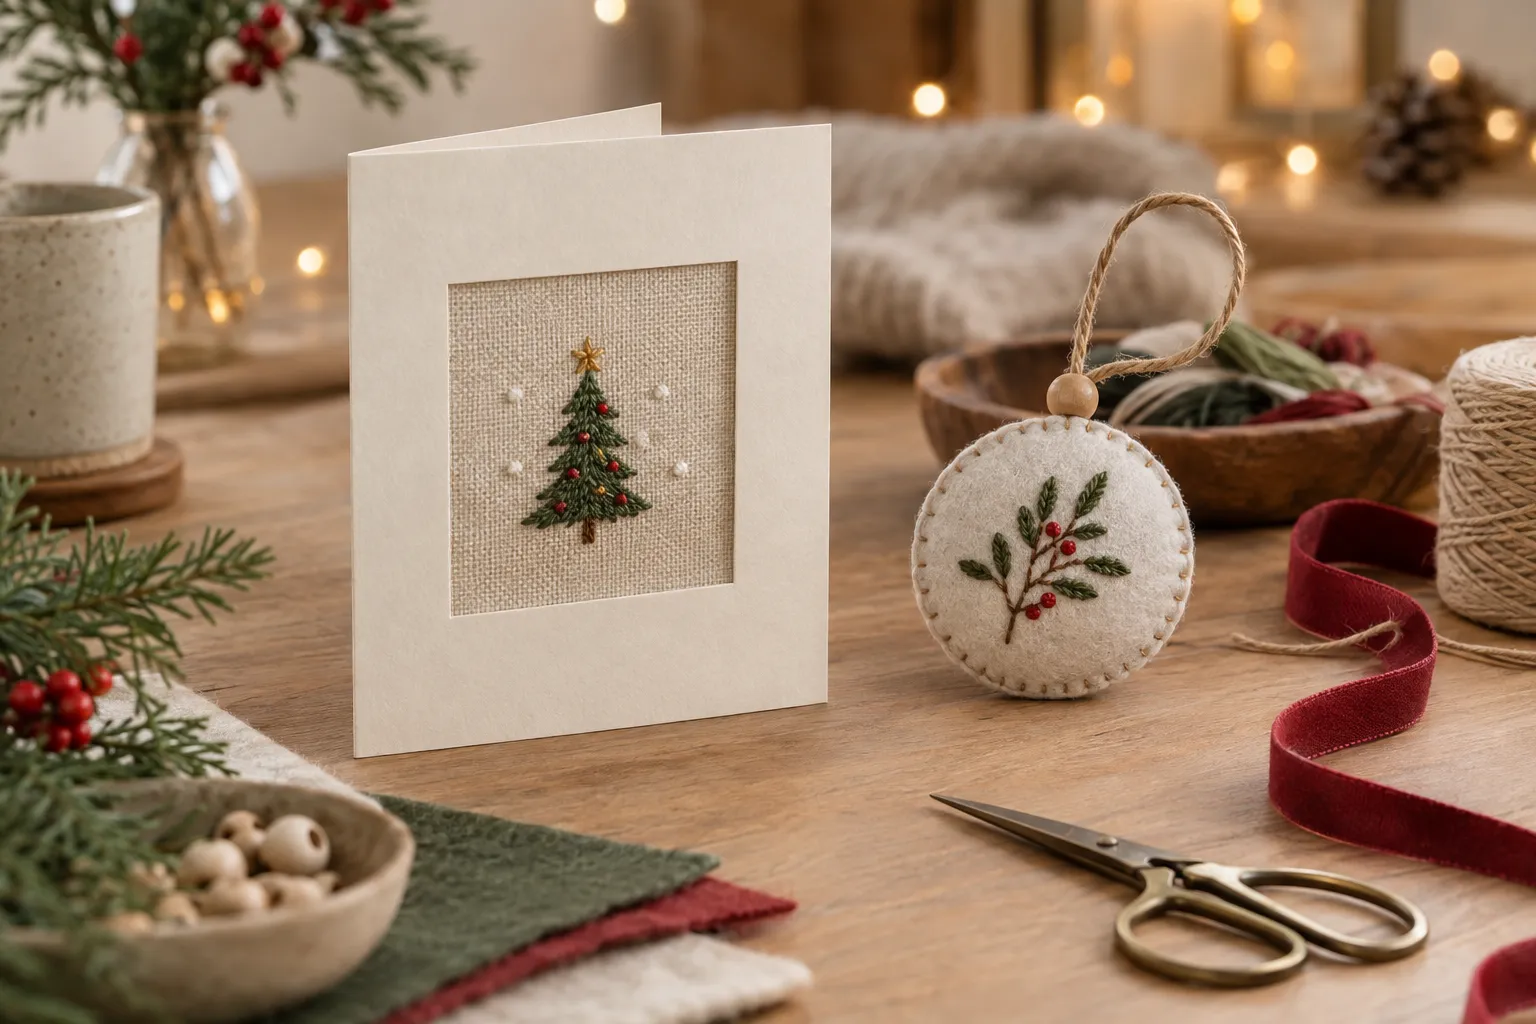
A small hoop works well for round wreaths, robins, trees and snowflakes. Trim the fabric at the back, gather it if needed with running stitch, and cover the back with felt or card. Add ribbon for hanging.
Flat padded ornament
Mount the stitched fabric over card with a thin layer of batting or wadding. Lace or tape the fabric neatly at the back, then cover with felt. This method suits square, rectangular and circular motifs.
Felt-backed cut-out
For perforated paper or plastic canvas, stitch the motif, cut carefully around the shape, and back it with felt. Leave enough edge so you do not damage the stitches.
Gift tag finish
Mount a tiny motif on folded cardstock or a kraft tag. Leave space for the recipient’s name and use ribbon or twine through a reinforced hole. Avoid fragile beads or long metallic loops if the tag will be handled a lot.
When to Choose a Paid Christmas Chart Instead of a Free Mini Pattern
Free Christmas cross stitch patterns are ideal for trying a technique, using fabric scraps, making quick cards, or testing a finishing method. A paid chart may be a better choice when you want a very specific subject, a more polished design, a coordinated set, or a chart prepared with clearer project information.
If you are comparing seasonal project types, the Christmas Cross Stitch Patterns: How to Choose a Festive Project guide may help. For free chart sources organised by recipient, see small Christmas gifts from free cross stitch patterns. For broader gift planning, see Christmas Cross Stitch Patterns: Plan Gifts, Cards and Wall Art.
If you decide you want a specific paid Christmas design after experimenting with free minis, XStitchPattern has seasonal PDF options such as the Christmas Rabbit Cross Stitch Pattern PDF, Christmas Mandala Cross Stitch Pattern PDF, and Winter Robin on Holly Cross Stitch Chart. These are optional next steps, not a substitute for checking stitch count and finished size.
Quick Checklist Before You Start Stitching
- Is the chart legitimately free from the designer, brand or publisher?
- Does it include a readable symbol chart and thread key?
- Have you checked the stitch count, not only the preview image?
- Will the finished size fit your card aperture, ornament blank or tag?
- Have you added fabric margin for mounting, lacing or backing?
- Is the color count realistic for your deadline?
- Does the design rely on backstitch, metallics, beads or specialty stitches?
- Have you chosen 14-count, 16-count or 18-count Aida based on the final use?
- Is there enough contrast between the fabric and the floss?
- Have you planned the finish before starting the first stitch?
FAQs About Free Mini Christmas Cross Stitch Patterns
Can I resize a free Christmas cross stitch chart?
You can change the finished size by changing the fabric count. The stitch count stays the same, but 18-count Aida will produce a smaller stitched piece than 14-count Aida. If you redraw, adapt or share someone else’s chart, check the designer’s terms first.
What is the best Aida count for Christmas cards?
For many cards, 16-count or 18-count Aida gives a neat result without too much bulk. Use 14-count if the chart is very small or if larger holes are more comfortable. Always calculate against the actual card aperture.
Are free printable cross stitch charts safe to use?
They can be, if they come from a legitimate source and are clearly offered by the designer, brand or publisher. Be cautious with random chart images that have no original download page, thread key or permission statement.
How many colors should a mini Christmas motif use?
For quick ornaments and cards, three to eight colors is usually comfortable. More colors can create richer shading, but the project may take longer than its small size suggests.
Can I sell cards made from free patterns?
Do not assume so. Many free cross stitch charts are for personal use only. Check the pattern page or designer’s terms before selling finished cards, ornaments or tags.
Final Thoughts
The best free mini Christmas cross stitch patterns are not simply the cutest previews. They are the charts that fit the object you want to make, use a manageable number of colors, print clearly, and leave enough room for a tidy finish. A few minutes spent checking stitch count, Aida count and mounting method can save hours of frustration later.
Start with one small motif, finish it completely, and then decide whether to stitch a matching set. That keeps holiday stitching realistic, enjoyable and ready to give.