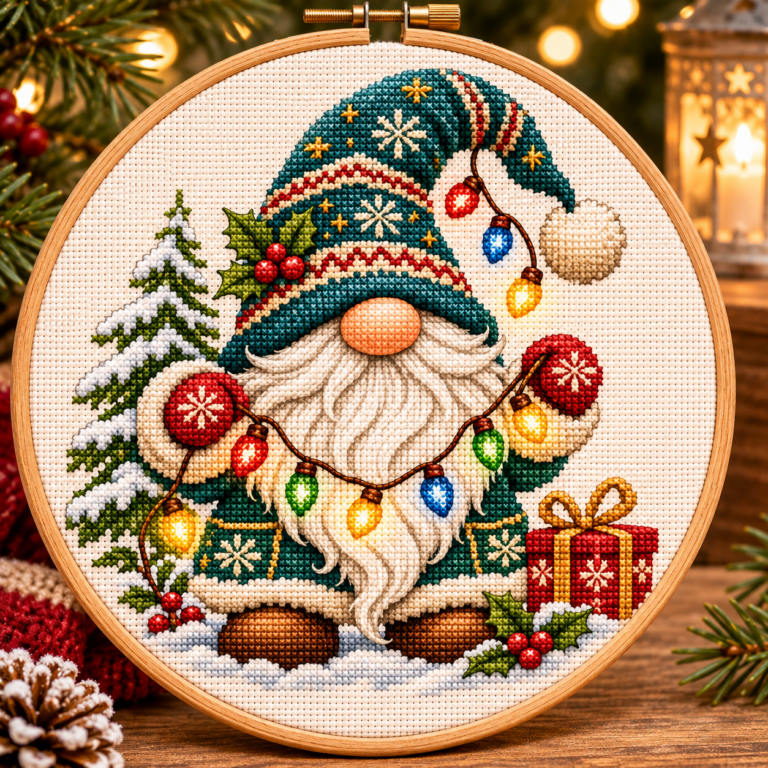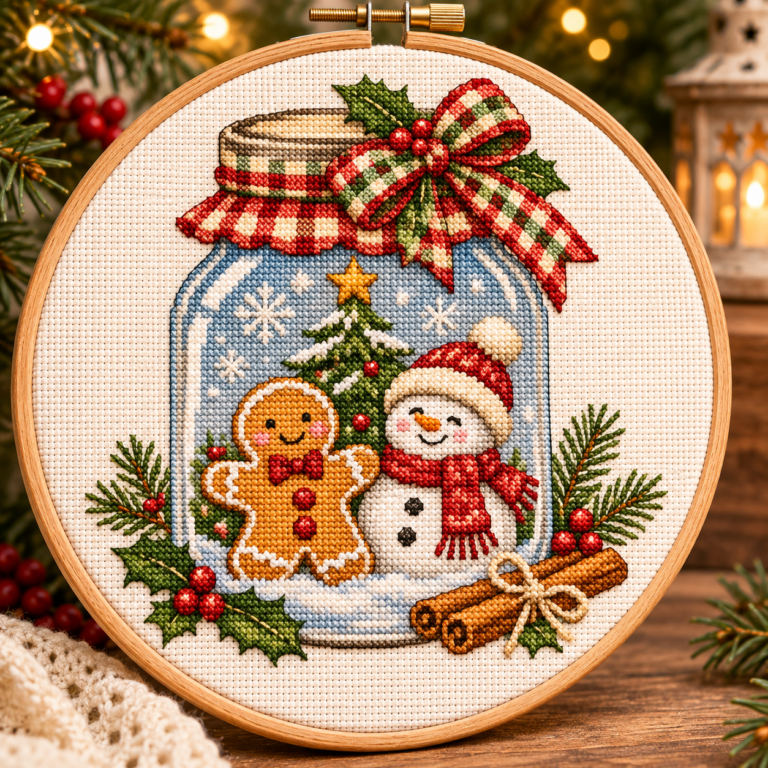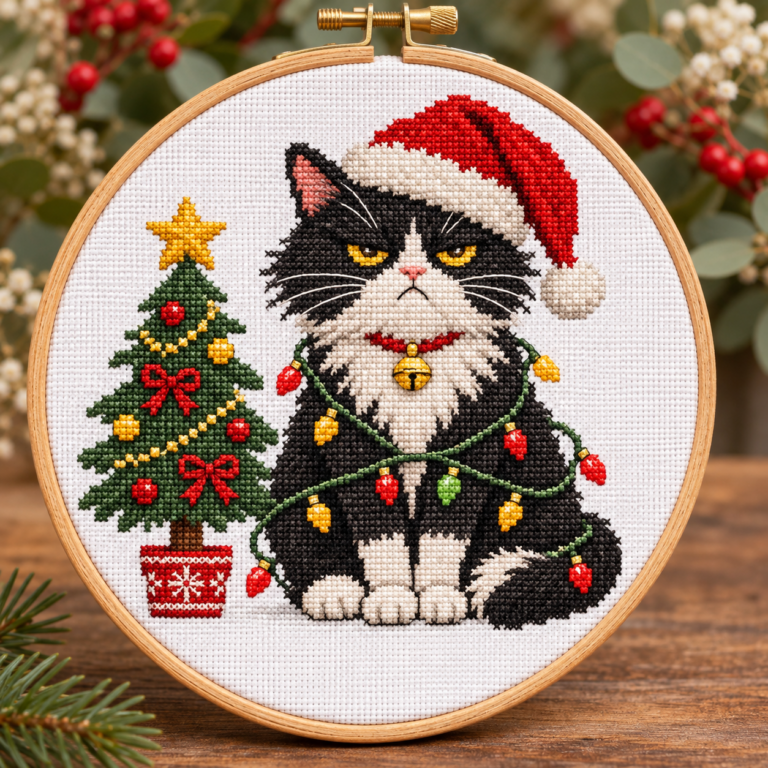

A single snowflake can become several different winter gifts. Stitch it once in dark blue for an aperture card, or use a light thread on darker fabric for a hanging ornament. The chart can stay the same while the mount, spacing and backing give each finish a different character.
This guide covers the finishing decisions after you choose a pattern. It does not include a new chart. Start with the original designer’s instructions and make any colour changes on a separate working copy so the symbol key stays clear.

Choose a free chart that suits the finish
Our free snowflake chart-source guide compares download formats. For an ornament with line work, Stitching the Night Away’s snowflake and blackwork design is charted in three colours, and its author explicitly offers a single-colour approach. That permission is specific to that design; other charts may depend on colour differences.
If you want a small sewn object instead, Faby Reilly’s free Snowflake Biscornu is a different project. Its listing describes one side to stitch twice for a double-sided finish and states personal-use terms. Treat it as a biscornu project, not a ready-made circular ornament template.
Keep the branches legible in one colour
Lay your chosen floss on the actual cloth and step back. The centre, branch tips and spaces between arms should remain distinct. Very pale thread on pale fabric can look attractive close up but vanish when the ornament hangs on a tree. Start with a small stitched sample rather than trusting a screen swatch.
When simplifying a multi-colour design, mark which symbols now share one thread. Check that adjoining areas do not merge into an unreadable block. Preserve intentionally unstitched holes; filling them for extra coverage can change the snowflake’s structure.
Plan the opening before trimming anything
Measure the visible aperture or mount opening. For an Aida example, a 36-stitch-wide motif measures about 2.57 inches on 14-count and 2 inches on 18-count. These are example calculations, not specifications for the linked patterns. Add any initials, date and border to the chart dimensions before calculating.
Make a paper template of a circular or oval opening and place it over the work. A rectangular bounding box can fit the centre but lose its corners under the mount. Leave enough fabric outside the visible opening for your chosen securing method.
Finish a flat hanging ornament
Prepare the front. Complete the chart and any finishing stitches before mounting. Follow the materials’ care instructions, let the work dry if washed and smooth it appropriately from the reverse. Avoid flattening raised embellishments.
Build the mount. Cut a backing shape that fits the planned outline. If using padding, keep it thin enough that branch detail stays visible and the finished edge does not bulge. Test all layers together before attaching the fabric.
Secure the fabric. Wrap or lace the margin evenly so the snowflake stays centred. Work opposite sides gradually rather than pulling one corner tight. Check the front repeatedly for distortion.
Add a loop and back. Secure the hanging loop to the backing structure rather than relying on a few visible stitches at the top. Cover the reverse with a neat finishing layer. Test the loop gently before hanging the ornament.
Make a card version without excess bulk
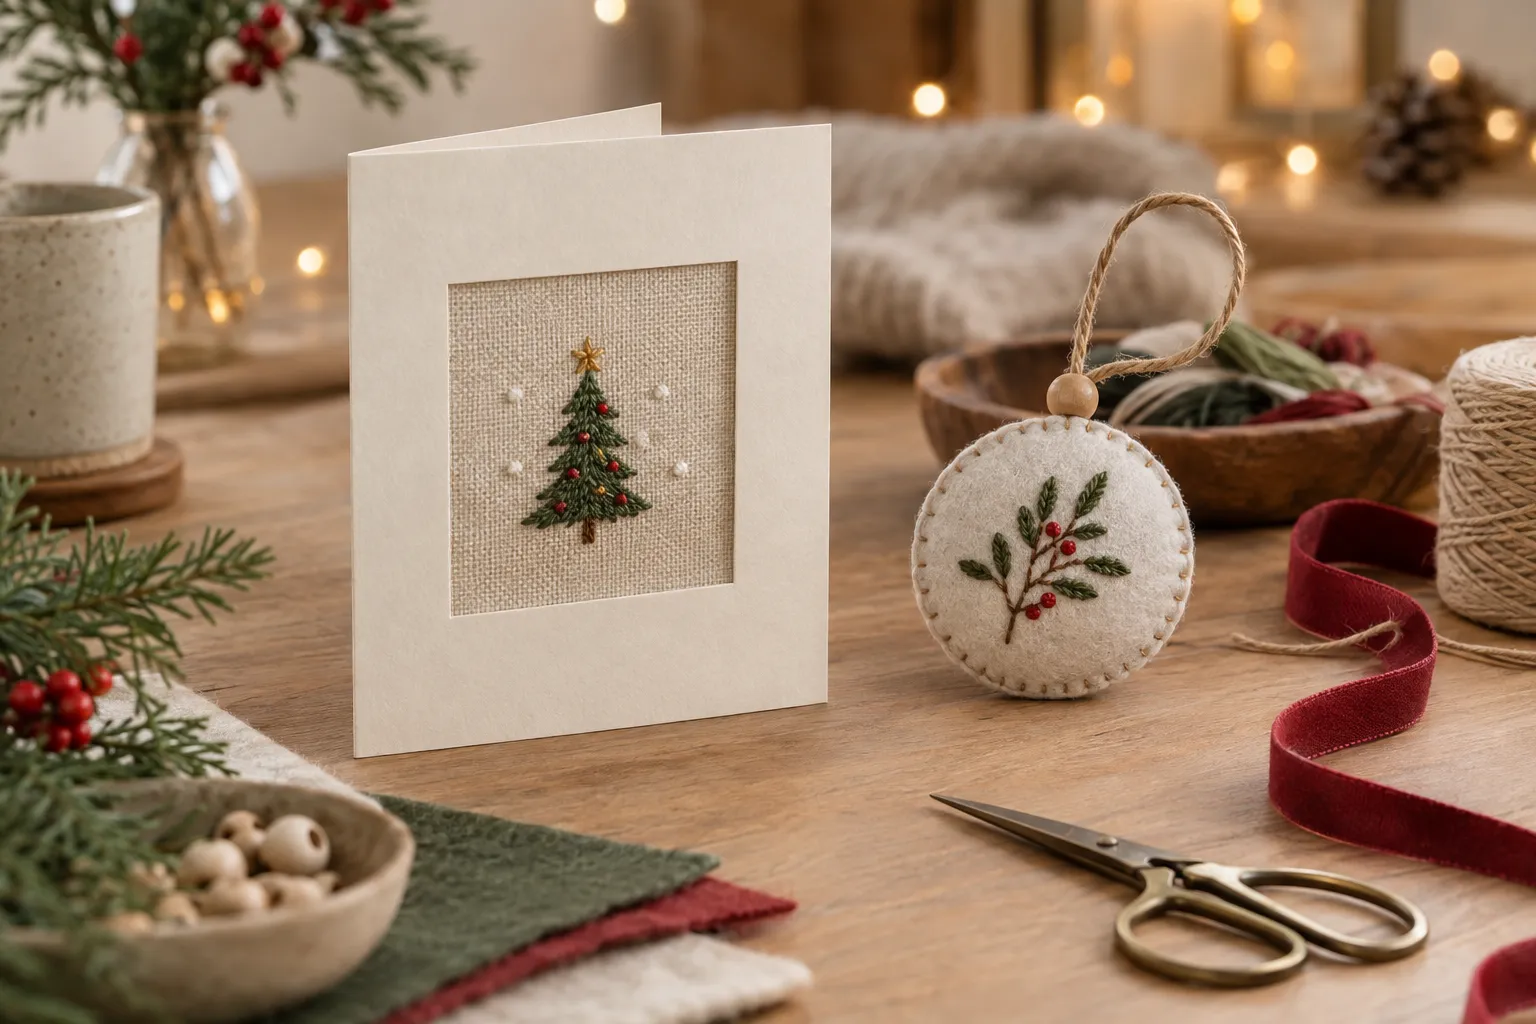
For a card, skip padding unless the blank is designed for a raised insert. Check the envelope before adding bows or beads. Position the stitching behind the aperture, secure outside the visible design and cover raw edges with the inside panel. The backstitch alphabet offered by some charts can provide a name, but a handwritten greeting inside often leaves more space around the flake.
Our mini Christmas card-making guide explains aperture measurements in detail. Complete one sample before cutting fabric for a set; small variations in commercial card windows can affect alignment.
A coordinated set without copying every finish
Keep one thread family and repeat the same backing colour across several ornaments. Vary only one detail, such as the ribbon, initials or mount shape. This creates a cohesive set without requiring a completely new chart for every piece. Choose chart adaptations only within the designer’s stated terms.
Record the fabric count, mount dimensions and ribbon length after the successful sample. Those notes are more useful than a guessed stitching-time promise. Reserve a separate session for backing and loops so the stitched fronts do not remain unfinished when the gifting deadline arrives.
Finishing questions
Can I cut directly around a snowflake on Aida? Do not assume the fabric will hold like a solid appliqué shape. Ordinary Aida needs a suitable margin and finishing method. A narrow stitched arm can be damaged by trimming too closely.
Does changing to one colour remove backstitch? No. Colour and stitch type are separate instructions. Follow every required line in the chart.
Where can I learn a different finish? See how to make cross stitch Christmas ornaments for additional mounting choices. For gift sets, the small-gift batch-stitching plan helps organise fronts and backs.
External free-pattern pages checked on 27 October 2026. Photos and editorial illustrations show winter or finishing inspiration, not verified stitched examples of those charts.