

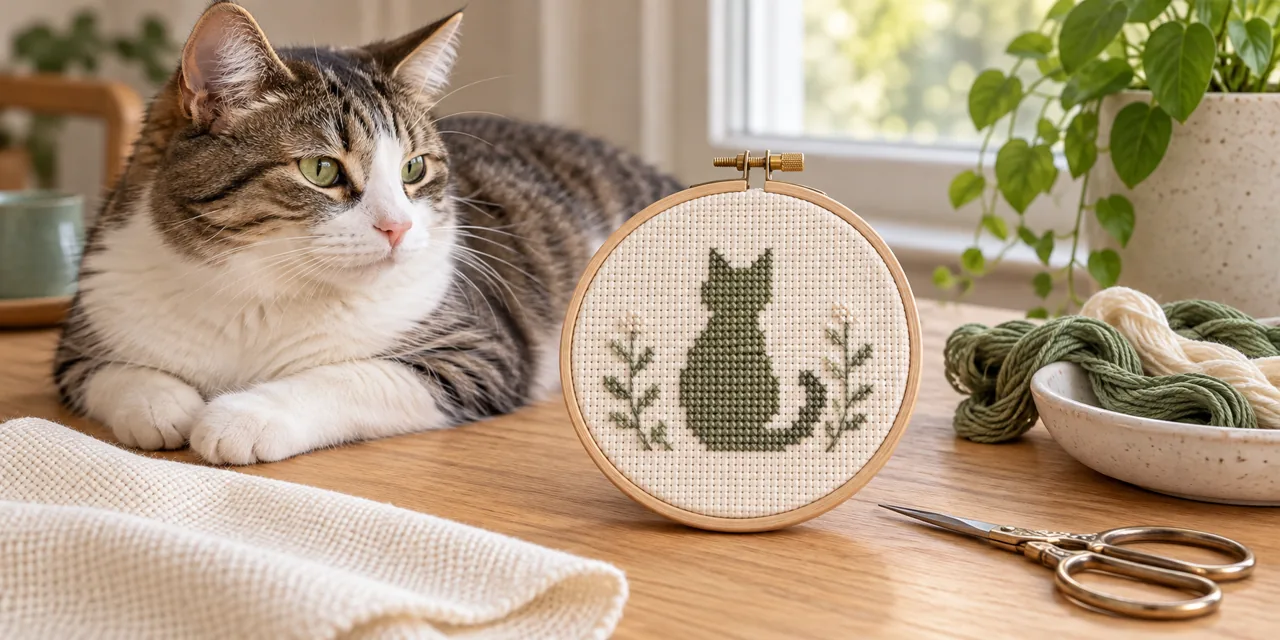
A cross stitch cat is easiest to recognize when its outline communicates the pose before the viewer notices the eyes or coat markings. A curled sleeper, a sitting silhouette and a face-on portrait need different amounts of space. Choose the pose to suit the finished object, then check that the actual chart preserves the features you care about. A pretty preview alone cannot tell you how comfortably the design will stitch.
In this guide
- Start with the outline, then consider the detail
- Match the pose to the available shape
- Calculate the stitched area before cutting
- Check ears, eyes and tail at chart scale
- Make a small contrast test
- A practical stitching sequence
- Questions before you start
Start with the outline, then consider the detail
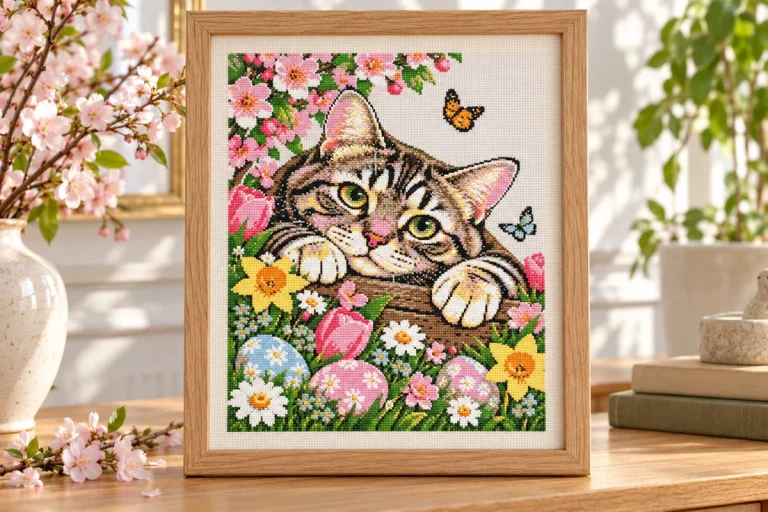
This guide is about composition and readability. For a broader comparison of silhouettes, tabby coats and portraits, use our guide to cross stitch patterns of cats. The illustrations here show ideas rather than purchasable charts.
Match the pose to the available shape
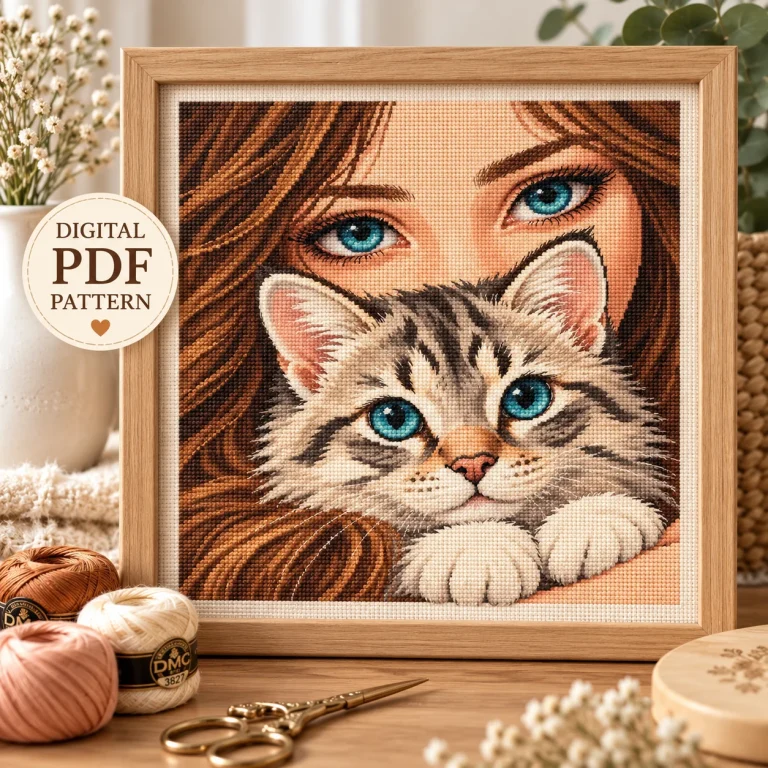
A sitting cat often works in a tall, narrow opening. Its upright ears and tail can carry much of the character even with few colors. A sleeping cat usually needs more width: keep enough empty fabric around the curved back so it does not look squeezed into the frame. A face-on portrait benefits from room for the eyes, muzzle and cheeks, which may disappear when a detailed reference is reduced too far.
Before buying or starting a chart, sketch its stitch boundary on paper. Hold that rectangle inside your intended hoop, card aperture or frame opening. This simple check catches a tail that would fall behind a mat or ears that sit uncomfortably close to the edge. Count any backstitch extending outside the full crosses as part of the visible design.
Calculate the stitched area before cutting
For ordinary cross stitch worked over one Aida square, divide stitch width and height by the fabric count. A hypothetical 42 × 56-stitch sitting cat measures 3 × 4 inches on 14-count Aida. On 16-count it measures about 2.63 × 3.5 inches. These are design dimensions, not fabric cutting dimensions.
If you allow 3 inches of working and finishing margin on every side of the 14-count example, start with approximately 9 × 10 inches of fabric. A different mounting method may need a different allowance. Confirm it before cutting. Our fabric size guide explains the calculation in more detail. Changing the print size of the chart does not change the stitched size.
Check ears, eyes and tail at chart scale
Look at the chart rather than only the mockup. Are the ears distinct from the background? Does the tail join the body clearly? Can you follow the nose and eyes without guessing which symbol belongs where? A few isolated highlight stitches may be important, but scattered single stitches across the entire coat can add more counting than a small design suggests.
For an expressive face, preserve the relative positions of the eyes and nose when considering edits. Moving one eye by a square can matter more than changing several stitches in a large background. If you want an easier first project, choose a deliberate silhouette or simplified face instead of trying to simplify a detailed portrait yourself.
Make a small contrast test
Place the main floss colors on the actual fabric in daylight. Stitch a small sample using the intended strand count and needle. Check the darkest area, a light highlight and any fine outline against the cloth. A cream cat on cream Aida may need a darker outline; black stitching on white fabric may show small gaps that are less noticeable on a softer background.
Use the chart’s strand instructions as your starting point. If none are supplied, test two strands of stranded cotton on 14-count Aida before committing. More strands can improve coverage but also crowd holes and make details bulky. See our strand coverage guide for the tradeoffs.
A practical stitching sequence
Find the chart center and fabric center, then choose a connected section with clear landmarks. Establish the head-to-body relationship before adding distant tail or whisker stitches. Work in manageable sections, checking counts against more than one completed feature. Add backstitch after the crosses if the chart specifies it, and keep the top leg of each cross running in the same direction.
DMC’s cross stitch learning resources provide additional technique guidance. For a simple starting exercise, try our easy cat silhouette chart. Choose the chart for its actual stitch instructions and dimensions, not a promise of finishing in a particular number of hours.
Questions before you start
Can I turn any cat photograph into a small silhouette? A distinctive outer contour may work, but a silhouette removes coat and facial information. Select a pose with clear ears and tail rather than expecting color details to survive.
Will higher-count Aida add detail? It makes the same chart smaller. It does not add new stitches or recover information missing from the chart.
Should I fill every background square? Only if the chart calls for it. Unstitched fabric can be an intentional part of the composition and should remain clear of visible carried dark thread.
 English
 French
 Spanish
 German
 Arabic