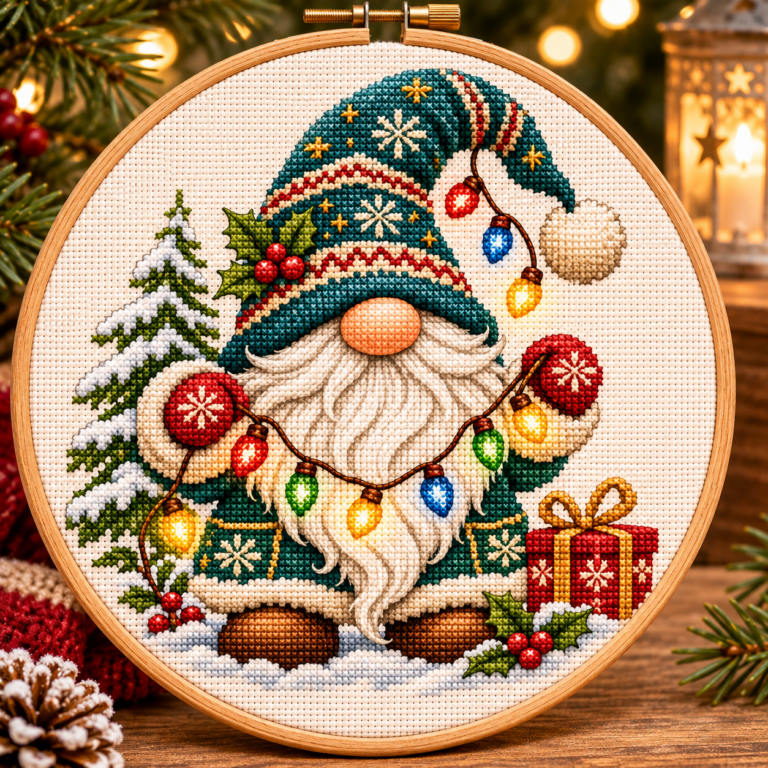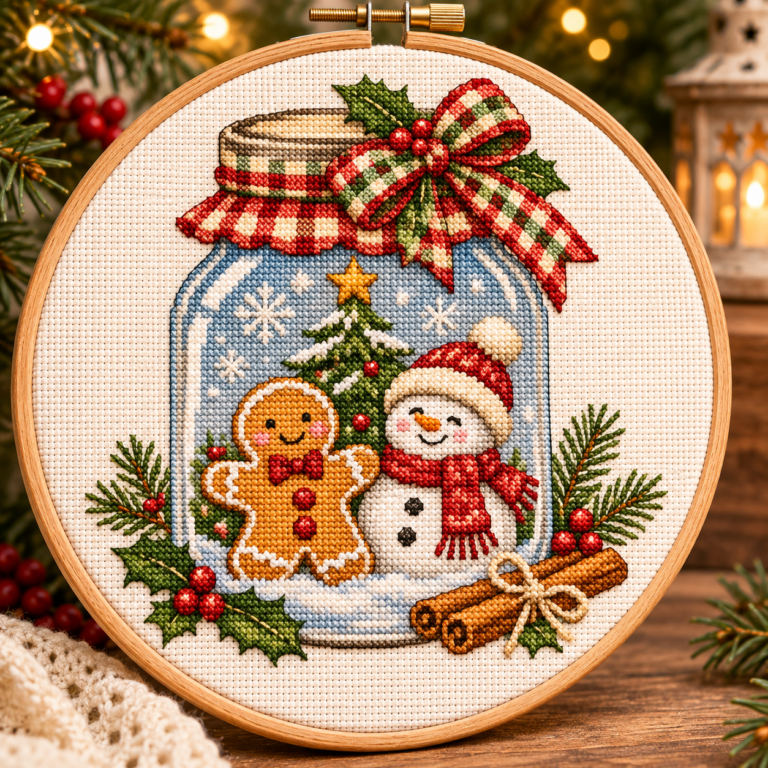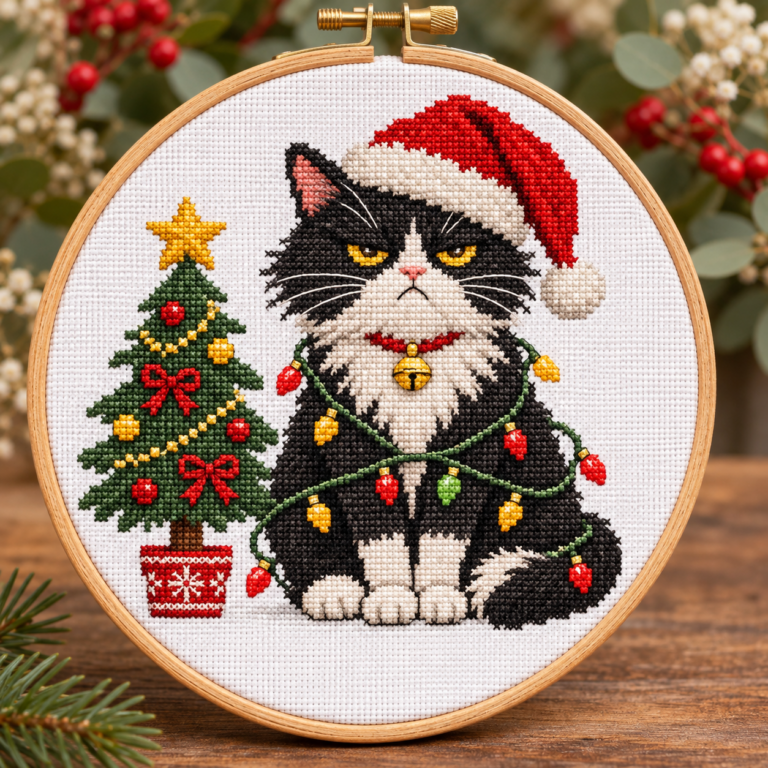

A robin perched on a snowy branch, a lantern held close and an evergreen hat trimmed with pinecones: our Christmas gnome cross stitch pattern brings these woodland details together in one generous square design. If you enjoy a project with a clear character and plenty of detail to return to, this snowy scene offers a seasonal piece to plan around. Another winter option is our holiday gnome with lights cross stitch guide, which covers a smaller source grid and multicolor light strings. For instant-download buying tips and gnome designs throughout the year, read our cute gnome cross stitch pattern guide.
Before choosing your fabric or frame, start with the numbers. This design has a 300 × 300-stitch grid and a 13-colour DMC key. That makes it a substantial project, even with a relatively compact thread palette. Here is what the PDF contains and how to plan a finish that gives the robin, hat and lantern room to show.
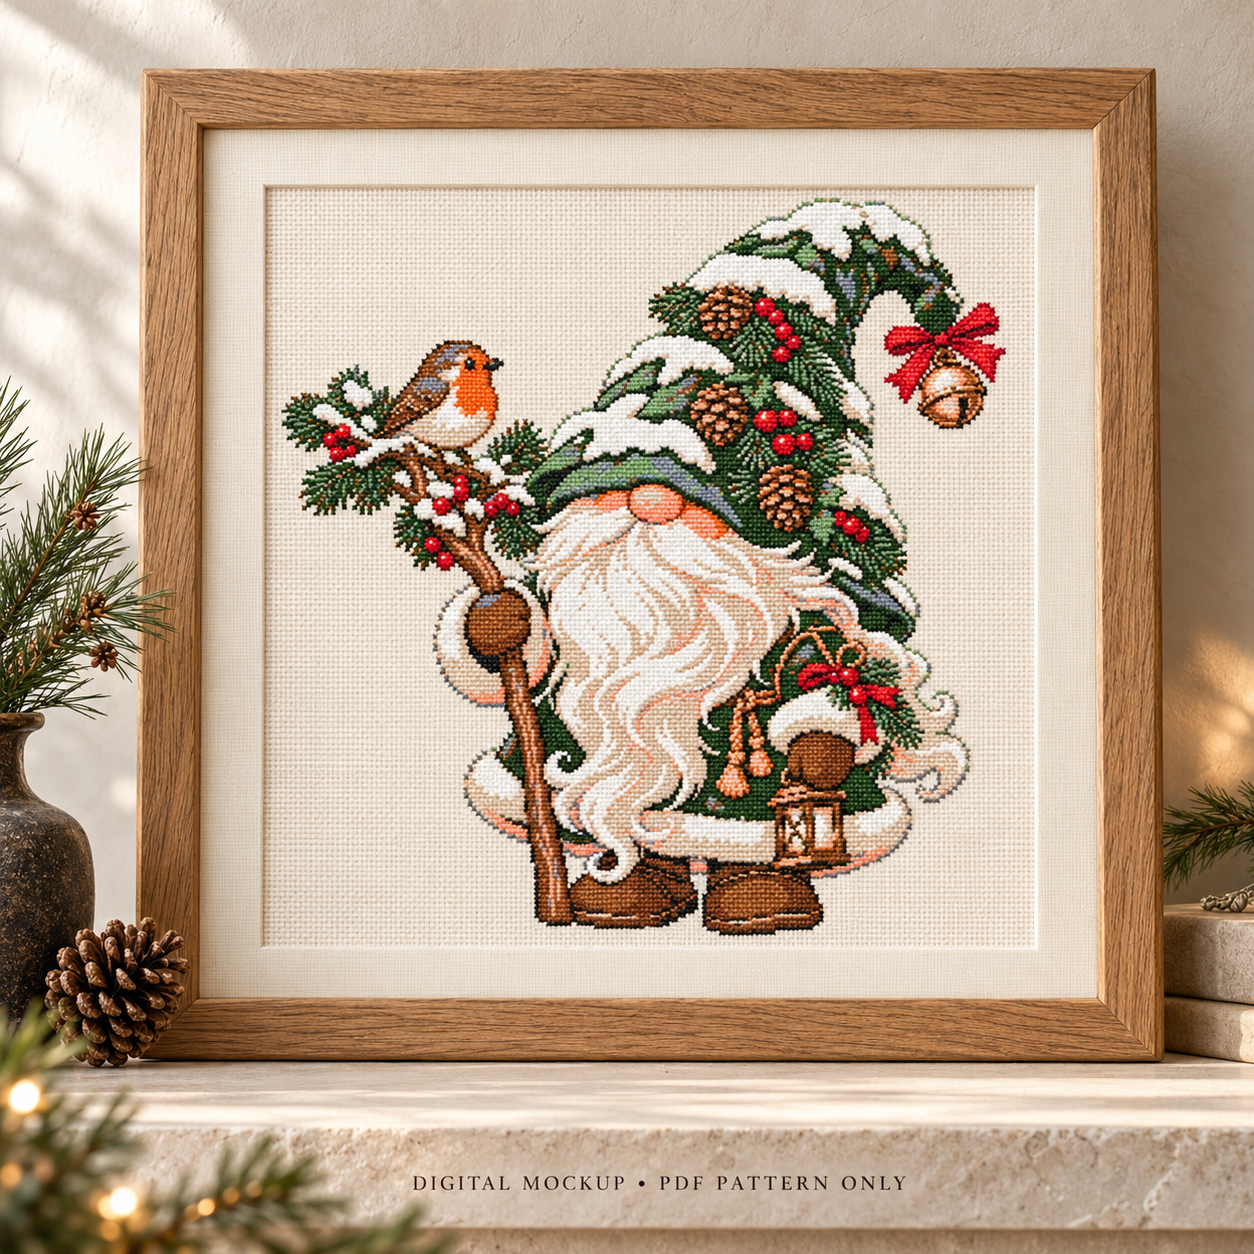
A snowy woodland scene with a character of its own
The gnome’s tall green hat provides the main silhouette, with white snow, red berries and pinecones breaking up the evergreen tones. A bell with a red bow hangs from the tip. On the opposite side, the robin adds a warm orange accent above the staff. The long white beard leads the eye down to brown boots and the lantern at the gnome’s side.
For display, let those details lead the styling. Natural wood echoes the staff and boots, while a quiet ivory mount gives the hat and bird some breathing room. A brass-toned frame offers a warmer alternative. These are finishing ideas rather than included materials, and the mockups illustrate a possible presentation rather than an exact stitched result.
What is included in the downloadable PDF?
The supplied file is one 26-page A4 PDF: a cover with a digital design preview, 24 colour-symbol chart pages and a DMC floss key. The chart is divided across pages rather than compressed into a single small working grid. The key lists 13 DMC colours and recommends two strands for cross stitch.
Adding the cross counts printed in the floss key gives 46,541 stitches. That total comes from the key; it is not an independent recount of every chart square. The 300 × 300 grid describes the design area, so it should not be read as 90,000 stitches to complete. Blank chart squares and white-thread symbols are different: follow the key for the snow and beard instead of treating every white area as unstitched fabric.
This is a digital pattern, not a kit. Fabric, thread, needle, hoop or frame and finished embroidery are not included. The supplied PDF contains a colour-symbol chart; it does not include a separate black-and-white chart.
How large will the gnome be on your Aida?
When stitching one cross over one Aida square, divide the grid width by the fabric count to find the width in inches. For this design, that is 300 ÷ fabric count. Because the grid is square, the height is the same. Multiply the inch measurement by 2.54 for centimetres.
14-count Aida: approximately 21.43 × 21.43 inches (54.43 × 54.43 cm). This produces the largest finish of the options here.
16-count Aida: approximately 18.75 × 18.75 inches (47.63 × 47.63 cm).
18-count Aida: approximately 16.67 × 16.67 inches (42.33 × 42.33 cm).
20-count Aida: approximately 15 × 15 inches (38.10 × 38.10 cm).
These are calculated dimensions for the full grid, rounded for planning. They exclude fabric allowances, mats and the frame itself. Choosing a higher count reduces the physical size; it does not reduce the number of charted stitches.
Allow room for stitching and framing
Choose your finishing method before cutting the cloth. As a worked example, allowing three inches on every side of the 16-count grid means adding six inches to both its width and height: 18.75 + 6 = 24.75 inches. A fabric cut of 25 × 25 inches would exceed that example allowance. Your framer or mounting method may require a different margin, so confirm it first.
A square mount can suit the design, but avoid a tight opening that crowds the bell, robin or boots. The frame’s advertised size may refer to its opening rather than its outer dimensions. Measure the stitched work and decide how much visible fabric to show before ordering a final frame.
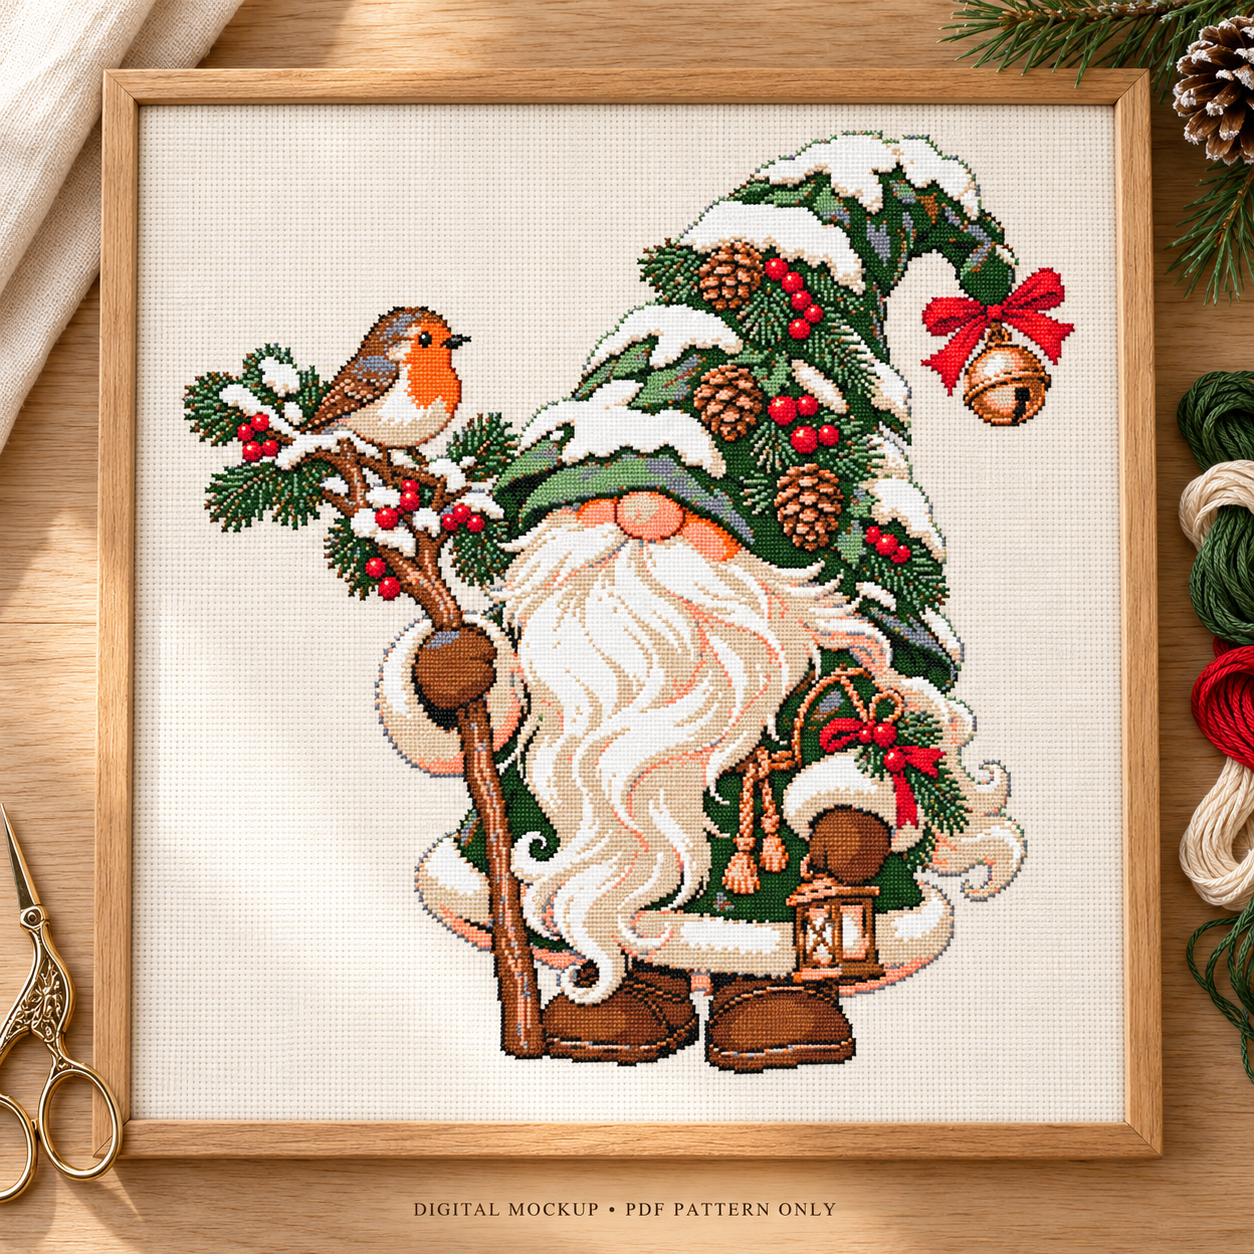
Plan the chart in manageable sections
Save an untouched copy of the PDF before marking progress on a working copy. Read the floss key, match each symbol to its thread number and check the page coordinates before you begin. When a boundary coordinate repeats across adjoining pages, use it to align the sections and avoid counting the same area twice.
Choose a clear reference point and verify nearby shapes as you work. The hat brim, nose and beard provide useful visual landmarks; the robin and lantern reward careful counting because their small outlines carry much of their identity. Organising similar light shades separately can also make it easier to keep the snow and beard symbols straight.
Thirteen colours does not automatically mean a quick or beginner project. Scale, scattered stitches and repeated colour changes also affect the work. Review the sample chart on the product page and choose a pace that suits you rather than relying on a mockup to estimate completion time.
Questions to check before you start
Can I use Pattern Keeper or Markup R-XP? Compatibility with these apps has not been tested for this file. Plan to use a PDF reader or printed chart unless you have independently confirmed your preferred app can read it.
How much floss should I buy? Use the actual DMC key as your starting point. Per-colour stitch counts are included, but they are not a verified shopping list in skeins. Fabric count, strand use and working habits affect thread consumption.
Will my embroidery look exactly like the photographs? The images shown here are digital mockups. They offer framing and styling inspiration, not proof of a test-stitched finish or an exact match between screen colours and physical thread.
Explore the Christmas gnome pattern
Ready to see the design and its download details? Visit the Christmas gnome cross stitch pattern with robin and lantern product page. Check the chart preview, choose your fabric count and plan your finishing margin before gathering supplies.
For more help with the chart, read our guide to reading a cross stitch PDF pattern. Our woodland gnome stitching guide covers broader project-selection and stitching ideas.