

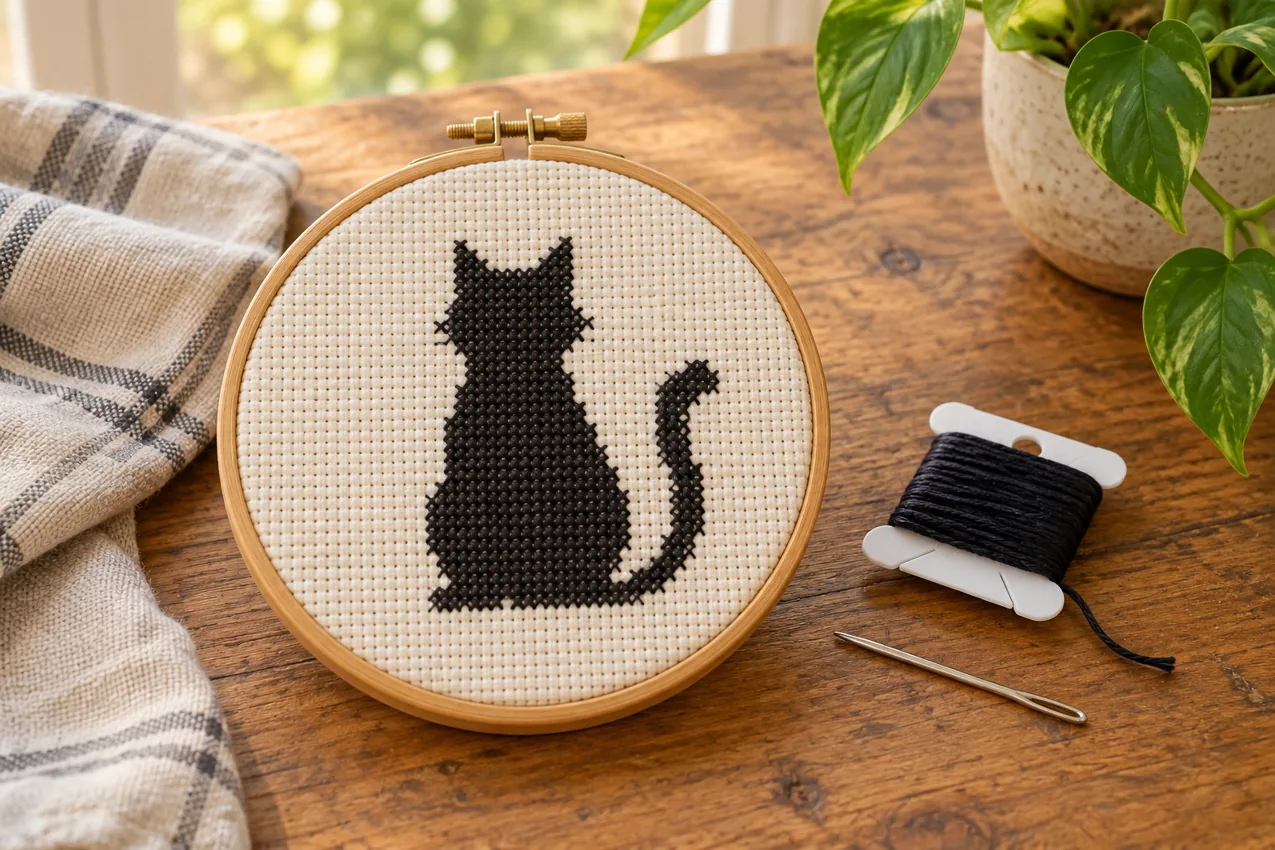
Easy cat cross stitch patterns work best when the instructions are as simple as the picture. This original silhouette uses one thread color, full crosses and a 16 × 16-square chart area. There are no fractional stitches, backstitch lines or French knots. The counted grid below is the pattern; the generated cover illustration is only an editorial image and is not a stitch-by-stitch preview.
In this guide
- A small cat with one color and full crosses
- Materials and finished size
- Read the free symbol chart
- Stitch the motif step by step
- Change the look without changing the grid
- Finish and use the chart responsibly
- Beginner questions
A small cat with one color and full crosses
The design is a practice motif with pointed ears, a compact body and a raised tail. It has not been physically test-stitched. Read the whole grid and size instructions before starting. For a first introduction to tools and tension, use our beginner cross stitch guide.
Materials and finished size
You need Aida, one color of stranded cotton, a suitable blunt tapestry needle, scissors and a hoop if you prefer one. Two strands of cotton on 14-count Aida are a useful starting point for a small coverage sample; adjust only after testing your materials. Choose thread that contrasts with the fabric.
The full chart area measures approximately 1.14 × 1.14 inches on 14-count Aida, 1 × 1 inch on 16-count, or 0.89 × 0.89 inches on 18-count. These figures include the blank border within the 16-square grid. Add separate working and finishing margins outside that area. A 5 × 5-inch scrap on 14-count provides roughly 1.93 inches around each side of the chart area, but confirm that it suits your hoop and finish.
Read the free symbol chart
Each X means one full cross in your chosen color. Each dot is an unstitched square. Row labels are not stitches. Work the rows in the displayed order, with row 01 at the top; all 16 columns are included in every row. The center lies between columns 8 and 9 and between rows 8 and 9.
   1234567890123456
01 ................
02 ...X...X........
03 ...XX.XX........
04 ...XXXXX........
05 ...XXXXX........
06 ....XXX.........
07 ....XXXXX....X..
08 ...XXXXXXX...X..
09 ...XXXXXXX...X..
10 ...XXXXXXX...X..
11 ...XXXXXXXX.XX..
12 ...XXXXXXXXXXX..
13 ...XXXXXXXXXX...
14 ....XXXXXXXX....
15 ................
16 ................
Print the grid in a monospaced font if you use a paper working copy. Count the dots as spaces on the fabric, but do not stitch them. Keep the left and right chart boundaries consistent when moving between rows.
Stitch the motif step by step
Find the center of the fabric by gently folding it in both directions or by measuring. Establish where the chart’s top-left square will sit relative to that center. If counting from a corner is unfamiliar, mark a temporary 16-square boundary with basting outside the visible motif. Check it before stitching.
Begin in a connected body section and build outward to the head and tail. Complete rows of lower diagonal legs and return with the upper legs if that method is comfortable, or finish each cross individually. Keep every upper leg running in the same direction. Recount the gap between the tail and the body so the outline stays recognizable.
Secure the start and finish under nearby stitches or use a suitable loop start with an even working strand count. Avoid a large knot that could form a bump in a card or mount. DMC’s technique resources explain common starts and basic stitches.
Change the look without changing the grid
Try charcoal on ivory for a soft silhouette or dark blue on pale grey for a cooler result. Use one color throughout for the simplest count. If you use variegated floss, complete each cross before moving on when you want the color sequence to stay more distinct.
The tiny design has no facial stitches. Adding eyes or a nose changes its style and may weaken the silhouette at this scale. If you want a striped cat or realistic portrait, choose a chart drawn for those details. Our cat pattern comparison explains that choice.
Finish and use the chart responsibly
Check for missed X symbols before removing the work from the hoop. Leave trimming until you have chosen a card, small frame or other finish. For cards, follow our aperture sizing and mounting guide. If your fabric edges are loose, secure them before further handling.
You may stitch this original practice motif for yourself or as a gift. You may link to this page, but do not repost the chart or sell the chart file. The grid is available on the page without an email signup. This is a free chart, not a downloadable commercial product.
Beginner questions
Can I stitch on a different fabric count? Yes. Divide 16 by the stitches per inch for the full chart area, then add your margins.
Does enlarging the print make the cat larger? No; it makes the symbols easier to read. Fabric count determines the physical size.
Can I leave out the tail? That changes the design. Work from a marked planning copy so you do not lose your place in the original grid.
 English
 French
 Spanish
 German
 Arabic