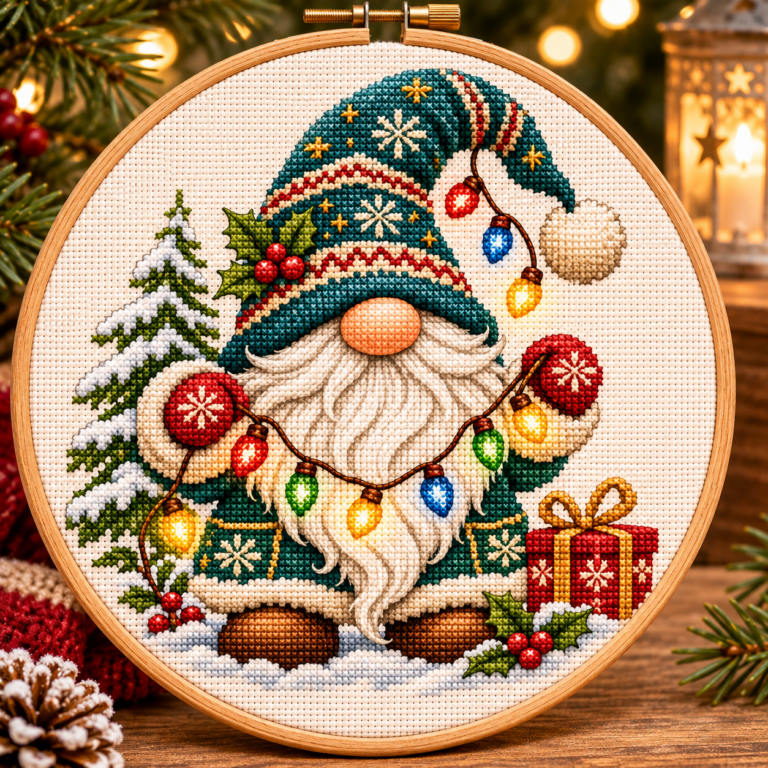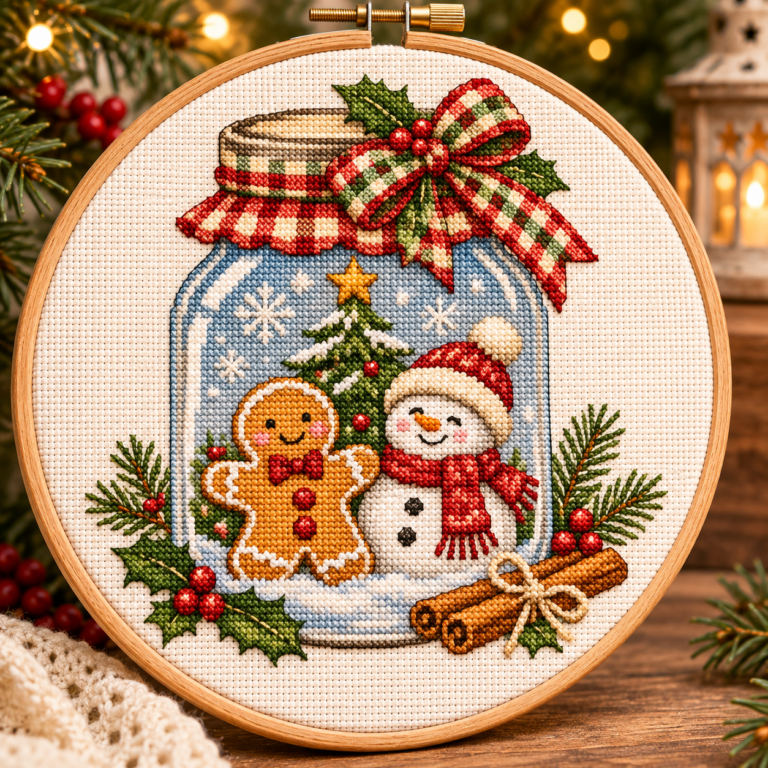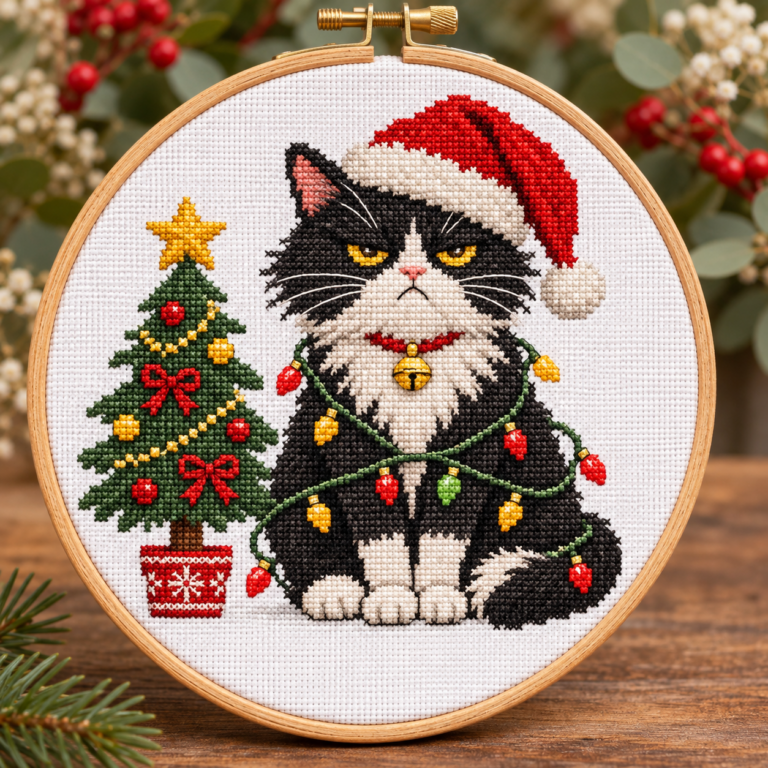

The hardest part of making several Small Cross Stitch Christmas Gifts is often the finishing queue. Six stitched fronts can feel like good progress until they all need pressing, backing and hanging loops on the same evening. A repeatable plan starts with one completely finished sample. A Christmas jar cross stitch project with snowman and gingerbread characters is another thoughtful holiday-gift theme to size and finish carefully. If you are considering a more detailed pet-lover gift, compare the fabric size and finishing work in our funny Christmas cat cross stitch guide.
This guide shows how to organise a small batch using a free chart you have legitimately downloaded. It is a workflow for cards, tags or ornaments, not a claim that a particular motif takes a fixed number of hours. Use the actual design and your own stitching pace to set the quantity.
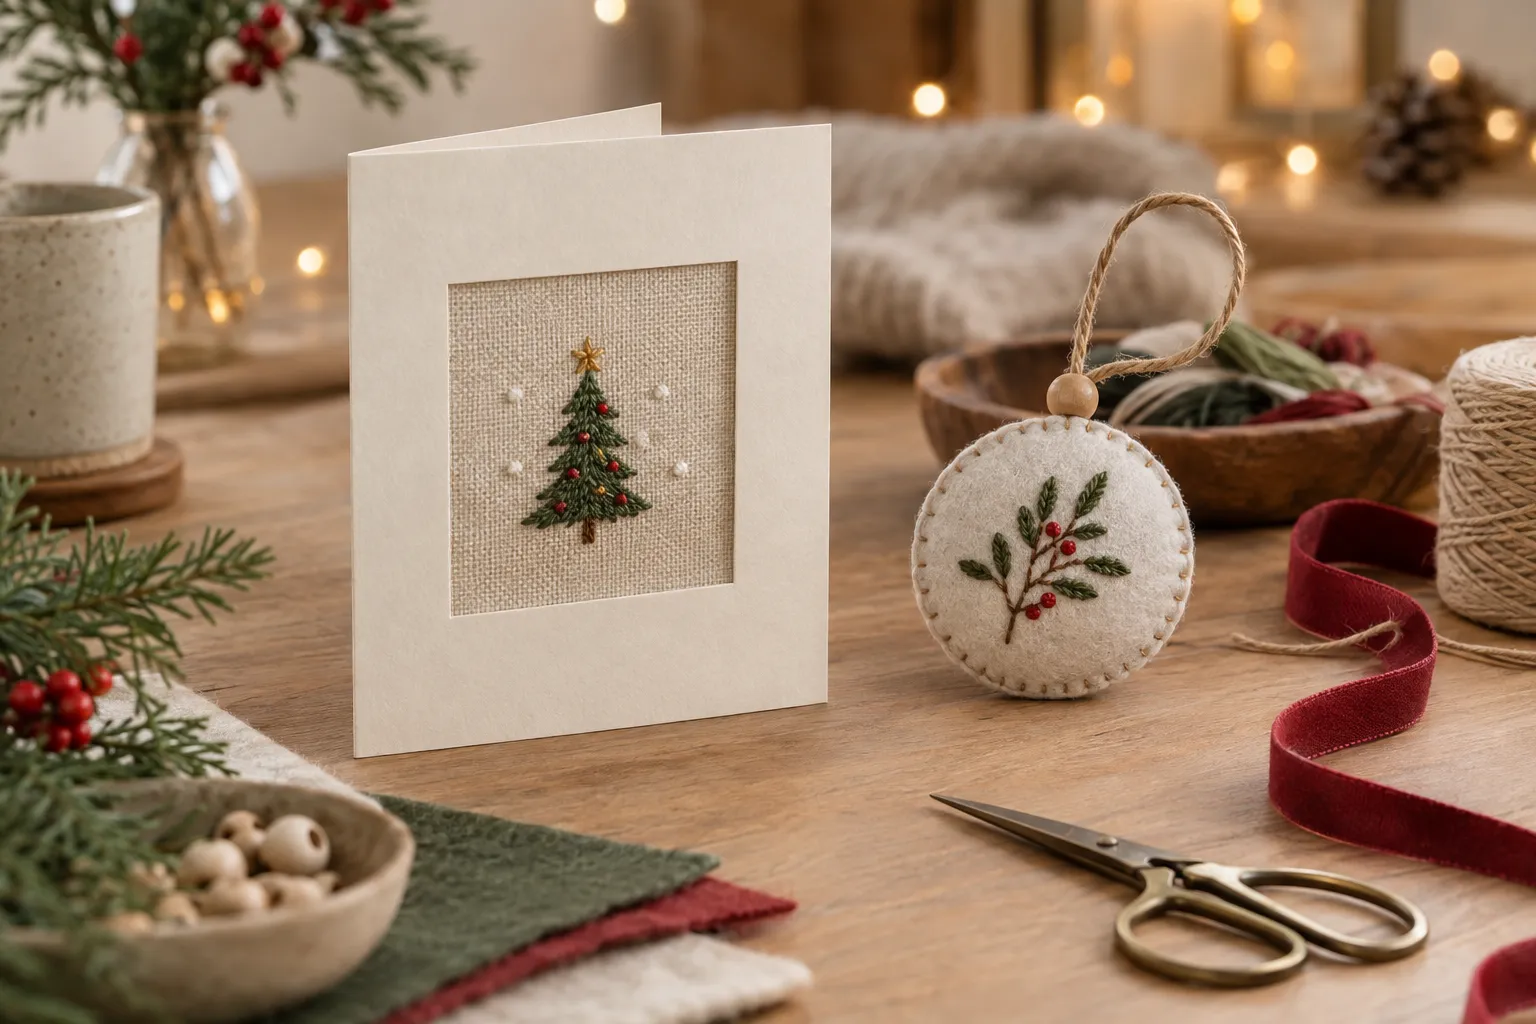
Pick one base project and one finish
For a range of compact seasonal motifs, compare Craft with Cartwright’s free Christmas gift-tag collection. If you prefer a single subject, the free small Christmas bells page offers colour and backstitched download versions. Check the chart dimensions and select the version you intend to follow before preparing a batch.
For other winter subjects, Tiny Modernist’s free library includes named seasonal entries. Its free-pattern page states personal-use terms. Inspect your chosen PDF rather than assuming each freebie is mini or equally suited to cards.
Choose one finish for the batch: all flat ornaments, all aperture cards or all backed tags. A matching family of objects needs fewer different mounting supplies than a mixture of hoops, sewn cushions and cards. Keep a separate list for any special gift that needs a different construction method.
Stage 1: finish one sample from start to wrapping
Download and save the chart, organise the key, cut one fabric piece with an adequate margin and stitch the complete design. Finish all backstitch or embellishments. Then mount it, close the back, attach the loop if needed and try its packaging.
Record the decisions that worked: fabric count, visible opening, fabric cut, backing shape, loop length and mounting method. If the motif barely fits or the card will not close, change the plan now. Repeating an awkward finish does not make it easier.
Stage 2: make a materials sheet
For an example batch of six ornaments, list six fronts, six backing pieces and six hanging loops, plus a separate practice piece if you want one. Count what you actually have. Floss quantities cannot be inferred reliably from the number of colours alone; follow any designer quantities and allow for your working method.
Measure reusable templates from the successful sample. Label each fabric cut without placing a permanent mark in a visible area. Keep the exact thread number with each working length so similar reds or greens do not become mixed.

Stage 3: estimate with your own sample
Use your measured stitching time as a starting point, then add finishing time and a contingency. For illustration, if one sample actually took you two hours to stitch and half an hour to finish, six similar pieces would suggest 15 hours before extra preparation and interruptions. That is a hypothetical calculation, not a promised speed for any linked chart.
If the available time is shorter, reduce the number of gifts or choose a simpler finish. Do not rely on higher-count fabric to reduce the workload: it makes the same crosses physically smaller, but the charted stitches remain.
Stage 4: batch repeated tasks without losing your place
Prepare together. Sort fabric cuts and backing pieces once the sample dimensions are confirmed. Keep fronts paired with their intended recipient if you are adding different initials.
Stitch in controlled groups. You might work the same colour on two pieces, then complete their motifs before moving on. Avoid spreading half-finished work across every gift if it makes counting or thread identification harder.
Check before finishing. Compare each front with the chart. Look for missing backstitch, one-square shifts and stray tails while corrections are still accessible. Check personalised lettering against your written list.
Mount and pack. Finish a few pieces at a time, keeping a completed sample beside you for alignment. Test loops and closures gently. Put each gift into its actual envelope, sleeve or box before considering it ready.
Keep a simple progress record
Use four columns on paper: stitched, checked, backed and packed. Tick an item only when that stage is complete. This makes a small remaining task visible: a finished-looking ornament may still need its loop secured, and an apparently complete card may still need an inside panel.
Reserve the last available making session for corrections and packaging rather than assuming new stitching will fit into it. Check real postal deadlines and parcel rules directly with your carrier if the gifts will be mailed.
Make the batch personal without multiplying work
Repeat one cloth and backing combination, then change the paper message, ribbon or recipient label. These small finishing choices distinguish gifts without demanding a new chart every time. If adding stitched initials, plot them first and confirm that the complete design still fits.
Use the chart within the designer’s stated terms and link friends to the original source instead of distributing the file. If you plan to sell finished items, check the specific permission before starting a production batch.
When to stop adding gifts
Stop at the quantity you can finish well. A neatly backed tag with a personal message is a complete handmade gift; an ambitious set of unmounted fronts is not. Save the tested template and notes for next year so future batches start with a proven finish.
For a matched set of miniature ornaments, start by checking the actual display diameter, not just the chart width. Our 2-inch hoop Christmas cross stitch tutorial covers fitting small patterns, selecting Aida and finishing the backs consistently.
A mixed bundle of different holiday motifs needs more chart sorting than repeating one small design. See our 16-mini Christmas PDF bundle guide for a motif-assignment board, thread organization and finishing choices; it complements the repeated-project workflow on this page.
For recipient-based ideas, read free patterns for small Christmas gifts. For the practical mount, use the card-making guide or snowflake ornament finishing guide. Source offers were checked on 27 October 2026; downloads and access requirements remain with their designers.