
There is something wonderfully funny about a tiny Scandinavian gnome caught in a tangle of Christmas lights. A bright stocking hat, a round nose, a flowing white beard and a string of glowing bulbs create the sort of holiday personality that stands out among traditional snowflakes and baubles. If you’re tired of designs that all look alike, a Christmas gnome with lights cross stitch pattern can bring a playful character to your winter stitching.
This guide takes a close look at the real FavoriteGnome Christmas Gnome with Lights digital pattern, then explains how to choose a usable PDF, calculate its Aida fabric size, organize a multicolor light string, keep a pale beard readable and finish a seasonal gift. The reference retailer describes a chart measuring 84 × 122 stitches and 38 colors. You will also find a clear separation between that existing third-party pattern and our independently created Christmas gnome illustration.
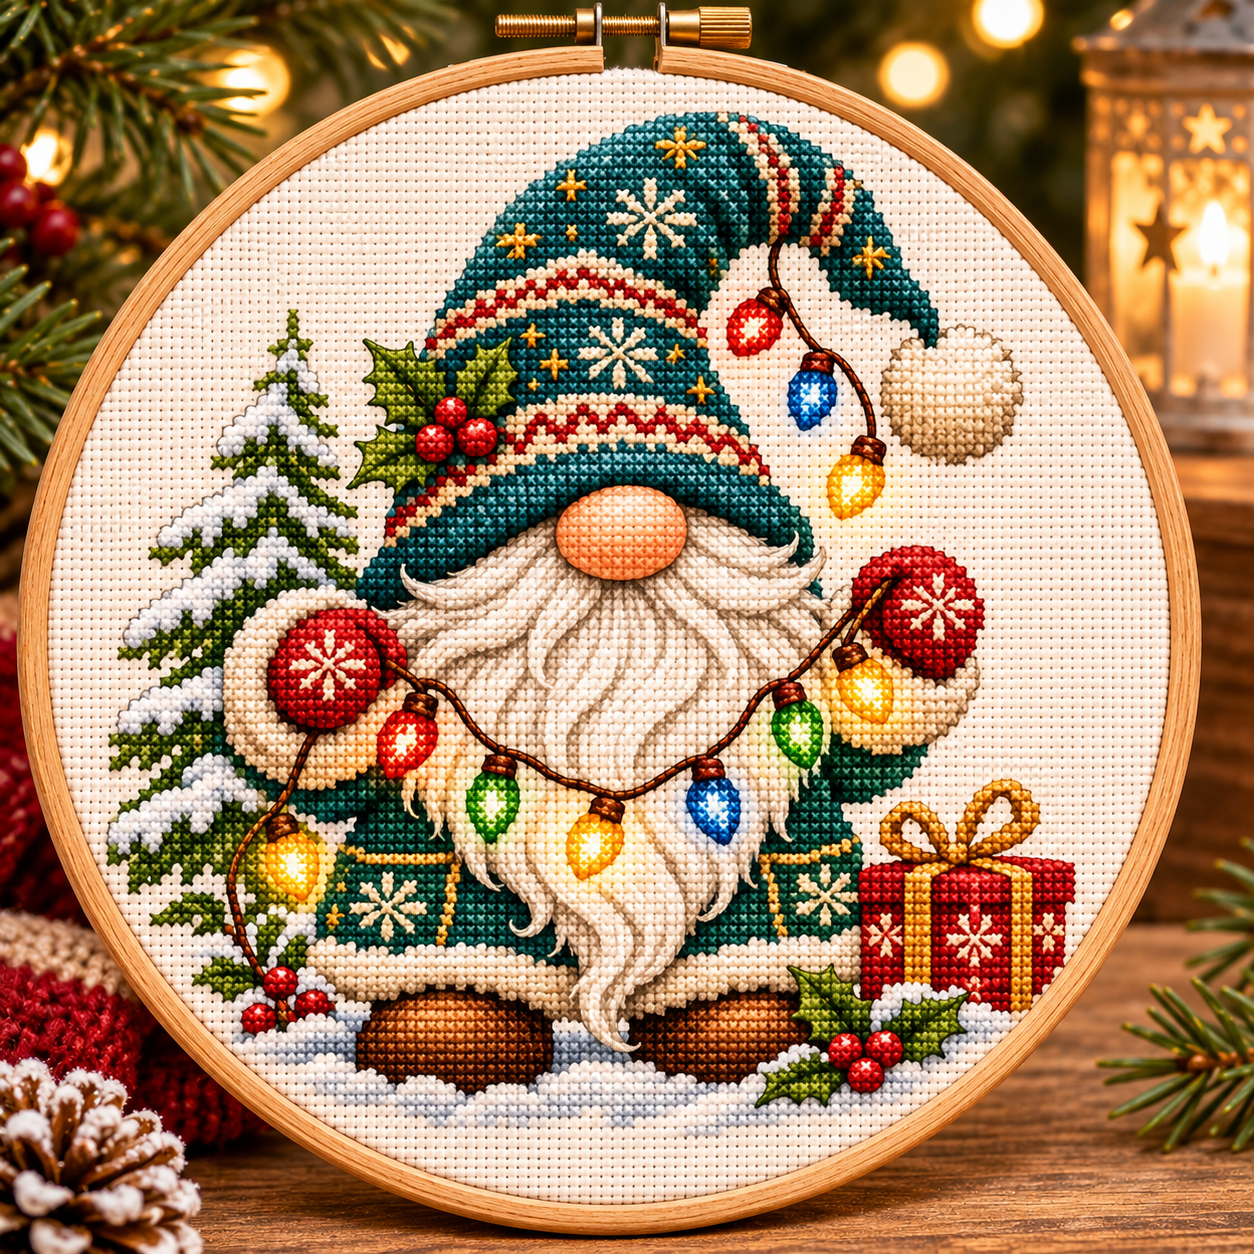
Image transparency: the gnome shown above is a newly generated XStitchPattern editorial illustration inspired by the general theme. It has a teal hat, holiday foliage and gifts that differ from the original seller’s red-hatted design. It is not a photographed stitched sample, an accurate preview of FavoriteGnome’s PDF or an XStitchPattern pattern available to download.
The original Christmas Gnome with Lights PDF: verified facts
Le FavoriteGnome Christmas Gnome with Lights Etsy listing is an independent seller’s digital design. The same named pattern is also described on Cutebroidery’s product page, which identifies FavoriteGnome and provides measurements and chart-format information. The source images show a gnome with a tall red hat, colorful holiday lights and a full flowing beard. Its decoration looks festive without requiring a traditional Christmas slogan.
| Pattern attribute | What the reference says | Why it matters |
|---|---|---|
| Designer / seller | FavoriteGnome | The original seller controls its download and license |
| Grid dimensions | 84 × 122 stitches | Use for fabric sizing and planning |
| Colors | 38 | Organize shades carefully, especially the lights |
| Thread system | DMC | Refer to the purchased key for exact codes |
| Suggested count | 14-count Aida listed with an approximately 6 × 9-inch design area | Starting point for frame selection |
| Chart options | Retailer describes color-symbol and black-and-white versions | Check your preferred reading method |
| Special technique | Retailer describes a black-and-white chart with color backstitch | Read the actual instructions for line placement |
| Delivery | Digital PDF | Not a fabric-and-floss kit |
| Usage | Personal use stated on retailer page | Do not redistribute the chart |
The retailer also advertises Pattern Keeper testing. Compatibility is a claim attached to that particular purchased source file; it is not evidence that our illustration or another gnome PDF is Pattern Keeper-compatible. Etsy and the independent retailer may package or describe downloads differently, so consult the checkout page you actually use for the number and format of files included.
One important distinction: a digital pattern can be available for instant download while its stitching takes days or weeks. Instant delivery is about access to the files, not about how quickly you can complete an 84 × 122 grid. Prices and promotions also change; use the current seller’s page instead of relying on an old discount screenshot.
Why a holiday gnome with lights works as embroidery
Nordic-style gnomes have a convenient visual structure for counted stitching. The pointed hat creates a strong silhouette; the round nose offers a central landmark; the beard supplies a large pale region; and the boots or mittens anchor the shape. A strand of Christmas bulbs adds bright spots that direct the eye from one side of the design to the other.
That makes the character charming, but it also creates a technical challenge. The bulbs are small, high-contrast details. If you accidentally shift a yellow light by one square or use a neighboring symbol’s thread, that error can draw more attention than a missing stitch in the beard. A gnome with lights is therefore a good opportunity to practice patient counting and organizing thread colors.
The hat and beard provide a clear division between warm and cool shades. In the source picture the red hat delivers most of the Christmas energy, while the white beard softens the composition. Our independently created teal-hatted illustration demonstrates a different holiday palette; it is not a substitute floss guide for the original FavoriteGnome pattern.
For comparison with other gnome aesthetics, see our cute seasonal gnome cross stitch overview or the woodland winter gnome guide. These cover alternative themes; this article focuses specifically on Christmas light strings, Aida sizing and the named source chart.
Exact fabric-size calculations for an 84 × 122-stitch gnome
The finished design size changes with the fabric count even though the number of chart squares stays the same. For Aida worked with one full cross per square, divide the stitch width by the fabric count to get inches. Repeat for the height, then multiply inches by 2.54 for centimeters.
Using the verified reference grid of 84 stitches wide and 122 high, the design rectangle—not your total fabric cut—is approximately:
| Aida count | Design width × height | Centimeters |
|---|---|---|
| 14-count | 6.00 × 8.71 inches | 15.24 × 22.13 cm |
| 16-count | 5.25 × 7.63 inches | 13.34 × 19.37 cm |
| 18-count | 4.67 × 6.78 inches | 11.85 × 17.22 cm |
Small differences between rounded sizes on a product description and your calculation are normal. The Cutebroidery retailer rounds the 14-count example to approximately 15.3 × 22.2 cm, or 6 × 9 inches. Use the chart’s true grid count to measure a particular frame. If you select a different cloth count, recalculate rather than assuming the advertised rounded finish remains the same.
For a conventional framed piece, many stitchers begin with around 2–3 inches (5–7.5 cm) of extra fabric on each side of the design. The actual allowance depends on how it will be mounted and secured. With a two-and-a-half-inch margin on each side, a 14-count 6 × 8.71-inch stitched area calls for roughly 11 × 13.71 inches of fabric before any additional trimming requirements.
Take particular care with round embroidery hoops. The source design is taller than it is wide, so a hoop advertised as six inches across will not display an 8.71-inch-tall design in full. Measure the useful inner circle and keep enough cloth outside the hoop to attach backing. A rectangular frame may be a more practical choice for this proportion.
Our guide to 14-, 16- and 18-count Aida explains the trade-offs in more detail. If the Aida you own has no packaging, learn how to identify fabric count before you cut.
How to check that a Christmas gnome PDF is useful
A good digital cross stitch download needs more than a picture. You want a readable symbol chart, a thread legend, clear dimensions and instructions for any specialty stitches. Some designers distribute color-and-symbol charts and a black-and-white version, so users can choose what works best with their eyesight and printing setup.
The source retailer describes a four-page color-symbol pattern, a four-page black-and-white version with color backstitch information, a single-page color pattern view and information about thread usage. The Etsy listing describes digital PDFs, but the exact organization of the files you receive may vary by storefront. None of these details should be applied automatically to other FavoriteGnome patterns or to this article’s editorial artwork.
Seven checks before clicking download
- Seller: confirm you are buying from the original creator or an authorized retailer.
- Grid: locate the actual width and height in stitches.
- Thread key: make sure manufacturer numbers and symbol assignments are legible.
- Backstitch: check how it is marked and whether its colors are specified.
- Pages: look for numbering and chart overlap where appropriate.
- Accessibility: choose the chart type that you can read comfortably.
- Rights: read the permissions for sharing, printing or commercial use.
Don’t confuse a photograph of an embroidered hoop with a physical kit. If a product is described as an instant PDF download, expect digital files unless the seller explicitly says it includes materials. If you want a printed chart or a whole kit, purchase one that specifically identifies those contents.
Organizing 38 colors without tangling the Christmas lights
Thirty-eight colors may sound like a lot for one little gnome, but part of the effect comes from the contrast among bright bulbs, hat shading, pale beard, nose, gloves and boots. The task is not to simplify every area into one shade. It is to keep the colors organized so the symbols remain clear throughout your stitching.
Create an organizer with one label per color listed in your actual PDF. Include the DMC number and corresponding symbol, not merely descriptions such as “light red” or “green.” Several greens can look alike on your phone, but they may serve different roles in the completed motif. A printed or permitted personal working copy of the key is useful when you move between colors.
Work the light string as a series of small neighborhoods. Each bulb has a specific location relative to the hat, beard or arm. Start from a secure landmark and count along the cable rather than guessing where a bright speck should go. The spacing matters as much as the hue because the light string is a major decorative line.
We do not provide a fictional DMC list here: the retailer confirms the number of colors and floss system, but the actual number-by-number legend belongs to the purchased files. If you substitute shades, compare real floss strands against your chosen fabric in daylight and keep enough value contrast between the main shapes.
Be careful with bright lights over pale beard regions. In a stitched chart, the pale fabric, the lamp’s yellow or white highlights and the gray beard shadows may be very close in value. Check the symbol rather than assuming the brightest square is part of a bulb. A long jump between isolated lights may create unnecessary thread carries on the reverse.
How to stitch a gnome’s beard with readable texture
The beard gives a gnome its personality, but it can be the part that causes the most confusion. White, off-white and pale gray shades look similar against ivory fabric. They also become difficult to distinguish under warm yellow lamplight. Organize neighboring shades separately and use strong working light rather than simplifying the chart at random.
Begin with a clearly identifiable area, perhaps a beard edge where it meets the darker coat, then work in smaller connected sections. This allows you to establish an outline before filling delicate pale texture. Compare the position of the nose and the beard’s central point repeatedly; one misplaced row can alter the face’s balance.
When the chart calls for backstitch along beard strands or hat edges, follow the exact plotted lines. Don’t invent outlines just because a mockup contains a fine line. If the chart uses unstitched fabric as part of the white beard, a different background color could change the look significantly. Always read the designer’s notes before swapping cloth.
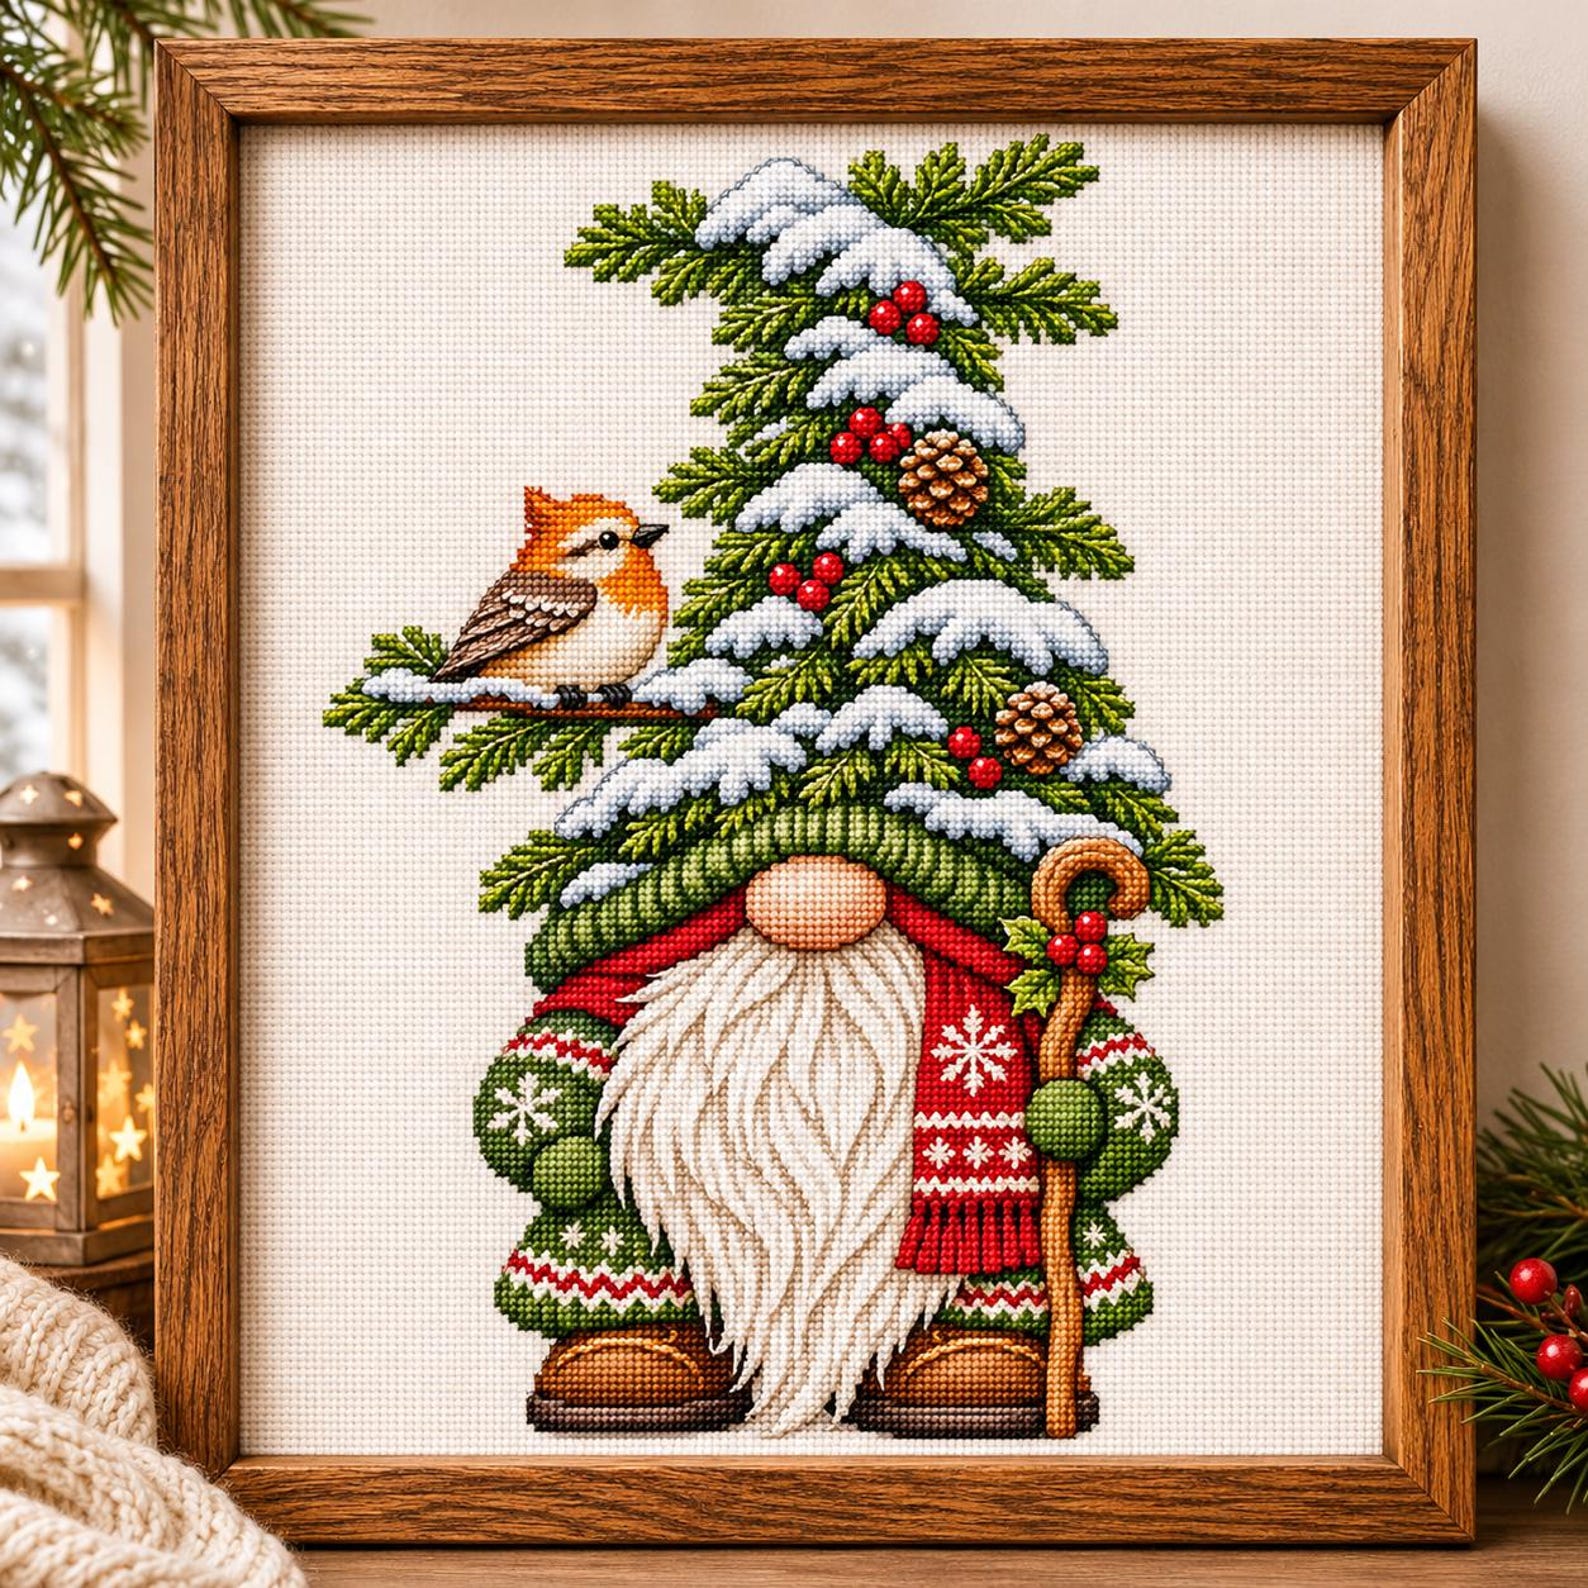
Our snowy gnome and robin fabric guide addresses a separate winter design, but its discussion of pale floss and fabric contrast may be helpful if you are considering several gnome patterns.
Supplies for a Christmas gnome with lights
| Item | What to prepare |
|---|---|
| Authorized source chart | Complete downloaded PDF and legend from the seller |
| Counted fabric | Suitable Aida count, color and framing allowance |
| DMC floss | Codes in your actual source pattern, organized individually |
| Tapestry needle | Comfortable size for chosen fabric and strands |
| Scissors | Sharp, reliable and safely stored |
| Working hoop or frame | Enough room for comfortable tension |
| Optional chart tracker | Check the purchased format’s supported features |
| Finishing supplies | Mounting board, backing, display hoop or frame as appropriate |
Stitching with children or pets nearby calls for simple precautions: store loose needles, small magnets and sharp scissors securely. If using a needle minder, remember that its magnetic pieces are not toys. Keep the chart and floss clean by working away from food, spilled drinks and smoky or damp areas.
Not every pattern requires the same number of strands or the same type of frame. Follow the specific seller’s stitching instructions rather than copying the settings from a different XStitchPattern product. A large, complex backstitched gnome and a simple two-color mini will have very different supply requirements.
Step-by-step: work your holiday gnome chart confidently
1. Read all the pages before the first stitch
Inspect the legend, chart center, page boundaries, colored symbols and any backstitch instructions. If you use a digital tracker, confirm its support for the file you downloaded. Locate the highest point of the hat, lowest point of the boots and farthest colored bulb; these define the actual project limits.
2. Calculate the fabric cut and mark a starting point
Use the reference’s 84 × 122-stitch grid or the size actually printed in your purchased PDF. Choose Aida based on the resulting dimensions, then add mounting allowance. Establish a precise center or measured corner starting point and count in both directions before beginning.
3. Establish the silhouette with a distinctive area
A broad section of hat or coat can help anchor your work. Begin in a part of the chart that is easy to identify, then build toward neighboring regions. Keep the direction of your top stitches consistent and avoid pulling too tightly through the fabric.
4. Place the round nose and beard boundary carefully
The nose sits close to the hat brim and visually connects the top of the gnome with the beard. Check its coordinates from established landmarks rather than assuming the face is perfectly symmetrical. Once those boundaries are correct, filling in the beard’s pale areas is easier.
5. Work the Christmas lights in controlled sections
Identify where the string starts, then count each bulb and cable segment relative to surrounding stitches. When a bulb is isolated, secure the thread according to your preferred method rather than carrying it across a wide blank area. Check every bright accent against the chart before moving on.
6. Add backstitch where instructed
Backstitch may help define hat folds, light cables or beard texture. Work it only where and how the designer’s pattern specifies. If backstitch is shown in a different color view, compare the chart to that view while following the complete key.
7. Verify details before finishing
Look for missed stitches in pale areas and check bulb positions under good light. Remove temporary marks as directed. Wash only if your fabric and threads are suitable, let the project dry completely, and press carefully from the reverse on a suitable surface if needed.
8. Mount and label the finished gift
Choose a frame or hoop large enough for the entire motif, without cropping its light string. Mount evenly to avoid skewing the fabric grid. If giving it as a handmade present, add a small card with the year and the reason you chose the design. You do not need to exaggerate the time spent stitching to make the gift meaningful.
How to display a tall Christmas gnome
An 84 × 122 chart has a more vertical shape than most traditional round ornaments. This matters when planning where to display it. A tall rectangular frame often provides enough room for the hat and boots. A large round hoop can work if the inner opening accommodates the diagonal spread of the lights as well as the full height. A small round hoop designed for two-inch minis is not a reasonable fit for the source chart.
A light wooden frame gives a warm Scandinavian look. A darker frame can emphasize the colored lights. Choose a background and mat with enough contrast that the white beard and light bulbs remain visible. If your household displays embroidery in different rooms each season, use consistent outer frame dimensions to make rotating the pieces easier.
For miniature ornaments instead of one large character, begin with a genuinely small chart rather than shrinking a big PDF image. Our mini Christmas hoop sizing guide explains why the physical grid limits which motifs fit a tiny display.
Two other gnome directions from the XStitchPattern collection
Visit the matching Christmas Gnome with Lights inspiration product page to browse the site catalog and find currently available designs. That page is an editorial gateway rather than a downloadable chart.
For a quieter winter subject, the existing Snowy Christmas Gnome with Robin product explores a different character with an evergreen setting. Its accompanying stitching guide is useful for planning pale winter colors and display options. This is a separate XStitchPattern listing, not the FavoriteGnome lights PDF.
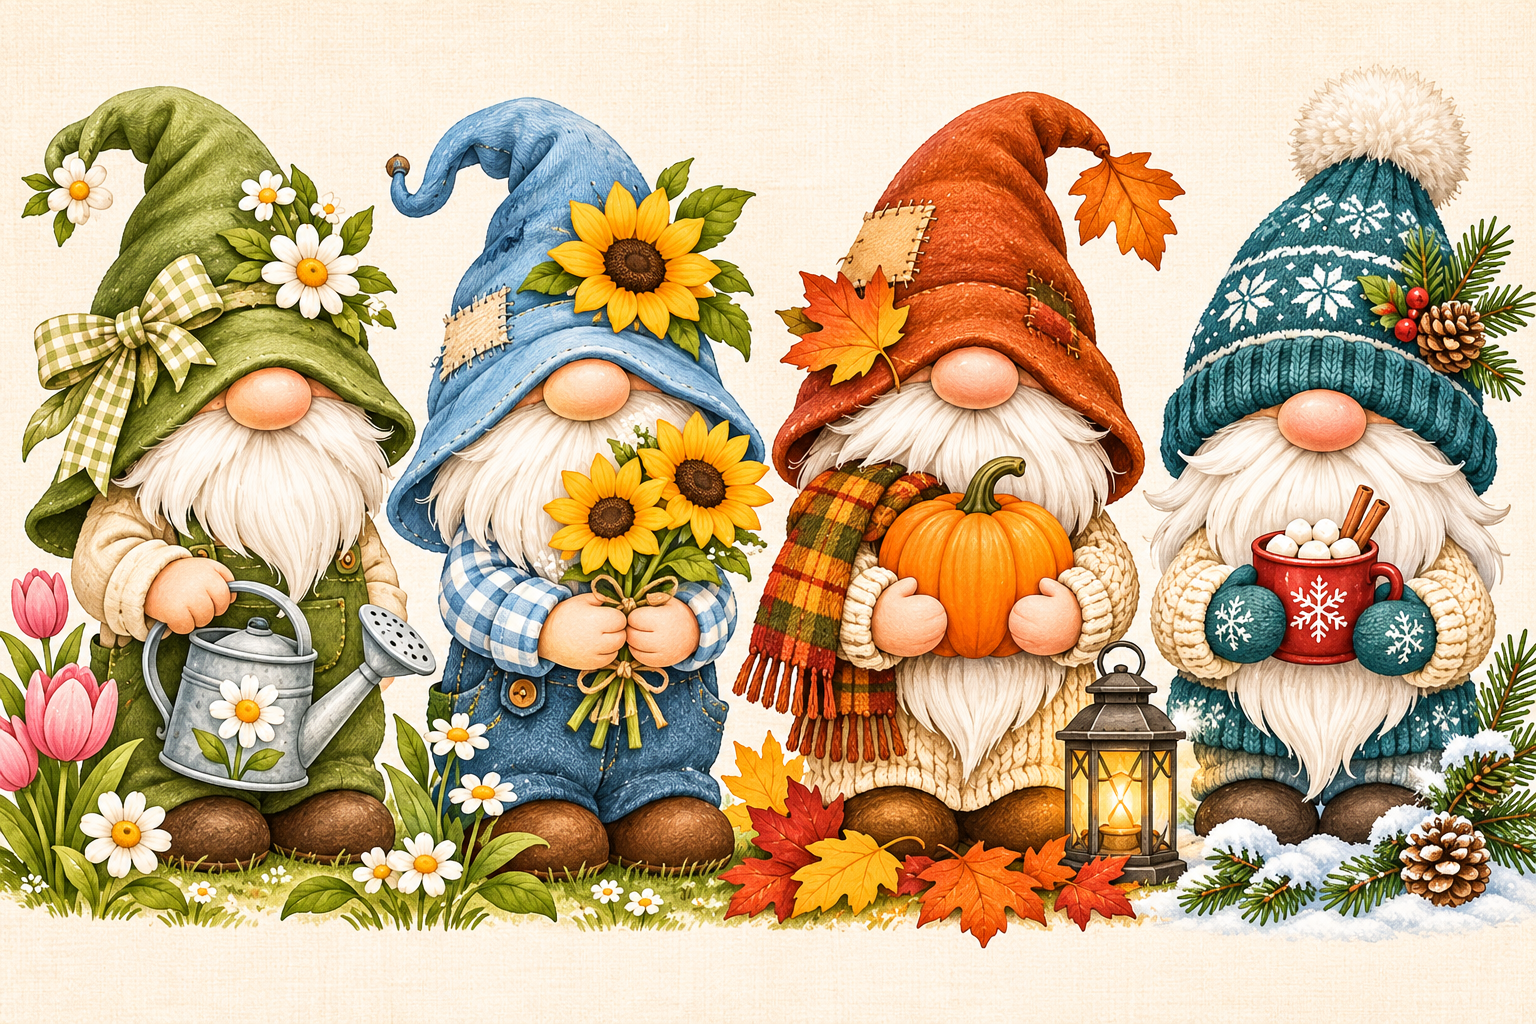
If you want more variety beyond December, our year-round gnome pattern article looks at spring flowers, summer sunflowers, autumn pumpkins and snowy winter characters. These different themes demonstrate why a gnome can be more than a red hat and a beard, while this guide focuses on planning a colorful light-string design.
We also cover a separate Christmas gnome with robin and lantern design. Each product and article should be read independently for its own verified dimensions, DMC list and PDF contents. Do not transfer the 84 × 122 grid or 38-color count from the FavoriteGnome lights chart to the XStitchPattern designs shown here.
Common problems when stitching gnomes with lights
The beard vanishes into white fabric
Recheck the floss shades and any outlined areas in the purchased pattern. Under weak lighting, pale cream and gray crosses can appear almost invisible. Try a task lamp or light-colored working mat. Switching fabric can change the look of other elements, so test first rather than assuming darker Aida is automatically better.
My colored bulbs are out of order
Do not follow the lights by color memory. Follow their symbols and positions on the source chart. Several bulbs may be similarly shaped but use different colors; a misplaced stitch in one bright bulb can be conspicuous even when the rest of the gnome looks accurate.
The hat looks flatter than the seller’s mockup
Review the chart’s actual color transitions and backstitch marks. Digital photographs and rendering may make shadows look smoother than counted stitches. Do not add uncharted gradients unless you deliberately want to alter the design.
There are too many isolated stitches
Organize the thread key and work in short, reliable sections. A color-rich design may include small groups used only for individual bulbs or shading. Leaving controlled thread ends and working from landmarks can help manage the reverse without long dark thread carries.
The frame is too small for the hat
Calculate from the design count, not the seller’s styled photograph. At 14-count, the source’s height is about 8.71 inches before mounting allowance. A six-inch circular display will crop the top or bottom. Choose a larger frame or a different fabric count if comfortable, and make sure there is enough space around the outermost lights.
I expected a physical kit
Instant PDF delivery normally means the chart files, not fabric, skeins, a wooden hoop or a completed piece. Check the seller’s current file and shipment description. The product photographs and decorative props are not an itemized list of included materials.
Christmas Gnome with Lights: frequently asked questions
Where can I get the FavoriteGnome Christmas Gnome with Lights pattern?
The named source appears as FavoriteGnome’s Christmas Gnome Etsy listing and on Cutebroidery’s independent product page. Check the live page where you intend to purchase for current availability and file details. XStitchPattern is not an authorized distributor of that PDF.
What is the stitch count and color count?
The source retailer lists 84 × 122 stitches and 38 colors using DMC threads. Those numbers are specific to the source pattern. They are not specifications for the teal-hatted original illustration on this article.
How large is the pattern on 14-count Aida?
For one full cross per Aida square, the source grid is approximately 6.00 × 8.71 inches (15.24 × 22.13 cm), excluding framing allowance. The retailer gives a rounded finished design area near 6 × 9 inches.
Is it beginner-friendly?
The seller promotes it as beginner-friendly. Its clear overall silhouette may help, but 38 colors, small light bulbs and backstitch information can still require careful organization. A stitcher comfortable with full crosses and a symbol key is likely to find the planning more manageable than a complete first-time beginner.
Does the PDF work with Pattern Keeper?
Cutebroidery says its supplied pattern was tested and approved for Pattern Keeper. This describes the retailer’s source file, not the editorial picture shown on XStitchPattern. Features can change, so check the current listing and your app version.
Can I use the source image or PDF for my own shop?
Not automatically. The seller describes a personal-use pattern. Buying a copy does not grant redistribution or commercial image-use rights. Link to the authorized listing or obtain specific permission from the copyright holder before republishing its artwork or chart.
Is the XStitchPattern illustration a real pattern?
No. It was generated to illustrate a gnome-with-lights concept in the article. There is currently no verified stitch-accurate grid, DMC legend, test-stitched sample or PDF download for that particular teal-hatted illustration.
Can I make it small enough for a greeting card?
Possibly with a different, deliberately designed mini chart. The original 84 × 122 grid remains relatively tall even on 18-count fabric. Reducing the print scale alone does not reduce the number of required stitches or make it fit a tiny card opening.
Stitch a holiday character with personality
A gnome tangled in colorful Christmas lights combines the best of seasonal stitching: a recognizable silhouette, a little humor and a bright accent that makes a finished piece memorable. The most important choice is not whether a product image looks charming on Etsy—it is whether the chart size, color key and delivery terms work for the project you intend to make.
Start with the real source specifications, prepare enough fabric, organize the thread symbols and give extra attention to the beard and bulbs. Then choose a frame or display that accommodates the tall hat and whole light string. For more Christmas projects, explore our Christmas pattern selection guide, free and premium cross stitch hub and XStitchPattern Etsy shop. You can also subscribe for free-pattern news using the confirmation process; that signup does not provide FavoriteGnome’s commercial files.
Editorial and copyright disclosure: The user-supplied source was FavoriteGnome on Etsy. The particular lights design was verified through the named Etsy product and Cutebroidery’s details. The main teal-hatted illustration and the related images are separate XStitchPattern visual examples. No third-party PDF has been copied, and this article does not offer the original download.