
A St Patrick’s Day postage stamps cross stitch pattern is an appealing idea for anyone who likes miniature needlework, traditional postal motifs and seasonal green details. Stamp-shaped designs have a strong border that makes a tiny picture look finished even before you put it in a card or frame. The important step is knowing how big the counted chart actually is and choosing a finish that leaves room around that border.
This guide explores the St Patrick Day Postage Stamps cross stitch chart designed by Kate Spiridonova and sold through MyBobbin. The listing states 48 × 56 stitches, 11 DMC thread shades, a color-symbol PDF chart, and instructions in English. It does not include fabric or threads. We’ll show what those verified numbers mean on common Aida fabrics, how to avoid crowding a stamp-shaped motif in a card, and how to build a neat spring display. The designer’s chart itself is not reproduced or sold here.
Shopping distinction: The specific Kate Spiridonova PDF is an independent MyBobbin product. XStitchPattern has its own Etsy shop and an Etsy storefront link with a WooCommerce shopping button, but neither link guarantees that this particular postage-stamp chart is in our catalog. Check the MyBobbin listing for the original design and the XStitchPattern shop for our separate available PDFs.
What is included in the original St Patrick Day postage-stamp PDF?
Before measuring the fabric or collecting green floss, identify what the seller actually promises. The following information comes from the public MyBobbin page, not from a purchased copy of the downloadable PDF. Exact DMC numbers, sheet count, the number of individual stamp illustrations and specialty stitches were not independently verified and should be checked in the pattern after purchase.
| Specification | Verified MyBobbin information | Why it matters |
|---|---|---|
| Designer | Kate Spiridonova | Credit the original chart maker rather than attributing it to XStitchPattern |
| Design size | 48 stitches wide × 56 stitches high | Use the real grid size to plan the fabric and card opening |
| Floss palette | 11 DMC shades | Check the seller’s full key for the actual color numbers |
| Download | Color-symbol chart in PDF format | A printable grid, not a physical kit or a picture-only image |
| Language | English instructions | Review the chart symbols before stitching |
| Materials | Fabric and threads not included | Buy your own Aida, floss, needle and finishing supplies |
| Use restrictions | Personal use; seller prohibits chart redistribution | Do not republish or resell the designer’s PDF |
The product title says “postage stamps,” but a plural word in a title doesn’t by itself confirm how many separate motifs or pages come with the purchase. Do not assume that eleven floss colors means eleven stamp designs. For the exact layout, symbols and chart contents, consult the original download and its key.
How big is a 48 × 56 cross stitch chart?
The stitched dimensions of a standard full-cross chart are easy to calculate: stitch count divided by fabric count equals inches. For a 48-stitch-wide and 56-stitch-high design, the width on 14-count Aida is 48 ÷ 14 = 3.43 inches; the height is 56 ÷ 14 = 4.00 inches. Changing fabric count alters the physical finished size, not the number of charted squares.
| Fabric count | Stitched width | Stitched height | Approx. stitched dimensions in cm |
|---|---|---|---|
| 14-count Aida | 3.43 in | 4.00 in | 8.71 × 10.16 cm |
| 16-count Aida | 3.00 in | 3.50 in | 7.62 × 8.89 cm |
| 18-count Aida | 2.67 in | 3.11 in | 6.77 × 7.90 cm |
| 20-count evenweave, over one | 2.40 in | 2.80 in | 6.10 × 7.11 cm |
The last row applies only if the design is worked over one fabric thread on 20-count material. If the chart requires stitching over two threads on an evenweave or linen ground, its physical size must be calculated using the effective stitch count per inch instead. Don’t substitute a different fabric construction without understanding how the crosses are formed.
Fabric cutting allowance is not the stitched size
If you need an ordinary hoop or frame with comfortable mounting room, an example planning allowance is 2 inches on each side, meaning you add 4 inches to both the stitched width and the stitched height. That gives approximately 7.43 × 8.00 inches of cloth for the 14-count version, 7.00 × 7.50 inches for 16-count and 6.67 × 7.11 inches for 18-count. These are illustrative fabric cuts, not mandatory cuts for every finish.
A card insert can use a different mounting method and may need less loose fabric, while a framed or laced piece may need more. Measure the opening and reverse-side attachment area first. For a complete explanation of margins, use our Aida fabric sizing and cutting guide.
Why a postage-stamp shape works so well in miniature needlework
A stamp is essentially a little picture inside a strong, recognizable edge. The shape naturally suits a small counted motif because its border can define the composition without requiring a large empty background. Repeated stamp-shaped projects can become a framed collection, while a single motif is ideal for a special card or small textile gift.
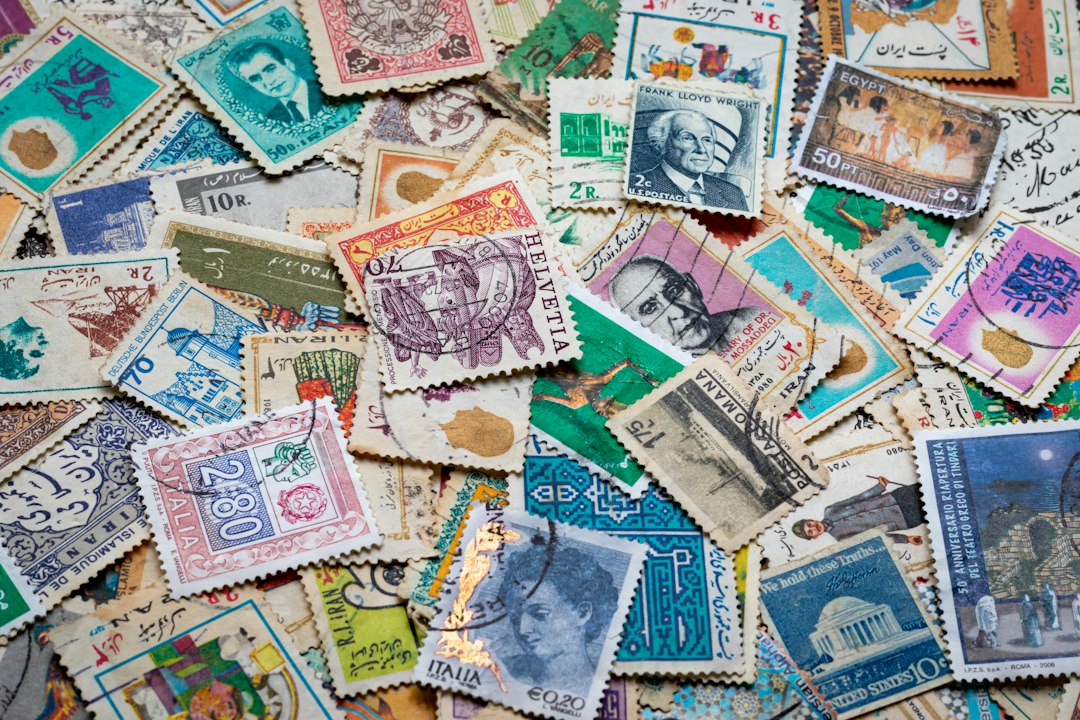
Real postage stamps come in countless sizes and designs, so don’t make assumptions about the MyBobbin chart based on a photograph of an ordinary stamp. The image below is a photographic shape reference, not an example stitched from Kate Spiridonova’s commercial PDF.
Keep the edge legible, even if the inner motif is small
A stamp-inspired border often contains tiny steps or a scalloped contour. When working from a real chart, count every change in the outer shape carefully rather than extending the same pattern by guesswork. Small one-stitch offsets can make a repeating edge appear crooked; compare each corner with the printed symbols and mark completed sections on your working copy.
Choose a background that separates the green shades
Seasonal charts often look lively on cream or white Aida, but green values can change considerably depending on the fabric. A dark forest-green line may be clear on ivory cloth and nearly invisible on olive fabric. Lay the actual seller-specified DMC threads against your chosen Aida and inspect them in natural light. The pattern uses eleven shades, but this article does not invent their actual DMC numbers.
Shamrock inspiration is separate from verified chart contents
Three-leaf shamrocks, traditional green palettes and letter-postage imagery are familiar St Patrick’s Day craft themes, and you can explore them in your own original designs. However, the public text of the MyBobbin listing doesn’t establish which specific shamrock shapes, lettering or other icons are present inside the purchased postage-stamp chart. Treat the botanical photograph and optional ideas below as editorial inspiration rather than documentation of the PDF’s exact artwork.
14 versus 16 versus 18 count: what should you choose?
For a small decorative stamp, choose fabric based on the intended final object. A beginner who is comfortable with 14-count may prefer the more open grid, even though the stitched motif reaches 4 inches high. A 16-count version saves some space while retaining relatively readable holes. An 18-count version is smaller still, but details demand more attention if you stitch without magnification.
| If your finished object is… | Useful starting choice | Check before cutting |
|---|---|---|
| A small framed display | 14- or 16-count | Mat aperture and outer-frame allowance |
| A greeting card insert | 16- or 18-count | Opening, paper border and reverse-side mounting |
| A decorative fabric pocket | 16-count | Pocket size, fabric stability and seam allowance |
| A small stitched gift patch | 18-count if comfortable | Actual visible height, edges and laundering needs |
None of these choices overrides the designer’s stitch instructions. Check whether the original PDF specifies any fractional stitches, backstitch or other details before changing the fabric and number of working strands.
Five finishing ideas for a St Patrick’s Day stamp motif
1. A stitched greeting card with a generous mat border
Instead of forcing the whole chart into a tiny aperture, begin with the actual stitched size and then choose the card. On 16-count Aida, the 48 × 56 grid is approximately 3 × 3.5 inches. Test whether that size fits comfortably behind the cutout of your card while leaving enough room for attachment. Tape a paper rectangle to the inside first, and don’t let the paper cover the stamp’s outer border.
2. A little spring frame for a shelf
A simple wood frame and a narrow neutral mat can highlight the green palette without competing with the motif. Compare the mat window to the stitched boundary, not the size printed on the frame package. For a handmade gift, add a discreet title or date on the paper back rather than trying to squeeze lettering into the chart itself.
3. A seasonal fabric gift pouch
A stable woven cotton pouch can carry a stitched stamp-themed panel. Make sure the piece doesn’t extend into the seam or drawstring channel, where it might get pulled or folded repeatedly. Use a protective and appropriate reverse-side finish if loose threads may snag on objects inside the pouch.
4. A small wall gallery of separately licensed motifs
Pair the purchased St Patrick chart with other original or properly licensed mini motifs that share a similar frame size. Keep each pattern credited according to its own licensing rules. Do not extract small designs from someone else’s paid chart and redistribute them as a new free stamp collection.
5. A letter-themed gift for a pen pal
Stitch the postage-inspired motif into a small fabric insert and present it with a handwritten note. The physical embroidered panel can make an ordinary letter personal even when it isn’t a functioning postage stamp. Clearly keep it separate from real postal payment and avoid putting bulky hard materials inside envelopes that must go through a postal sorting machine.
A simple preparation plan for the eleven-color chart
Eleven colors sound manageable, but the organization still matters when the design includes a repeating edge or small disconnected details. Use the exact PDF legend to make a short shopping list and label your floss organizer with the designer’s codes—not the colors suggested by a product photograph. Avoid buying duplicate green skeins until you’ve compared the key with threads you already own.
- Open the original PDF. Confirm its chart dimensions, symbols and any stitch-type notes. Make a separate working copy for highlighting progress.
- Choose the finished object. Decide whether you are framing, card-mounting or sewing the design into fabric before buying a hoop or card.
- Calculate your Aida size. Use the 48 × 56 grid and your actual stitch count per inch, adding suitable mounting margins.
- Inventory the 11 DMC shades. Write down the actual code and available skein quantity; don’t estimate the palette from the preview.
- Find a reliable counting anchor. Start from a distinct border corner or central chart landmark, using the designer’s instructions if they specify a starting point.
- Work the outline accurately. Verify small changes in any repeating stamp edge and avoid guessing missing symbols from visual symmetry.
- Finish the details and check the back. Secure thread ends neatly, compare the final border with the printed chart and follow fabric/floss care guidance before mounting.
A simple row-by-row progress check is more useful than assuming a miniature project will finish in a fixed number of hours. Someone new to counting may spend more time checking a complex border than another stitcher spends on several large connected green sections.
Common mistakes with small postage-stamp cross stitch projects
- Confusing a mini picture with a mini fabric cut. The stitch grid still needs room for securing and mounting the cloth.
- Buying a card before measuring the chart. A tall 56-stitch design can be awkward inside a short landscape card window.
- Assuming the PDF includes supplies. MyBobbin explicitly says fabric and threads are not included.
- Guessing DMC codes. Eleven shades are specified, but the actual codes belong to the purchased key.
- Counting the border by appearance. Tiny edge changes need to match the symbols, not a reconstructed repeating guess.
- Making a heavily patterned background compete with the motif. Keep the display or paper card surrounding a small stamp reasonably quiet.
- Assuming a seller’s PDF is free to share. The chart is sold for personal use and the listing prohibits redistribution.
- Using a general Etsy shop button as though it buys the original chart. XStitchPattern’s Etsy page is a separate storefront and doesn’t imply that the MyBobbin product is offered there.
Where to buy the design and where to browse XStitchPattern PDFs
For the specific design discussed here, the correct original product is Kate Spiridonova’s St Patrick Day Postage Stamps cross stitch PDF at MyBobbin. It is an independent, paid downloadable pattern, with the listed 48 × 56 stitch dimensions and 11 DMC shades.
If you’d like to discover our own available patterns, you can visit the XStitchPattern Etsy shop or open our WooCommerce Etsy shopping page. Its “Browse & Buy on Etsy” button takes you to our Etsy storefront to view the current listings. That button is a shop-navigation action, not a purchase link for Kate Spiridonova’s commercial PDF.
For another botanical counted project in our store, the Wildflower Meadow Cross Stitch PDF offers a separate floral subject with color and black-and-white chart downloads. Our Autumn Oak Leaves & Acorns PDF is a woodland alternative. These are different XStitchPattern designs, not St Patrick’s Day postage stamps and not bonus charts in the MyBobbin product.
How this stamp project differs from our other St Patrick’s Day ideas
Our existing St Patrick’s Day cross stitch overview explores the holiday more broadly, including shamrock-inspired choices and green palettes. This article instead answers a narrower practical question: how to plan and finish an actual 48 × 56-stitch, 11-color postage-stamp PDF. For card construction beyond the seasonal theme, visit our mini cross stitch card-making guide.
If you like smaller needlework generally, mini cross stitch project ideas discusses picking practical finishes, while our cross stitch framing tutorial covers preparing a larger mounting margin and a tidy completed display.
Frequently asked questions
Who designed the St Patrick Day Postage Stamps cross stitch pattern?
The MyBobbin product page credits Kate Spiridonova. This article discusses the pattern independently and does not claim authorship or redistribution rights.
What is the exact chart size?
The seller lists 48 stitches wide and 56 stitches high. On 14-count Aida that is about 3.43 × 4 inches, on 16-count about 3 × 3.5 inches, and on 18-count about 2.67 × 3.11 inches, before fabric margins.
How many DMC colors are needed?
The listing specifies 11 shades of DMC thread. The precise numbers and quantities weren’t independently verified here; use the PDF’s official color key for shopping and substitutions.
Does the MyBobbin product include fabric and thread?
No. The designer’s listing says the product is an instant-download color-symbol chart and that fabric and threads are not included.
Is this a free cross stitch pattern?
No. It is a designer’s commercial PDF listing. The article provides general sizing and project advice, not the paid chart or a free substitute for it.
Can I print the PDF as a gift card?
You can follow the purchased chart to stitch your own fabric design and mount the finished needlework in a card, subject to the seller’s usage terms. Printing the chart itself as a decorative gift or redistributing it is a different matter; the seller expressly restricts redistribution.
Can I buy the postage-stamp PDF from XStitchPattern on Etsy?
There is no verified listing of this exact Kate Spiridonova chart in the XStitchPattern Etsy shop. The WooCommerce “Browse & Buy on Etsy” button opens our shop’s current catalog, not the independent MyBobbin checkout. To buy the referenced pattern, use the original seller link above.
Is 48 × 56 stitches small enough for a 2-inch hoop?
Not as a complete 48 × 56 stitched rectangle on standard 14-, 16- or 18-count Aida. Even its stitched width is about 2.67 inches on 18-count, and its height is about 3.11 inches. Choose an appropriately sized frame or change the finishing plan; do not shrink the printed chart and expect the stitched size to shrink.
Can I replace the eleven specified shades with my own green palette?
You can experiment with color substitutions for your own stitching if the designer’s terms permit personal modifications, but compare light/dark values carefully before stitching. You should not assume any two similarly named greens will preserve the original chart’s contrast.
Plan the finish first, then enjoy the little details
A postage-stamp cross stitch can make a charming March card, miniature frame or letter-themed handmade gift, especially when the design’s border is counted cleanly. The real advantage of Kate Spiridonova’s pattern is that its public dimensions are known: 48 × 56 stitches and eleven DMC shades. Use those facts to size your fabric, verify the PDF key, and choose a finish that gives the stitched motif room to breathe.
To explore more counted craft projects, read our St Patrick’s Day project guide or Aida measurement tutorial. For free-pattern announcements from XStitchPattern, visit our newsletter signup; joining does not include the independent MyBobbin PDF.
Editorial images: Autumn Martin (green clover), Ali Bakhtiari (vintage postage stamps), and Andrew Dawes (green thread), via Unsplash. They are independent reference photographs—not pictures of a stitched sample of Kate Spiridonova’s design.