

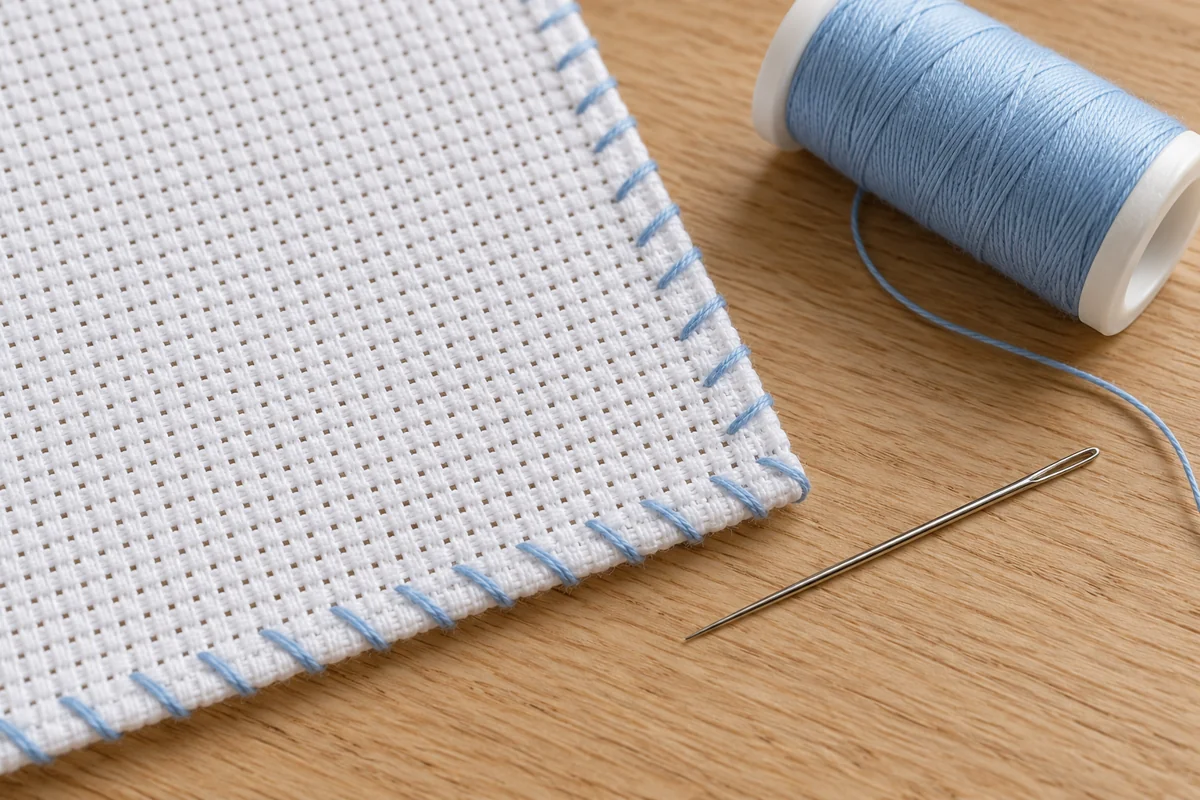
You can stop Aida cloth from fraying without a sewing machine by hand-overcasting the raw edges with relaxed wraps of sewing thread. Work into sound fabric outside the design area, keep the corners flat and test the tension on an offcut. This guide explains the method and the choices that matter before you start.
A simple test before you protect the whole project
Begin with a matching scrap rather than the corner of your main project. Sew a short overcast border, then lay the sample flat beside an untreated piece. A useful edge treatment contains loose yarns while leaving the square grid undistorted. If the cloth curls, loosen the wraps; if yarns slide between them, reduce the spacing. Copy the successful spacing onto the project rather than assuming one stitch setting suits every fabric count.
Next, decide where the protected border will finish. Count the chart width and height, calculate the stitched area and add the allowance required by your frame, hoop or card. For example, 84 stitches on 14-count Aida occupy 6 inches. Adding 3 inches on each side produces a 12-inch fabric width. This is a worked mounting example, not a universal margin rule.
Keep the fabric supported while you work. Turn the cloth at each corner instead of pulling a long thread around it. After completing a side, check both faces for puckering and loose loops before moving on. A protective overcast stitch is different from a permanent visible hem: the finished object may still need backing, binding or another construction finish.
For a comparison with machine zigzag stitching and temporary treatments, use our Aida edge-finish comparison. If the outer weave has already loosened, start with the damaged-edge assessment before deciding where to place the needle.
Choose an edge finish for the way you will use the cloth
There are two different jobs here: protecting raw fabric while you stitch, and finishing the edge that will appear on the completed object. A simple overcast border usually does the first job. A bookmark or washable ornament may need a separate hem, backing or bound edge for the second.
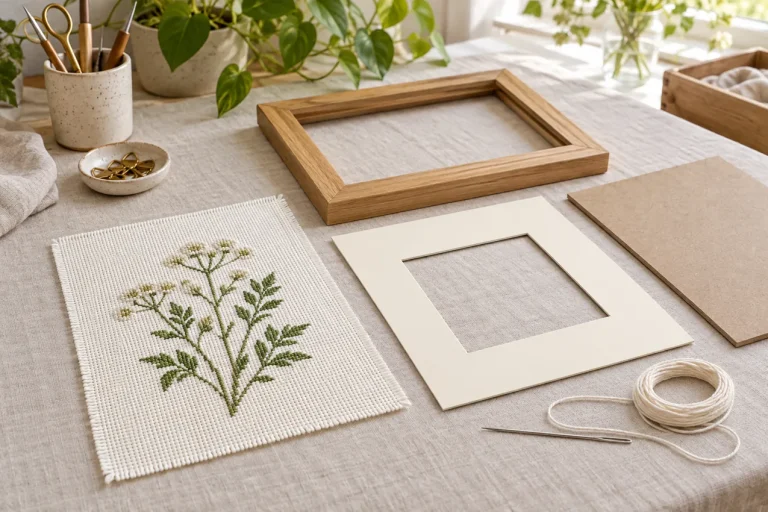
For a framed piece, keep the protective stitching in the blank margin that will sit behind the mount or frame. For a hoop finish, make sure the secured border still leaves enough cloth to gather at the back. Our comparison of Aida edge-finishing methods covers machine stitching and temporary alternatives if you want to compare them first.
- Small practice piece: hand-overcast the edges before regular handling.
- Project that will take several months: use a sewn finish and check it whenever you move the hoop.
- Visible edge on a gift: plan a proper construction finish; protective stitches alone do not make a finished hem.
Gather a needle, sewing thread and an Aida offcut
Set out ordinary sewing thread, a hand-sewing needle, scissors, a ruler and a spare piece of the same Aida. Choose a needle that passes through the fabric comfortably. A sharp sewing needle may be useful when you need to catch fabric between the open holes; do not force a thick needle through a tightly woven bundle.
Use a manageable thread length, roughly the distance from your fingertips to your elbow, rather than a very long strand that tangles. A single sewing thread is a reasonable starting point for an offcut test. Choose a color you can see against the cloth, but test unfamiliar or strongly colored thread for color transfer before using it on a piece you plan to wash.
The new lead image is an AI-generated editorial illustration. The credited in-article photograph is a material reference, not a photograph of the edge-finishing sequence. Use the written steps and an offcut test to check your method.
Check the blank margin before you sew
Lay the cloth flat and find the outermost squares needed by your chart. Allow space beyond those squares for gripping, edge protection and your chosen finishing method. Do not trim first and hope that a neat edge will make up for missing mounting fabric.
For example, a design 70 stitches wide on 14-count Aida measures 5 inches across. If your selected finish needs 3 inches of spare cloth on each side, start with 11 inches of fabric width: 5 + 3 + 3. That margin is an example, not a requirement for every frame. Check your hoop, aperture or mounting board before cutting. Our fabric size calculation guide explains the same calculation for other stitch counts.
Leave the loose outer fringe alone until you have identified a firm row of fabric to sew into. Pulling a thread to straighten a ragged edge can remove more material than you intended.

Hand-overcast the edge in six clear steps
- Test first. Practice on the offcut and hold it flat afterwards. The edge should remain flexible, without curling into a cord.
- Start in sound fabric. Secure the sewing thread with a small knot or a few anchoring stitches in the waste margin. Choose an intact row several fabric squares in from the raw edge, beyond the loosened fringe.
- Make the first wrap. Bring the needle through that row, carry the thread over the cut edge and insert it through the next position from the same side. Repeating this motion makes diagonal wraps around the border.
- Keep a steady spacing. Try a wrap every two or three Aida squares on the offcut, then adjust if loose yarns escape. This is a starting point, not a universal setting for every cloth.
- Ease around the corner. Make shorter, closer wraps as the direction changes. Keep the corner flat rather than pulling it into a tight point.
- Secure the end. Pass the thread beneath several completed wraps in the margin and fasten it. Trim the sewing thread, leaving the cloth itself uncut until you have checked all four sides.
The thread should contain the loose yarns rather than cinch them. If the border puckers, undo that short section and repeat with less tension. Adding more stitches over a tightly gathered edge usually makes the bulk worse.
Know when tape or a fray-control liquid is a compromise
Low-tack tape can temporarily contain a practice piece, but “removable” does not guarantee residue-free removal from every fabric. Test the same tape on an offcut, keep it away from the stitched area, and remove it slowly while supporting the weave. Do not plan to leave it behind a finished frame.
A commercial fray-control liquid is another option for a small raw border. Prym describes Fray Check as a liquid that reinforces fibers and seals open edges. Follow the exact product label and test its dried appearance on matching cloth. That product description is not a guarantee that every dyed Aida, display finish or washing routine will suit it.
For a project you may need to alter later, hand sewing gives you a clearly visible edge treatment to inspect and carefully unpick. Avoid household glue or clear nail polish as substitutes on a piece you want to preserve.
Check the border before stitching and washing
Run your eye along each side without tugging the cloth. Look for loose sections between wraps, a corner that has curled, or a knot that catches as the fabric moves. If your hoop or frame grips the edge treatment, reposition it so pressure is spread over sound cloth rather than a thick knot.
Do not repeatedly cut off small amounts to keep the border looking perfect: each trim reduces your finishing allowance. Snip an isolated, detached whisker only when you can distinguish it from a yarn still forming the weave. Before washing a finished project, check both fabric and thread care instructions, then follow our cross stitch washing and pressing guide.
Frequently asked questions
Can I use embroidery floss instead of sewing thread?
You can test a strand on an offcut, but several strands together can create unnecessary bulk at the edge. Sewing thread is a convenient starting choice because the protective border does not need to look like decorative cross stitching.
Will pinking shears stop Aida fraying on their own?
Do not rely on them as the only protection for a loosely woven piece. A zigzag cut still leaves exposed yarns, and it removes some of your margin. A sewn border is easier to inspect for gaps.
Should I remove the overcasting before framing?
Not automatically. If it sits safely in the hidden margin and does not create bulk, it may stay. Check the mounting plan first; removing a secure edge is unnecessary if doing so exposes the cloth to more handling.
What if the edge has already started unraveling?
Stop pulling or trimming the fringe. Use the fraying Aida rescue checklist to measure the remaining sound margin before choosing where to sew.
Photo credits and reuse terms: Unsplash License. For more preparation advice, explore our cross stitch tools and guides.
 English
 French
 Spanish
 German
 Arabic