

Cross stitch confetti is the informal name stitchers give to isolated stitches or tiny groups scattered among other colours. In a floral design, those small changes may describe a petal tip, a shadow or a gap between leaves. They can take more attention than a large solid area, so the useful question is how to count, secure and track them without losing the detail you chose the pattern for.
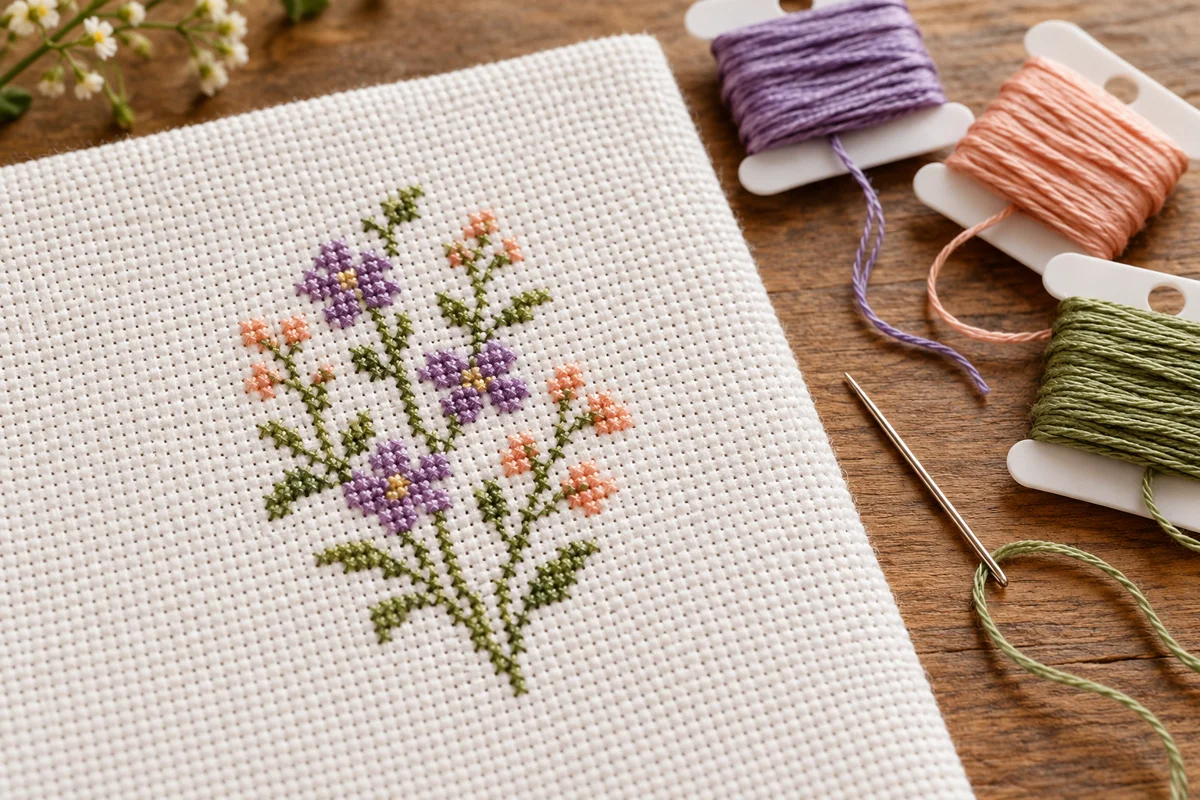
Recognise scattered stitching before you choose a workflow
Look at the symbol chart rather than judging complexity from the size of the colour palette. A fourteen-colour floral design can contain both connected stems and scattered highlights. The Wildflower Bouquet PDF listing, for example, describes a 284 × 300-stitch chart with fourteen DMC colours; those specifications explain scale and palette, but do not quantify its confetti density.
Inspect a representative chart area and notice how often you would need to change thread. Do not assume every isolated symbol is optional decoration. A single contrasting cross may be what separates two petals. This guide concerns managing the chart as supplied, not simplifying or redrawing a purchased design.
Build counting references before placing isolated crosses
Begin with a small connected area that you can verify on the chart and cloth. Locate the next isolated stitch from that reference and check the position in a second way, such as counting from a nearby completed stem. When neither reference is close enough to count comfortably, establish another trusted landmark before jumping across a large blank area.
A fabric grid can help, but it is not compulsory. A correctly numbered chart, clear centre reference and regular checks may be enough for your working style. If you grid, use a suitable removable material and test its removal separately. The gridding tutorial from pattern designer Scarlet Quince provides a useful independent explanation of possible approaches.
Choose between working by colour and working by area
Working all nearby stitches of one colour can reduce needle changes, provided the route remains easy to verify. Working a small area with several colours can make local shapes appear sooner. Neither approach automatically prevents mistakes. Choose a manageable region with recognisable boundaries rather than using the edge of a PDF page as a visual border in the finished picture.
If you keep several threaded needles ready, label each resting position with the correct colour number and keep the points safely contained. Return a needle to its own position before taking another. A simple written key is often more reliable than remembering which of two similar peach shades was last in your hand. Save a note of your stopping point when a session ends.
Keep thread carries and starts under control
There is no universal safe travel distance for every fabric, colour and finish. Before carrying thread to another stitch, consider whether it will show through open cloth or be trapped securely beneath later stitches. A dark carry across a pale unstitched gap may remain visible from the front even when the thread feels flat on the reverse.
For a distant isolated group, ending and restarting can be preferable to a long carry. Use a start and finish suitable for your strand count and leave the back secure without pulling neighbouring crosses tight. Practise the chosen method on an offcut first. Our strand and coverage guide helps separate thread thickness from the question of where the thread should travel.
Prevent tangles without changing the pattern’s coverage
Prepare the number of strands specified by the chart and separate stranded cotton carefully before recombining what you need. DMC’s stranded-thread guide describes removing individual strands. Use a working length you can manage comfortably; a very long length may save one restart while creating more twisting and wear.
Let the needle untwist when needed and keep the full crosses consistent in direction and tension. Do not add extra strands only to isolated stitches in an attempt to make them faster to secure. If coverage worries you, test a representative group with the intended fabric and thread before changing the overall project plan.
Check the motif before filling the next section
Mark a stitch as complete only after you have placed it, then compare the little group with its surroundings. A cluster that resembles a petal on the chart should occupy the same position relative to the stem on your cloth. If it looks displaced, check the count before adding more colours that depend on it.
Take breaks between concentrated counting sessions and leave a clear restart note. Measure progress by a correctly completed motif rather than by the number of thread changes you avoided. For a broader route through a bouquet, read our section-by-section wildflower stitching plan; for an error you have already found, use the mistake assessment guide before unpicking.
Frequently asked questions
Can I skip confetti stitches to finish sooner?
That changes the supplied design. Inspect their role and the designer’s instructions rather than assuming isolated stitches are unnecessary.
Is parking required for floral cross stitch?
No. Parking is one organisational method. Working by area or by nearby colour can also be practical when you keep accurate references.
Does fewer thread colours mean less confetti?
Not necessarily. Confetti describes the distribution of symbols, so you need to inspect the chart as well as its colour count.



 English
 French
 Spanish
 German
 Arabic