

Mini cross stitch patterns are a useful way to use good fabric offcuts, but the smallest scrap is not always the best place to start. A successful set depends on compatible fabric counts, enough handling room and a palette you can repeat. Sort those first, then choose the motifs.

Sort scraps by material and count
Separate known Aida pieces from linen, evenweave and unidentified cloth. Keep any original labels with the fabric. Two pieces that look similar may produce different stitched sizes, and the count printed for linen does not translate directly to the same stitches-per-inch result as Aida when worked over two threads.
If you need to check Aida count, measure a full inch carefully and count the complete stitch squares within it. Repeat in another area and in the other direction before relying on the result. DMC’s fabric guide explains the distinction between counted fabric types.
Find the usable rectangle inside each piece
Inspect the fabric for fraying, stains, old hoop marks and stretched or damaged holes. Measure the clean area you can actually use, not just the longest distance between two uneven edges. Mark the dimensions on a small label kept with the piece.
Reserve the border needed for your chosen way of holding and finishing the work. A scrap may be large enough for the motif but too small for your hoop or mounting method. Our Aida edge finishing guide can help protect usable cloth without relying on a frayed edge.
Calculate a maximum chart size
Subtract the holding and finishing margins from the usable fabric dimensions before converting the remainder to stitches. For example, a clean 4 × 4-inch piece with a 1-inch allowance on every side leaves a 2 × 2-inch area. On 14-count Aida, that area holds up to 28 × 28 stitches.
That allowance is an example, not a universal mounting rule. A hoop, a folded card and a small sewn patch need different borders. Work backward from the intended finish, and round a maximum stitch count down rather than up when the available area is tight.

Choose motifs that belong together
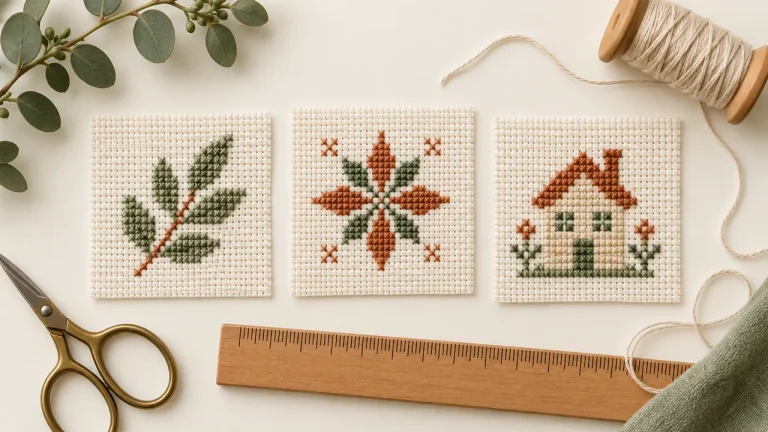
Build a set around one shared feature: a limited palette, similar outer dimensions or a common subject. A leaf, an acorn and a small flower can coordinate without being identical. Give each motif comparable breathing room rather than forcing every outline into the same number of stitched squares.
If the fabric counts differ, calculate each design’s physical size before grouping it with the others. A 28-square chart is 2 inches wide on 14-count but 1.75 inches on 16-count. Mixing those two without planning can make a set look less consistent than the charts suggest.
Check the thread supply before batching
Gather the colors for the whole set and label them. Small designs can still use more thread than expected if they contain dense areas or if you make frequent starts and finishes. Do not rely on an unmeasured remnant for a color that appears in every motif.
If you change a shade, record the replacement for the entire set. Test the lightest color against every fabric color you intend to use. The floss substitution guide explains how to compare alternatives without losing important contrast.
Batch preparation, then stitch in a traceable order
Prepare labels, working charts and fabric centers together. Stitch one motif first and check that it fits the planned finish before cutting or preparing the rest. That first completed piece gives you a practical reference for spacing and handling.
Keep each scrap with its own chart or progress note so you do not confuse nearly identical motifs. If you prefer to work by color across several pieces, mark the completed areas on each working copy. Secure thread ends before setting a piece aside, and store needles safely.
Finish the set consistently
Choose one mounting or edge treatment and apply it to the group where the fabric permits. Align visible borders when placing the pieces on cards or tags. Differences in the original scrap shapes should disappear behind the finished presentation.
Try the free botanical tag charts for a compact pair. The stitched card guide explains how to plan an opening, while our existing beginner mini charts offer another starting point.
Questions about stitching on leftovers
Can I combine different Aida counts in one set?
Yes, if you deliberately account for the resulting size differences. Use a common display border or choose chart dimensions that produce compatible finished sizes.
Can I join scraps to make a larger chart area?
A seam interrupts the regular grid and adds bulk. For a counted motif, use one intact piece large enough for the design and its margins.
What if a scrap is too small to hold?
Use a holding method that supports it without stretching the holes, or save it for another purpose. Do not sacrifice the finishing margin simply to force a particular chart onto it.
Cover photograph: Lisette Harzing. In-article photograph: Karly Santiago. Photographs used under the Unsplash License.

 English
 French
 Spanish
 German
 Arabic