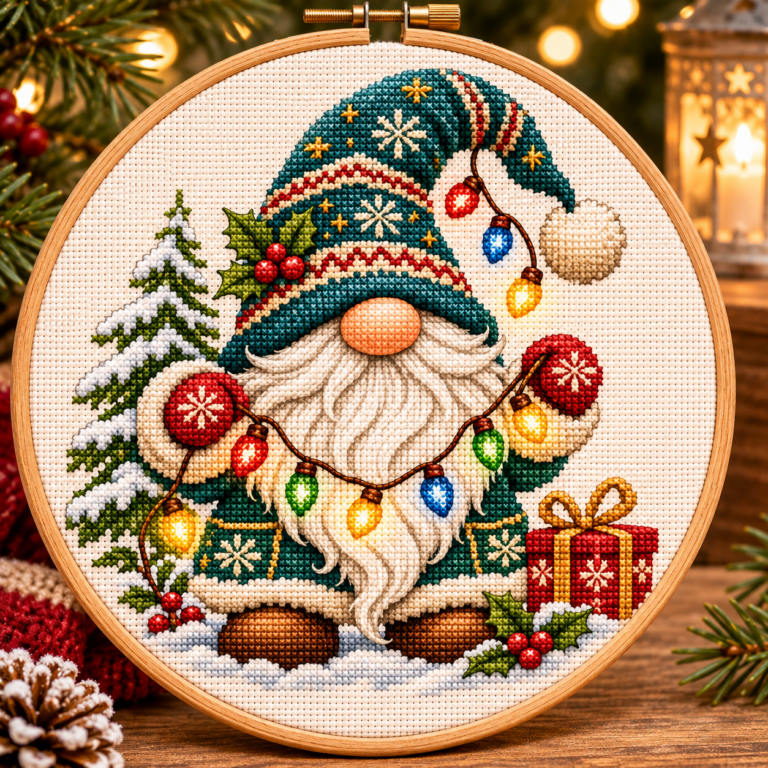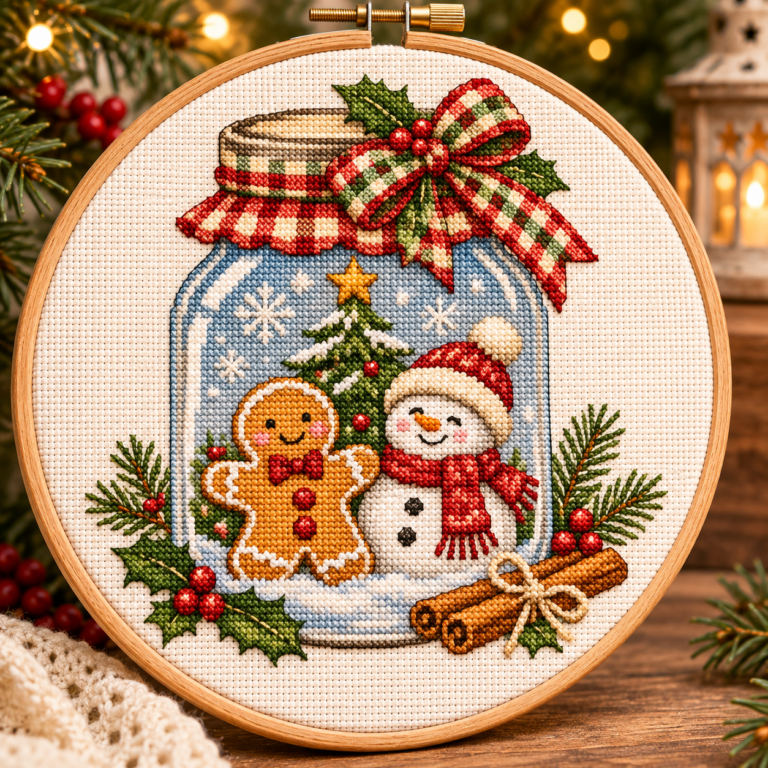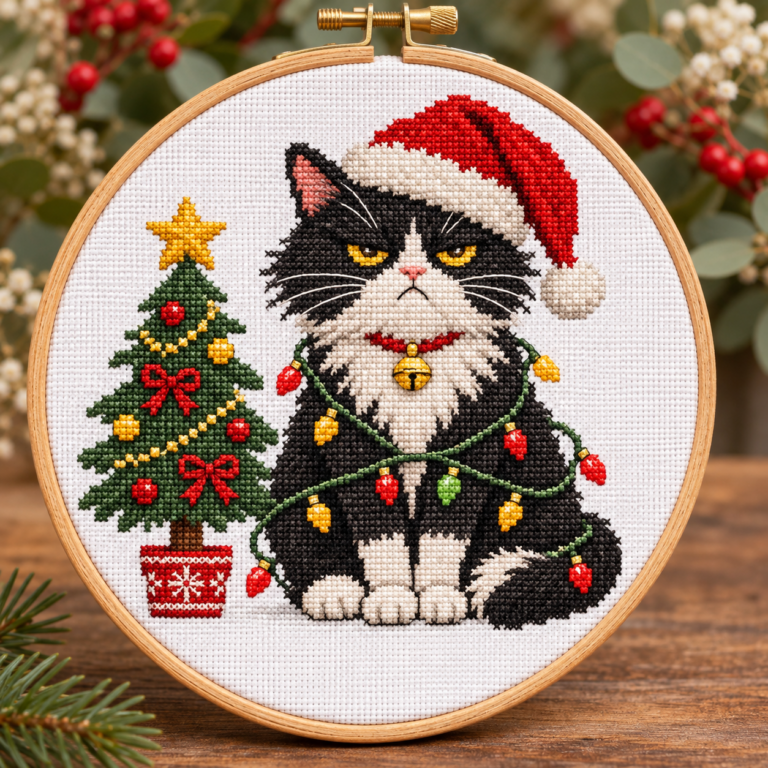

Mini Christmas cross stitch patterns for a 2-inch hoop look irresistible: a tiny stitched tree on a package, a reindeer hanging from a branch, or a row of handmade ornaments on a mantel. For a larger cat-lover gift rather than a tiny hoop ornament, our funny Christmas cat cross stitch pattern guide explains how to size a 111 × 120-stitch chart. For ideas beyond holiday minis, our free and premium seasonal cross stitch hub covers projects throughout the year. But the phrase “fits a 2-inch hoop” hides a useful measurement problem. Your chart is usually square, while the display opening is a circle. Width alone cannot tell you whether every stitched corner will remain visible.
Le FloReenStudio Etsy listing for mini Christmas PDF patterns reports motifs of around 20 stitches wide by 20 high, nine colors, and a 2-inch hoop as the intended finish. It is a digital pattern-only purchase, not a ready-made ornament. Here is how to interpret those seller-provided details, test a round-hoop fit, choose fabric and finish a set of miniature Christmas gifts without guessing the chart or copying the designer’s patterns.
What the FloReenStudio miniature Christmas listing includes
Before collecting supplies, separate what the seller states from what a listing photograph only seems to show. Tiny product mockups can make a motif appear larger or less detailed than it really is. The public description gives a helpful starting point, but not a complete supplies list with verified DMC thread numbers.
| Seller-stated detail | What it tells you | What still needs checking |
|---|---|---|
| Around 20W × 20H stitches | Each small motif is approximately twenty crosses across and high | Check the exact bounds for the individual motif you want to make |
| 2-inch hoop | The seller intends the patterns for a miniature hoop display | Measure your particular hoop’s clear inner opening |
| 9 colors | The pattern is listed with nine colors | Read the downloadable chart for the actual color numbers, quantities and any specialty stitches |
| 4 PDF files | Digital files, not fabric or a physical kit | Check which PDF corresponds to each design, page or reference |
| Four pages described | Two full-color pattern pages, a color chart and a finished-design picture | Verify the layout and print scale of the downloaded pages |
| Personal use | The seller limits use of the pattern | Do not redistribute or resell copies of the original charts |
A listing title in the plural can describe a collection of tiny motifs, but it does not guarantee that every design has exactly the same chart dimensions. The word around matters. Use the individual grid or stitch count inside the purchased PDF when a precise finish is important.
The important geometry: can 20 × 20 stitches really fit a 2-inch hoop?
On standard Aida, assuming one full cross per fabric square, the calculation is stitch width ÷ Aida count = finished width in inches. For an illustrative 20 × 20 grid, that makes the stitched bounding square 1.43 inches wide on 14-count, 1.25 inches on 16-count, and 1.11 inches on 18-count. All three widths sound smaller than two inches.
But the hoop opening is a circle. A square measuring 1.43 inches per side has a diagonal of about 2.02 inches. If the stitched motif fills all four corners of that square, it can slightly exceed a perfect 2-inch circular opening. Many Christmas motifs leave their corners blank, so they may still fit perfectly well. The point is to test the actual occupied stitches, not just the bounding grid.
| Aida count | 20-stitch width | Diagonal if all corners are filled | Free space at each side in a 2″ opening | Practical reading |
|---|---|---|---|---|
| 11 count | 1.82″ | 2.57″ | 0.09″ | Too large for a full-corner square; only very compact shapes might fit |
| 14 count | 1.43″ | 2.02″ | 0.29″ | Width fits, full square corners are borderline |
| 16 count | 1.25″ | 1.77″ | 0.38″ | More corner clearance, still check the rim |
| 18 count | 1.11″ | 1.57″ | 0.44″ | Good geometric clearance; smaller holes to stitch |
The measurements assume an exact 20 × 20-stitch bounding square and an exact 2-inch clear circle. They are examples, not newly verified stitch counts for every FloReenStudio motif. The real usable opening can be narrower than the nominal hoop size because of the rim and how the fabric is held.
An easy paper test before you stitch
- Measure the hoop: check the inside diameter of the visible opening with a ruler. A decorative hoop may not provide a full 2.00 inches of clear space.
- Find the actual motif bounds: count the furthest stitched square left, right, up and down. Distinguish these from blank chart margins.
- Make a scale drawing: for 14-count, each stitch is 1/14 inch. Draw the stitched occupied shapes on graph paper at the chosen final size.
- Overlay a true-size circle: cut a paper circle matching the inner opening and center it over the motif. Watch the tree star, reindeer antlers, snowflake points and corner accents.
- Allow breathing room: if an ornament barely avoids the rim, try finer-count fabric, a slightly bigger hoop, or a different motif rather than trimming off stitched edges.
For ordinary rectangular framing the math is simpler; our cross stitch fabric-size calculator guide explains stitch counts, Aida count and mounting allowances. The circle-versus-square test above is the extra check that makes a 2-inch hoop project different.
Which Aida count should you choose for tiny Christmas ornaments?
14-count: comfortable crosses, but check the corners
Fourteen-count Aida is a friendly place for new stitchers because the holes are easier to find. The downside in a very small frame is that a 20-stitch square nearly spans the entire hoop diagonally. A Christmas tree or narrow candy cane often occupies little of the square’s corners; a full square background, broad snowflake or wide reindeer antlers can be less forgiving.
16-count: a useful middle ground
Sixteen-count reduces a 20-stitch span to 1.25 inches. It gives you a little more room for a simple border and can keep a tiny wreath comfortably away from the hoop edge. Your eye and lighting still need to cope with a smaller grid. The higher count does not simplify the chart or remove color changes.
18-count: more space around the motif, finer work
Eighteen-count creates a roughly 1.11-inch motif from twenty stitches. If your priority is breathing room inside the hoop, it can help, particularly for ornaments with broad corners. However, the smaller holes are not always a better experience for a beginner. Test coverage with the strand count in the pattern’s actual instructions.
If you are uncertain what fabric you already have, start with how to identify your Aida fabric count. Switching counts changes the physical size of a finished piece, but does not change the number of charted squares.
Nine colors in a tiny design: prepare thread before the first stitch
Nine shades are quite manageable for a miniature project, but the color count alone is not a guarantee of speed. A face with three isolated highlight stitches may need more checking than a larger connected block. Organize your floss using the actual legend in the PDF and keep the symbol and thread code attached to each skein or bobbin.
For a traditional Christmas look, red, evergreen, warm gold, white and dark outlines can create strong contrast. These are generic stylistic choices—not a claim about which exact DMC numbers are present in the linked commercial pattern. Do not substitute threads based only on a staged photo. A red-and-green combination that looks vivid on a monitor can be less legible on cream or oatmeal Aida.
| Motif detail | Contrast question | Common tiny-pattern problem |
|---|---|---|
| Tree outline and decorations | Can you tell the green branch from the red ornament? | Single red crosses blend into dark green |
| Snowman body | Will white stitches show against white Aida? | The body disappears except for a scarf and hat |
| Santa hat or stocking | Is the white trim distinct from the fabric? | Small pale features become invisible |
| Reindeer face | Are nose, eyes and antlers spaced clearly? | One off-grid cross changes the expression |
| Stars and snowflakes | Can light stitches be seen under normal room light? | Very thin lines disappear in the hoop |
If you need to substitute a missing thread, use our DMC color-substitution guide and compare real skeins side by side. For a gift set, keep a note of the colors you actually used so future matching ornaments stay consistent.
Prepare the supplies for a 2-inch Christmas hoop
- Purchased PDF: print a readable working copy or open it in a PDF reader; the digital chart is not a physical kit.
- Aida fabric: a roughly 4.5–5-inch square is a useful trial cut for a nominal 2-inch display hoop, but adjust after checking your backing method and hoop thickness.
- Floss: the nine seller-listed shades, using the true key and strand guidance from the download.
- Tapestry needle: a blunt needle appropriate to the count, commonly size 24 for 14-count or 26 for some finer counts.
- Working hoop: many stitchers find a 4–6-inch hoop easier to handle than the tiny display hoop; transfer only after stitching.
- Finishing tools: small scissors, needle and plain thread for gathering, matching felt or fabric to cover the reverse, and optional ribbon for hanging.
The fabric cut should provide enough excess outside the outer ring to pull the Aida evenly tight and finish the reverse. The number is not calculated by adding a narrow margin to the stitched motif. A very small square of cloth may contain the whole design but be almost impossible to secure in the hoop.
Step-by-step: stitch a tiny Christmas motif without miscounting
1. Check the chart symbols and establish the center
Open all four downloaded PDFs and determine which chart is the one you intend to stitch. Do not treat a finished-design photograph as the chart. Locate the grid center or a clearly marked reference point, count the fabric center, and plan the first connected color block. If the design has a star at the top, keep its position relative to the tree and the motif’s actual boundaries in mind.
2. Begin with a recognizable, connected shape
On a tiny Christmas tree, the trunk or lower branch can be a useful anchor; for a gift box, the main rectangular body is easy to count. Pick an area that lets you verify the next row. Make all top arms of the full crosses travel in the same direction for an even texture. Keep thread tension gentle; pulling tight can distort the little holes at the edge of a two-inch design.
3. Count isolated decorations twice
A single gold cross might be the entire star point. An isolated dark stitch could be an eye. Before you place a tiny detail, count its horizontal and vertical distance from an already completed shape. When the PDF includes a colored preview and a symbol chart, use the symbol positions to check the placement and the preview only for appearance.
4. Finish threads neatly behind a light background
Short thread lengths reduce tangling. Instead of carrying a dark strand across a long blank area to reach a separated dot, secure it behind finished stitches and restart near the new spot. Dark carries can become visible through pale Aida in a very small hoop, where even a little shadow behind the background stands out.
5. Add only the specialty stitches the legend actually calls for
If a chart uses backstitch for an antler, ribbon or little smile, work it in the sequence and thread count specified by the seller. Our backstitch tutorial explains tidy outlining. Never assume the PDF contains backstitch, fractional stitches or French knots just because the motif is small.
6. Check the finished shape against the circle
Before trimming the fabric, lay the actual two-inch hoop over the completed motif. Move the hoop until the ornament appears visually centered, then inspect every outermost stitched square around the rim. The star or antlers may need a slightly different vertical centering than the background grid.
How to finish a miniature 2-inch hoop ornament neatly
A two-inch hoop is a delightful presentation method, but it asks for careful finishing at the back. The fabric should be secure without a bulky knot directly behind the stitched picture. Treat any glue-based method as a deliberate choice: glues can stain or stiffen cloth and may be difficult to reverse if you want to preserve a keepsake.
- Check the hoop hardware: smooth any rough wood and make sure the screw can tighten. Remove splinters that could snag fabric.
- Center the stitching: place the finished, clean cloth over the inner ring, set the outer ring on it, and gently tighten while checking the motif’s visible edge.
- Even out the fabric: pull opposite sides gradually rather than tugging one corner hard. The grid should remain straight.
- Leave a backing margin: trim only after the hoop is secure, retaining enough fabric to gather or lace neatly behind the ring.
- Gather or lace: run small stitches through the excess cloth around the reverse and draw them together, or lace opposite edges with sturdy thread.
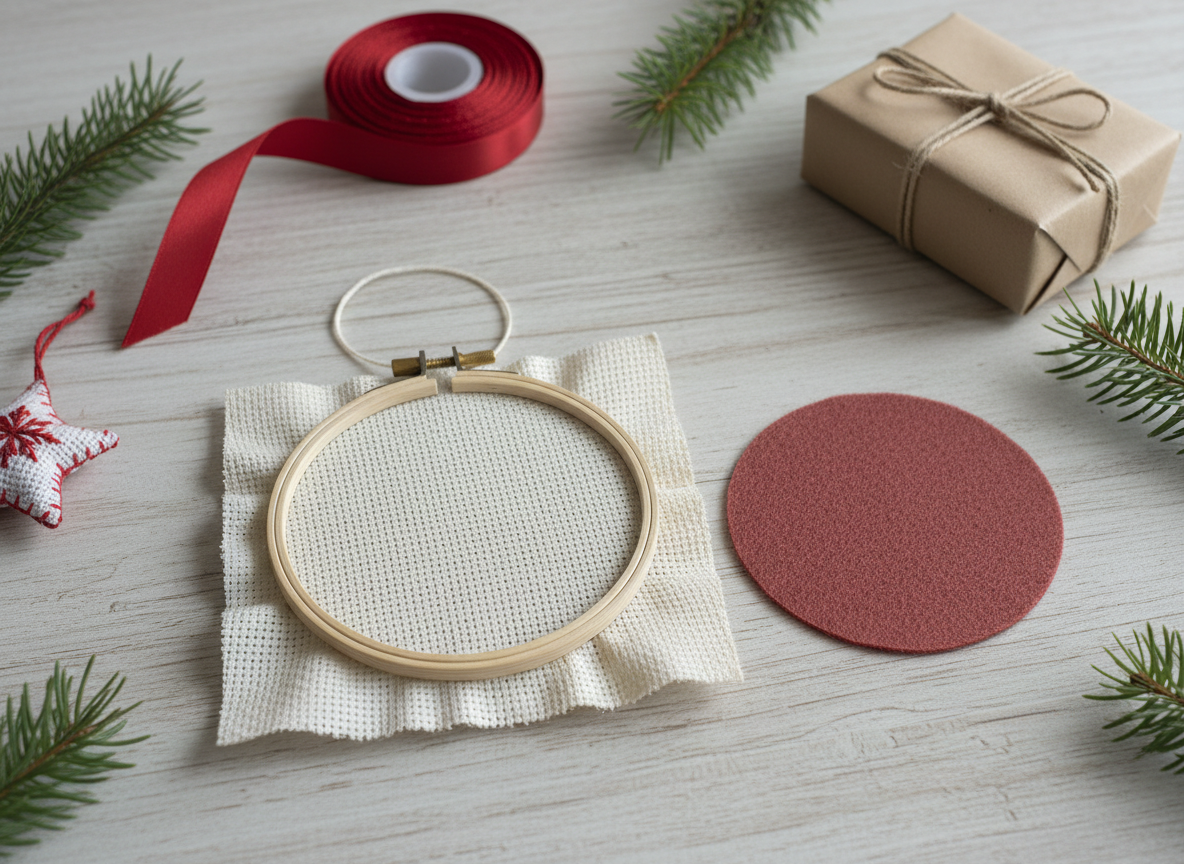
- Cover the back if desired: a circle of felt or a separate fabric backing hides raw edges and improves appearance when the ornament turns.
- Attach a hanging loop: tie ribbon or cord to the hoop hardware or an appropriate secure point. Test the knot before hanging it on the tree.
Our embroidery hoop finishing guide goes into more detail about neat backs and tension. For a different small-format finish, see how to make cross stitch Christmas ornaments.
Choose the right mini motif for your recipient
Not every shape works equally well at twenty stitches across. A narrow tree usually gives you more empty corners; a star or symmetrical snowflake can push decorative points toward the circle’s edge. The best choice depends on whether you want maximum readability, a playful character or a coordinated gift set.
| Motif idea | What to check before stitching | Best use |
|---|---|---|
| Small Christmas tree | Top star and widest lower branches remain inside the circle | Tree ornament or wrapped-gift topper |
| Tiny snowman | White body has enough contrast on the chosen Aida | Cheerful children’s-room decor, with secure construction |
| Reindeer face | Antlers and ears do not get trapped beneath the rim | Personalized gift for an animal lover |
| Wrapped present | Ribbon loops and box corners stay visible | Package tag or stocking embellishment |
| Simple bell or mitten | Outermost highlights leave a tidy border | Matching set of three or six ornaments |
| Wreath or snowflake | Outer ring or points do not touch the display rim | Minimalist wall arrangement |
These motif types are examples of common Christmas imagery, not a verified inventory of every chart in the FloReenStudio download. Use the seller’s file preview to choose the exact designs available in your purchase.
Batch-stitching five or six mini Christmas hoops
The biggest efficiency gain comes from doing the preparation once while maintaining enough structure to avoid mixing colors. Cut several fabric squares to the same generous dimensions, label each one discreetly, and keep each chosen PDF page with its corresponding fabric. You can then finish the backs as a separate session after the stitching is complete.
- Organize a common palette: place all chart-authorized floss codes in one organizer, without assuming every motif uses every color.
- Work one motif at a time: smaller projects reduce the temptation to leave half-finished pieces scattered across your table.
- Keep a quick fit log: note the fabric count and whether a star, branch or antler was close to the hoop rim.
- Prepare backs together: cut felt circles and ribbon lengths only after measuring the actual hoops.
- Use consistent hanging lengths: a matched set looks more polished even if the motifs and colors are different.
For scheduling, our batch-stitching Christmas gifts guide covers pacing and materials. This page stays focused on the specific geometric and finishing decisions for a 2-inch hoop.
Common mistakes when working with tiny charts
- Believing that 20 stitches across guarantees circle fit: the occupied corners and the circle diagonal matter.
- Cutting only a two-inch piece of Aida: you need significantly more fabric to hold and finish the hoop.
- Assuming nine colors means nine skeins are always required: check what you own and the actual floss codes, and follow the key.
- Using a decorative photo as the counted grid: always use the PDF’s stitch-by-stitch symbol chart.
- Finishing before checking the rim: test where the outermost stitches fall inside the real hoop opening.
- Overtightening a tiny wooden hoop: uneven pulling can skew the grid and distort stars or square gift boxes.
- Sharing the downloaded charts as freebies: the seller states personal use, so do not redistribute the paid PDF.
Mini Christmas 2-inch hoop FAQ
How many stitches fit across a 2-inch hoop?
At a purely mathematical level, a two-inch diameter spans 28 Aida squares on 14-count, 32 squares on 16-count or 36 squares on 18-count. That is a diameter, not a square area you can fill all the way into the corners. The nominal hoop diameter and its real clear opening can differ.
Will a 20 × 20-stitch design fit on 14-count Aida?
The bounding square measures approximately 1.43 inches per side, so its width fits inside two inches. If the entire square has occupied corners, the diagonal reaches about 2.02 inches, which is slightly too large for a perfect 2.00-inch circle. Motifs with blank corners can still fit. Check the particular chart and hoop opening.
Should I choose 14-count, 16-count or 18-count for a beginner?
Fourteen-count is easier to see and work; 16-count gives more room around the motif; 18-count offers the most room among these three but has finer holes. Choose based on the actual pattern, your eyesight and preferred stitch coverage—not only the final hoop size.
What size fabric should I cut for a 2-inch ornament?
A trial square of around 4.5–5 inches can provide useful handling and backing allowance for a small display hoop. Different hoop thicknesses, lacing methods and decorative trims may need more or less cloth. Test your finishing method before trimming.
Is this a free mini Christmas cross stitch PDF?
No. The linked FloReenStudio item is a paid Etsy digital pattern. This page is an independent educational guide and does not reproduce the commercial stitch charts. For separate free resources, visit our free small Christmas cross stitch patterns for cards guide or the free mini ornament and card patterns guide.
How many files and colors does the Etsy pattern contain?
The seller lists four PDF files, describes four pages (two pattern pages, a color chart and a finished design picture), and specifies nine colors. The exact thread IDs and detailed contents of each file should be checked in your purchase.
Can I put a 2-inch cross stitch hoop directly on a Christmas tree?
Yes, if the hoop is securely tightened, the back is neatly finished and a suitable hanging loop is attached. Consider weight, fragility and reachable small parts when placing ornaments in a home with young children or pets.
Does enlarging the PDF printout enlarge the finished design?
No. Printing a chart larger makes its symbols easier to read but does not change the number of crosses or the size of each Aida square. To change finished dimensions, choose a different fabric count or make a separately designed chart.
A tiny hoop that looks intentionally finished
The charm of miniature Christmas embroidery comes from proportion. For a successful 2-inch hoop, choose a motif with clear edges, use thread that contrasts with your fabric, check the true circular fit and leave enough fabric to finish the reverse well. Those practical details make a small stitched ornament look considered rather than cramped.
Explore mini patterns on fabric scraps if you have leftover Aida, or join the XStitchPattern Stitch Studio for new tutorials and free-pattern updates. The newsletter and free designs are separate from the paid FloReenStudio charts.