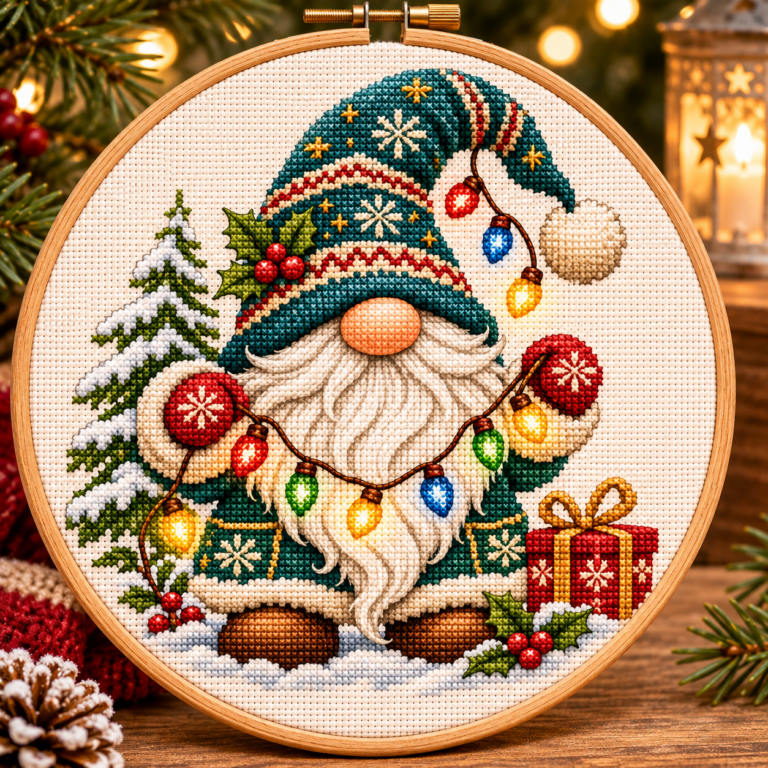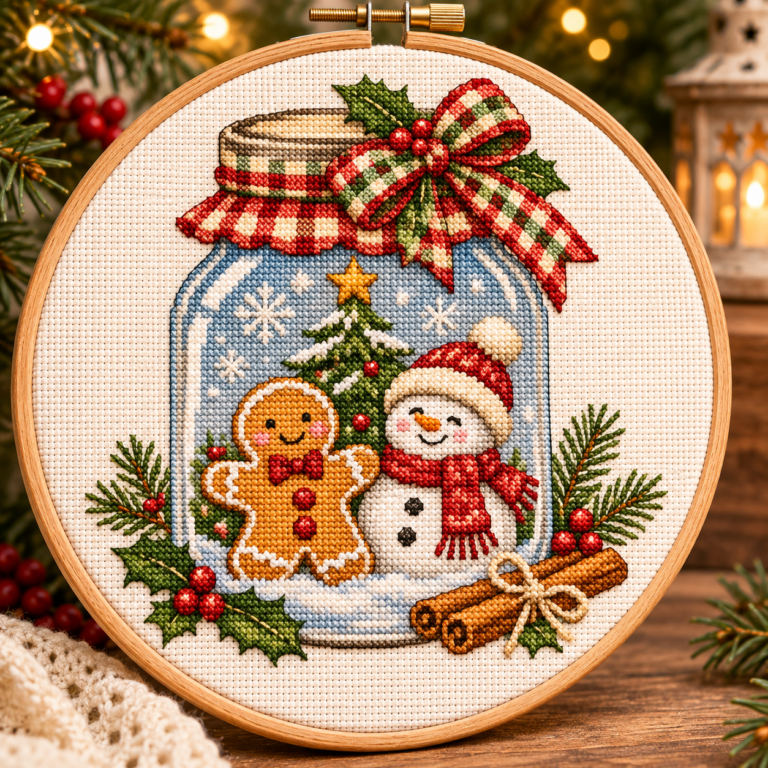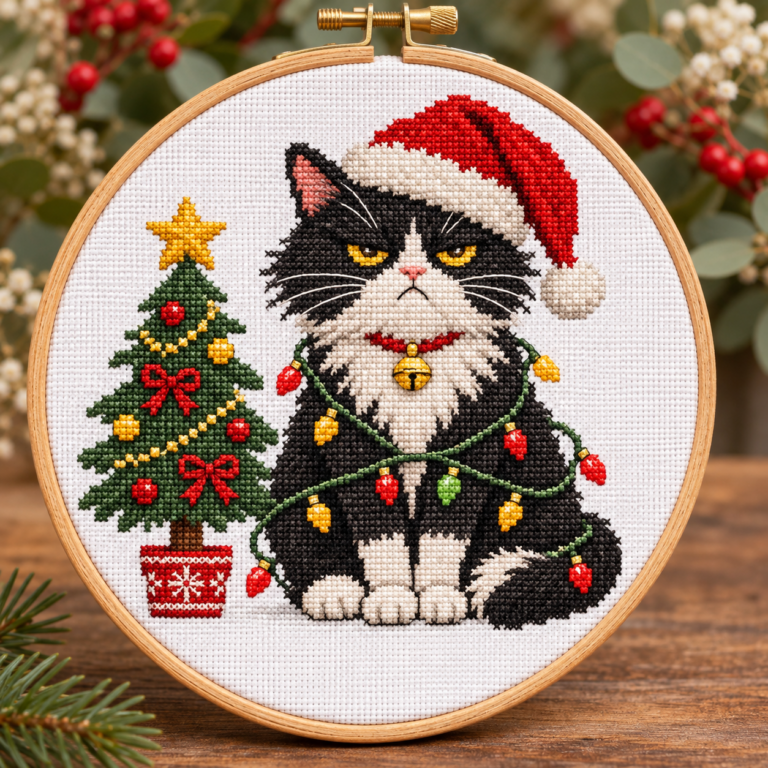

A hand-stitched Christmas card feels personal without requiring a large project. If you’re looking for small Christmas cross stitch patterns for cards in free PDF format, start with a chart that fits your card window, has a readable colour key, and can actually be downloaded without buying a kit. Below are verified places to find them, with the access conditions made clear.
Quick pick: For six coordinated greeting-card designs with seasonal wording, visit Craft with Cartwright’s Christmas card collection. First-time visitors are asked for an email to access the download. For tiny single motifs, try the Cross Stitch Makers Christmas collection, where individual charts offer printable PDF controls in your browser. Neither is an XStitchPattern-hosted PDF, and the designers retain their own usage terms.
Want to keep your stitching small? Think one motif, one card, one simple finish. A little tree, snowflake, holly sprig or gift can be easier to position than a full Christmas scene. Do not choose by the word “mini” alone: compare the stitch dimensions with the opening of your actual card.
Free small Christmas cross stitch patterns card PDF sources: what you really get
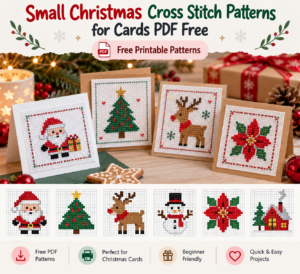
The word free can mean an immediate PDF, an on-page chart with a PDF export button, or a download unlocked by an email signup. Those experiences are not the same. Here are useful starting points, checked on October 31, 2026.
| Free pattern source | Best for | PDF access and limitation |
|---|---|---|
| Craft with Cartwright: six card designs | Greeting-card messages such as “Noel,” “Warm Wishes” and “Merry & Bright” | Free printable set; the site says new users need to enter an email to access exclusive content. The designs are roughly 53 stitches across, so check your aperture before choosing. |
| Cross Stitch Makers: Christmas charts | Tiny symbols such as a snowflake, tree, stocking and gift | Free chart pages with PDF export controls; the export uses browser JavaScript rather than a direct static PDF link. |
| BeadDot: Christmas motifs | Compact tree, star, bauble, candy cane and snowman ideas | Free charts you open and edit; use the site’s export workflow for a PDF. |
| Xstitchify: Christmas mini patterns | Character-style mini motifs and thread keys | The collection advertises free PDF patterns; check any account or download prompts before relying on a specific design. |
| LoveCrafts: Christmas free PDF patterns | A wider assortment, including festive decorations | Free patterns are listed in the collection, but many are larger than a greeting-card insert and download steps may vary by product. |
Helpful distinction: A listing can be free yet still ask for registration. Before stitching, open the actual chart and check whether it includes the symbol legend, stitch types, fabric advice and licensing conditions. Do not copy another designer’s chart into your own PDF or redistribute their download.
Which mini Christmas motifs work best on cards?
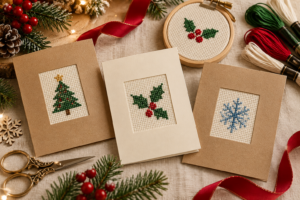
Small motifs are not all equally easy. A design with ten isolated stitches can demand more attention than one slightly larger block of green and red. Choose a motif based on the recipient, the card’s physical opening and your comfort with counting.
Christmas tree: classic and recognisable
A simple tree reads well at a small size, especially if its triangular silhouette is clear. Try a green tree with a gold star or a simple red ornament. The free Christmas tree chart at Cross Stitch Makers is listed as 15 × 18 stitches. On 14-count Aida, that charted design is about 1.07 × 1.29 inches before mounting allowance. It can sit comfortably in many small windows, but you still need to measure the actual opening.
Snowflake: minimal and easy to personalise
A single blue snowflake works with white, navy or kraft card. The winter snowflake chart is 15 × 15 stitches, which works out to approximately 1.07 inches square on 14-count Aida. Its branching lines include small isolated groups, so it is not necessarily the fastest option just because it uses few colours. For a different look, use one shade for the main branches and another for subtle highlights.
Holly and berries: a little festive colour
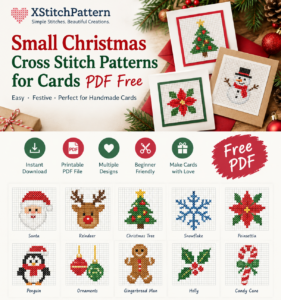
A sprig of holly is useful when you want to write “Merry small Christmas cross stitch patterns” or a recipient’s name on the card itself. Pick a chart whose leaves and berries remain distinguishable at the chosen fabric count. You can repeat the same motif across a set of cards and vary the paper colours instead of making an entirely new embroidery every time.
Presents, stockings and candy canes: quick silhouettes
A gift box, hanging stocking or striped candy cane is a good option for the smallest card windows. Look for clearly separated colour regions and a manageable thread palette. BeadDot’s mini Christmas library includes several of these subjects; check the individual chart rather than assuming the preview image is the stitch key.
Words and short greetings: check the whole phrase
Lettered charts can take more space than they first appear to. The six-card collection by Craft with Cartwright includes short seasonal messages; its stated design area is roughly 53 × 53 stitches, which comes to approximately 3.79 inches square on 14-count Aida. That will not fit a tiny two-inch aperture. For small windows, stitch one motif and write the greeting in ink underneath.
How to choose the right size for a small Christmas cross stitch patterns card
Aida fabric count tells you how many full-cross squares fit into one inch when working over a single square. For this use, the calculation is straightforward:
Stitched width in inches = chart width in stitches ÷ Aida count. Apply the same formula to height. Then allow space between the stitched design and the card’s window edge; add extra unstitched fabric so it can be secured behind the card.
| Example chart | 14-count Aida | 16-count Aida | 18-count Aida |
|---|---|---|---|
| 15 × 15 stitches | 1.07 × 1.07 in | 0.94 × 0.94 in | 0.83 × 0.83 in |
| 20 × 20 stitches | 1.43 × 1.43 in | 1.25 × 1.25 in | 1.11 × 1.11 in |
| 35 × 35 stitches | 2.50 × 2.50 in | 2.19 × 2.19 in | 1.94 × 1.94 in |
| 53 × 53 stitches | 3.79 × 3.79 in | 3.31 × 3.31 in | 2.94 × 2.94 in |
These are mathematical examples, not dimensions promised by a particular seller. They measure the stitched grid, not the paper card or the fabric you should cut. Measure your aperture first. A sensible starting design is noticeably smaller than its window rather than nearly touching every edge.
If you’re unsure whether 14-, 16- or 18-count fabric is best, read our Aida fabric count and finished size guide. In practice, 14-count is often easier to see and count; a higher count creates a smaller finished motif from the same PDF, not more detail in the chart.
Supplies for a small cross-stitched Christmas card
You do not need a large kit. Gather a printed or screen-readable PDF chart with its symbol legend, a small piece of Aida, embroidery floss in the chart’s colours, a blunt tapestry needle suitable for your fabric, scissors, and a blank folded card. An aperture card already has a cut-out window; alternatively, prepare a paper mount with a clean opening. Have acid-free mounting materials or suitable double-sided tape available, and use a backing insert to hide the reverse of your stitching.
If you are changing colours, first try a few crosses on leftover Aida. White stitches may disappear against white fabric, while dark thread may show through light fabric from the back. A single extra strand does not fix every coverage issue; follow the chart’s recommendations where given.
From downloaded PDF to finished greeting card: 7 steps
- Download and inspect the actual chart. Confirm it is a counted cross stitch pattern rather than a decorative pixel picture. Keep the symbol legend open. If the chart uses backstitch, half crosses or specialty stitches, read those directions too.
- Measure your card window. Compare its usable opening with the chart’s physical dimensions on your chosen Aida count. Leave visual breathing room so the design does not disappear behind the card’s edge.
- Cut generous fabric. Add enough blank Aida all around the design to hold comfortably while stitching and later secure behind the window. Do not cut the fabric to the exact stitched measurement.
- Find a reliable starting point. Fold the fabric gently to locate the centre, or use the chart’s centre arrows and count from a known position. Keep the top arm of each full cross oriented in the same direction.
- Stitch and inspect. Work larger colour areas first if that helps your counting. Check letter spacing and isolated stitches carefully. Remove any temporary markings according to your fabric and marker instructions.
- Mount without stretching. Test-position the stitching behind the aperture. Secure the unstitched margins on the reverse of the mount, avoiding adhesive on the visible stitches. Keep the fabric smooth, not pulled tight enough to warp the design.
- Cover and finish the back. Add the card’s inner backing panel or a neat paper insert, write your greeting and let all adhesives dry fully before putting the card in an envelope.
The BBC’s illustrated aperture-card PDF provides a simple example of how embroidery is presented in a card window. Its design is not a Christmas pattern; the finishing concept is the relevant part. For a companion card-planning guide, see our mini Christmas card-making guide. If this is your first PDF chart, the XStitchPattern guide to reading symbols and colour keys explains what each square represents.
Common mistakes that spoil otherwise lovely cards
Stitching a design too large for the aperture. A 53-stitch greeting is not automatically “mini.” Calculate finished dimensions before opening the floss.
Using the PDF’s printed size as the embroidery size. The chart may be enlarged for readability. Actual stitch size depends on the fabric count, not the printed grid measurement.
Cutting the fabric too close. Without a blank margin, there may be too little Aida to hold securely behind the card.
Putting tape or glue across the visible stitches. This can flatten texture, stain thread or interfere with cleaning. Secure the unstitched backing area and choose materials suitable for paper and textiles.
Assuming every free chart can be republished. A free download does not necessarily come with permission to share the PDF file, alter it commercially or sell finished pieces. Read the designer’s usage terms.
Making ten cards without finishing one. Stitch and mount a complete sample first. It will reveal whether the backing panel, aperture size or envelope thickness needs adjusting.
Three practical ways to make a matching Christmas card set
A tiny winter collection: choose a snowflake, star and tree in the same two or three winter colours, then use matching white or deep-blue cards. Keep the designs separate so each greeting stays uncluttered.
Classic red and green: repeat a tree, candy cane and holly sprig. Let the same red thread and card-paper colour bring the set together; the motifs can differ while the collection still feels coordinated.
A personalised family set: stitch one simple mini motif on each card and hand-letter the recipient’s name below. This avoids trying to squeeze tiny cross-stitched letters into an aperture that cannot hold them legibly.
For additional inspiration, browse the XStitchPattern Christmas pattern collection, which includes paid digital designs; those products should not be confused with the external free resources linked above.
FAQs about free Christmas cross stitch card PDFs
Where can I get a free small Christmas cross stitch PDF for a card?
Start with Cross Stitch Makers’ Christmas charts for compact motifs and browser-based PDF printing. For six greeting-card-specific designs, use Craft with Cartwright; the creator explains that first-time users need to enter their email to access the printable set.
Is a 15 × 15 stitch design small enough for a Christmas card?
On 14-count Aida, it is about 1.07 inches wide and high, before margins. That is suitable for many modest card openings, but measure the window rather than assuming every small card has the same aperture.
Can I use 16-count Aida for these free PDF patterns?
Usually, if the chart uses conventional full crosses over a single fabric square. The same motif becomes physically smaller at 16-count than at 14-count. Check stitch types, floss coverage and your eyesight before switching.
Do I have to use a pre-cut aperture card?
No. You can make a neat paper window yourself or mount a trimmed stitched panel on card stock with a suitable backing. A pre-cut aperture is simply convenient for consistent sizing.
May I sell cards made from a free chart?
Only if the chart owner’s licence allows that use. “Free to download” is not the same as “free for commercial use.” When permission is unclear, ask the designer.
Does XStitchPattern offer a separate free pattern?
Yes. Our free cross stitch pattern signup describes a PDF delivered by email after subscription confirmation. It is a separate welcome gift and is not presented here as a Christmas card pattern. You can also browse our free stitching tools and guides for chart-reading help.
A small handmade card is enough
Choose one free chart whose actual stitches fit the card, verify how its PDF is accessed, and finish a single sample before making a batch. For a quick first attempt, a 15–20 stitch motif is a manageable scale; for lettered greetings, allow a larger card window. The combination of a readable chart and a tidy backing matters more than adding extra decorations.
Resource-check date: October 31, 2026. Pattern availability, signup requirements and download controls may change. External resources remain the property of their respective designers. Illustrative images in this article are AI-generated editorial concepts, not photographs of stitched or test-stitched samples.