

Moon and castle cross stitch patterns combine several shapes that need to remain clear: a crescent, architectural details, stars and open sky. A small preview can make them look simpler than the counted chart actually is. Start by checking the chart rectangle and file contents, then plan how you will locate the moon, protect pale highlights and finish the complete scene without trimming away its outer details.
Distinguish the chart rectangle from the picture outline
A circular moon or a curved crescent still sits inside a rectangular chart. Our Crescent Moon Castle PDF pattern is listed as 200 × 200 stitches, with eight DMC colours and a fourteen-page PDF. The current description specifies a preview, twelve colour-symbol chart pages and a floss list. These are listing specifications, not a claim that the design has been stitched for this article.
Do not size the fabric from the visible crescent alone. Stars, hanging details and clouds may reach beyond its main outline. Check the outermost charted positions and preserve the entire design rectangle when calculating the cloth. Do not infer specialty stitches, a separately charted border or app compatibility unless the actual file or listing states them.
Compare finished sizes before buying a frame
A 200 × 200 chart worked one cross per Aida square measures approximately 14.29 × 14.29 inches on 14 count or 12.50 × 12.50 inches on 16 count. On 18 count, the calculated design size is about 11.11 × 11.11 inches, although the example product specifically suggests 14 or 16 count. Choosing another fabric requires your own coverage and visibility assessment.
Add the finishing allowance separately; a frame sold as fourteen inches square will not automatically accommodate the whole design plus a comfortable mount opening. Measure the actual display opening and think about breathing room around the outer stars. Our cross stitch size guide explains the calculation, while the framing guide covers mounting decisions.
Test light and dark contrasts with the real thread
Gold, cream and pale blue can change their apparent contrast on different fabric colours. Lay the actual thread against an offcut in daylight and in the light where the piece will hang. Check the palest star or highlight as well as the darkest tower. A dark ground can strengthen a celestial mood while making counting and pale coverage more demanding.
The example listing suggests Aida counts, not a compulsory dark fabric colour. Follow any ground-colour instruction in the PDF before substituting another shade. Stitch a small representative sample using the stated strands rather than assuming a mockup accurately predicts cloth show-through. Avoid buying a large piece of specialty-dyed fabric solely because a screen preview looks atmospheric.
Locate the crescent and tower from dependable references
Find the centre of the chart and cloth, then decide whether a centre start or a measured corner start gives you a clearer first reference. Whichever you choose, record the coordinates of the first stitch. A long crescent outline is particularly unforgiving if its position is established from one unchecked count.
Work a short section, check its shape against the chart, and then extend it. Confirm the tower’s position relative to the crescent before building several floors or roof lines. DMC’s guide to beginning cross stitch is a useful starting reference; Scarlet Quince explains locating a first stitch for a measured start. Neither reference replaces the supplied chart coordinates.
Treat stars and open sky as counted design areas
Unstitched space is still part of the composition. Position a distant star by counting from two reliable directions rather than guessing from the finished picture. Keep any thread travelling across an open area from showing through the front. Where a carry would be conspicuous or insecure, finish the thread and restart at the next motif using a suitable method.
At a chart-page boundary, identify any repeated overlap before continuing a curved line. Review the full crescent periodically instead of checking only the latest few stitches. Our PDF chart-reading guide covers page navigation, and the scattered-stitch guide offers counting and thread-management ideas that also apply to isolated celestial motifs.
Choose the finish after checking the complete silhouette
A square frame can suit a square chart, but inspect the final balance around every projecting star before centring the mount. A hoop display needs enough cloth for secure backing and a diameter that accommodates the entire design. A cushion idea requires a separate construction plan; a chart purchase does not automatically include sewing instructions.
Keep the piece protected between sessions and assess care against all the actual materials before washing or pressing. Reserve a clean area for the finished cloth and avoid sharp folds through raised stitches. If the piece is a gift, allow time for mounting after the stitching ends. A fantasy landscape is more satisfying when the small details and the finishing receive the same attention as the central castle.
Frequently asked questions
Does a celestial design have to be stitched on black Aida?
No. Follow the actual chart’s guidance and test thread contrast on the ground you prefer. The linked example does not specify black as compulsory.
Does eight colours mean a quick project?
No. Chart dimensions, distribution of stitches and your own pace all matter. A 200 × 200 rectangle is substantial even with a small palette.
Is the illustration a preview of the purchased chart?
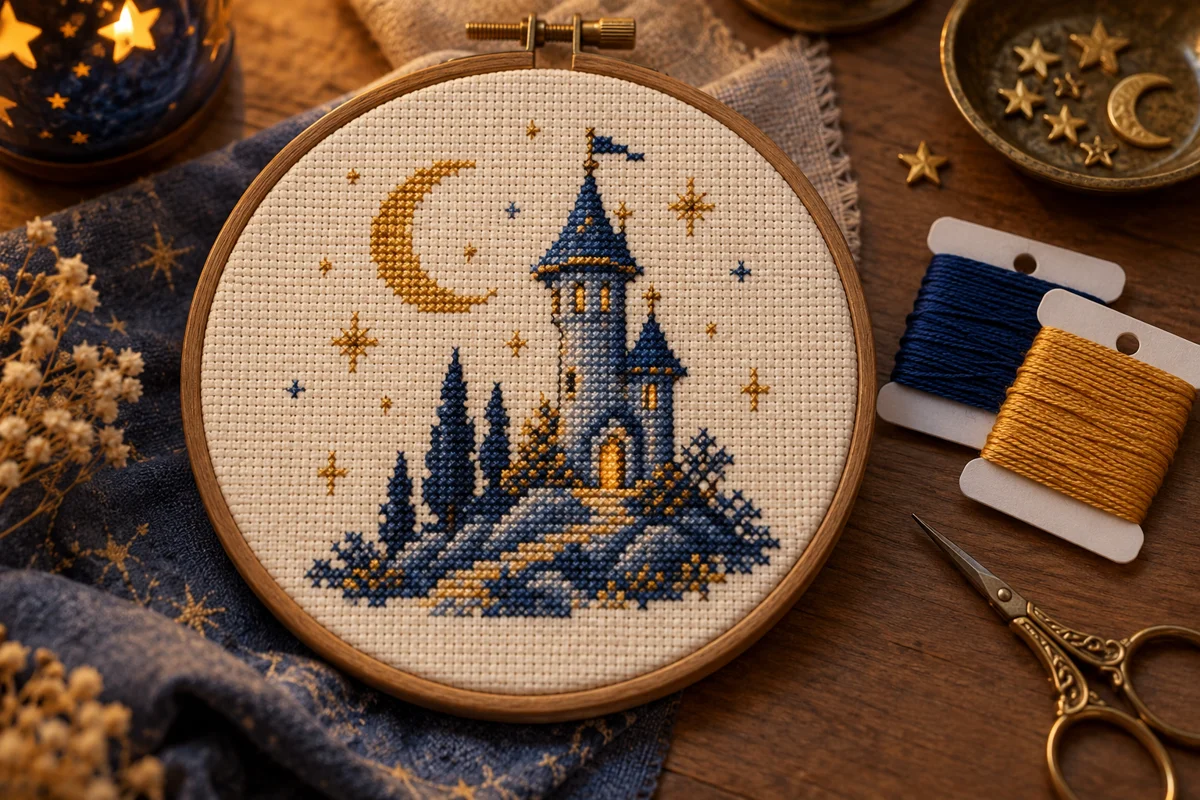
No. The article illustration is original AI-generated editorial inspiration. Use the product page and supplied PDF for the exact commercial design.


 English
 French
 Spanish
 German
 Arabic