

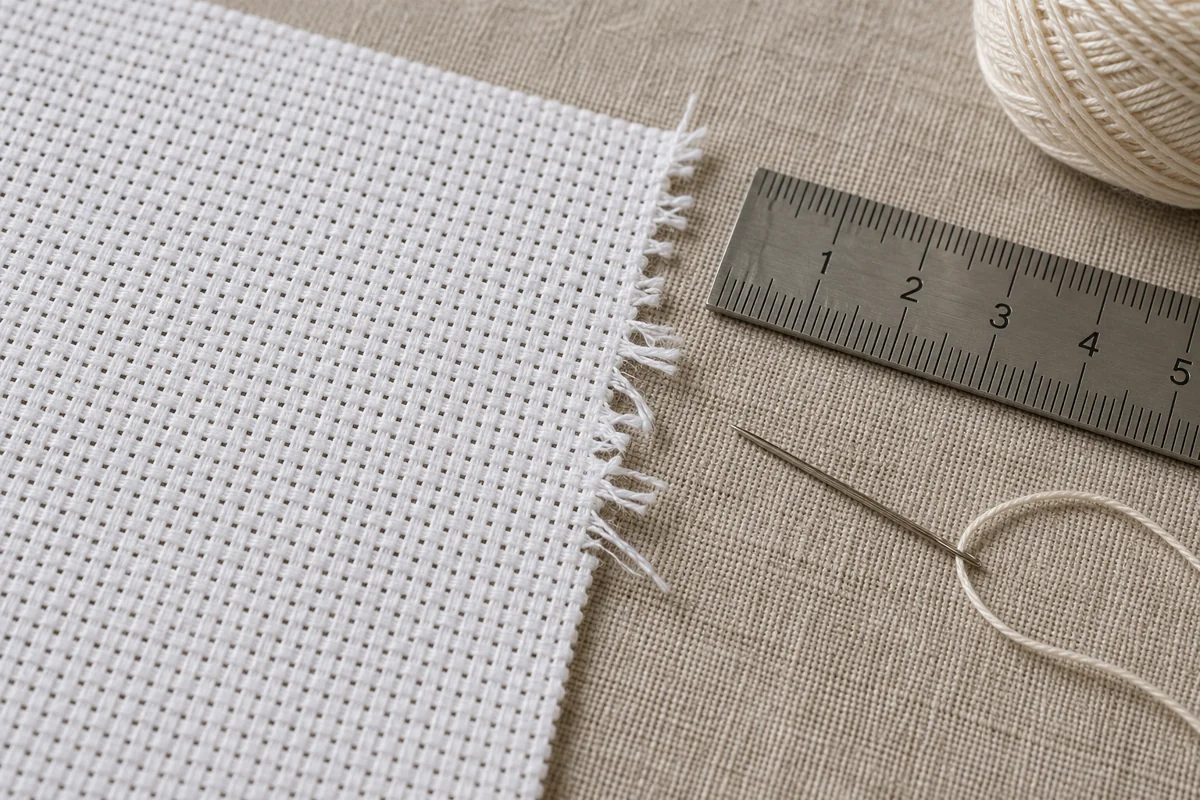
To stop Aida cloth from fraying further, first support the fabric and identify the last continuous row of intact weave. Measure the remaining margin from the outermost design stitch to that sound row, not to the loose fringe. Only then choose a protective sewn border or revise the finishing plan.
A rescue decision you can make before picking up scissors
Separate the appearance of the fringe from the amount of usable fabric. A few long loose yarns can look alarming even when the design still has a generous margin. Conversely, a neat-looking edge may sit too close to the stitches for the intended mount. The decision should come from measurements on all four sides, with particular attention to the narrowest point.
Write a short condition record: fabric count, stitched design size, intact top and bottom allowances, intact left and right allowances, and any split bundles near the embroidery. A photograph with a ruler beside the fabric gives you a reference without marking the cloth. Keep the ruler on the table rather than hooking it through an open edge.
If the sound margin is sufficient, practice gentle overcasting on a spare piece and secure the project into intact weave. If the allowance is too narrow for the intended frame or hoop, pause before further stitching. A different display opening or supported textile mount may be possible, but edge stitching cannot recreate cloth that has been lost.
After securing the border, reduce friction during storage: support the piece, keep rough accessories away from it and avoid repeated trimming. Review the hand-overcasting instructions for tension and corners, then check your framing allowance before the final cut. For fiber-sealing products, consult the manufacturer’s product instructions and test on matching fabric first.
First, stop handling the damaged edge
Put the project on a clean, smooth surface and move scissors away from it while you assess the damage. Do not pull the loose yarns to see how far they will unravel. If a hoop or clamp is tugging on the affected edge, release it carefully while supporting the fabric and embroidery.
Look at both sides in good light. Is the damage limited to a soft fringe, or are whole rows of the woven grid missing? Are the cross stitches themselves intact? A frayed outside margin and a torn stitched area need different decisions. This article deals with unraveling edges; it does not promise to reconstruct missing embroidery or restore an antique textile.
For a fresh piece that has not deteriorated, the general Aida edge-finish guide is the better starting point. Here, the aim is to preserve the cloth that remains.
Measure from the design to sound fabric, not to the fringe
Find the outermost charted stitch on each side, including any backstitch or other detail that extends beyond the main crosses. Measure from there to the point where the weave is still continuous. Loose threads beyond that point are not dependable mounting allowance.
Record all four measurements separately. A design can be centered on the original cloth yet have much less margin on one side after handling. Measure the narrowest usable section of each side, not just the corners. Avoid marking the fabric with a permanent pen; notes on paper and a quick reference photograph are enough.
- Top: intact distance beyond the highest stitch.
- Bottom: intact distance below the lowest stitch.
- Left and right: check independently, especially near a clamp or hoop screw.
- Damaged sections: note where the loose area comes closest to the design.
Fabric count helps when the space is small: fourteen intact Aida squares equal one inch on 14-count cloth. Do not confuse that with fourteen holes counted from both endpoints. If you are unsure of the count, consult our 14-, 16- and 18-count Aida guide before using a stitch count as a ruler.
Choose the next step from the condition of the margin
Loose fringe with a generous sound margin: secure a line in the intact weave and continue, keeping the protective edge outside the display area. There is usually no need to trim the whole piece smaller just to make all four sides match.
A narrow but intact margin: pause and check the actual finishing method. A hoop that needs gathering at the back may require more spare cloth than a mounted card. Draw the intended aperture or mount opening on paper and compare it with the stitched dimensions.
Damage reaches the design or leaves too little holding fabric: stop stretching the piece. A framer experienced with textiles may be able to suggest a supported mount or another display size. Adding fabric strips is a construction choice, not a way to recreate lost Aida squares, and a bulky join can affect both tension and appearance.
Unstitched cloth with severe damage: choose a smaller project or a larger sound piece before spending hours stitching. Saving an unsuitable offcut is not worth losing the finishing space a design requires.

Secure a rescue border without making a new weak point
Work from a sound section towards the damaged section with the cloth supported flat. Use sewing thread and a suitable hand-sewing needle to wrap the raw edge with relaxed overcasting stitches, taking each stitch into intact fabric beyond the loosened yarns. Our step-by-step hand-overcasting tutorial explains the needle path and corner treatment.
Do not stitch through the loose fringe alone: that can bind a bundle of threads while leaving it disconnected from the stable weave. Avoid pulling the thread so hard that the margin gathers. After a short section, set the cloth down and check that the grid still lies flat.
A machine finish can work on a sound, accessible margin, but a finished embroidery is awkward to maneuver safely under a presser foot. Test settings on matching scrap fabric and keep the embroidery clear of the needle. Janome’s overedge-foot guidance describes how an appropriate overcasting stitch wraps a raw fabric edge; consult your own machine manual for compatible feet and stitches.
Worked example: a margin that has become uneven
Suppose your stitched design measures 6 inches wide. You originally cut 12-inch-wide Aida, allowing 3 inches on each side. After fraying, the left side has 2½ inches of sound fabric and the right has 2¾ inches. The remaining width is 11¼ inches: 6 + 2½ + 2¾.
That does not mean you should cut the right side down to 2½ inches for symmetry. Mounting usually centers the design itself, not necessarily the outside edges of the cloth. Keep the extra sound fabric until the finish has been planned.
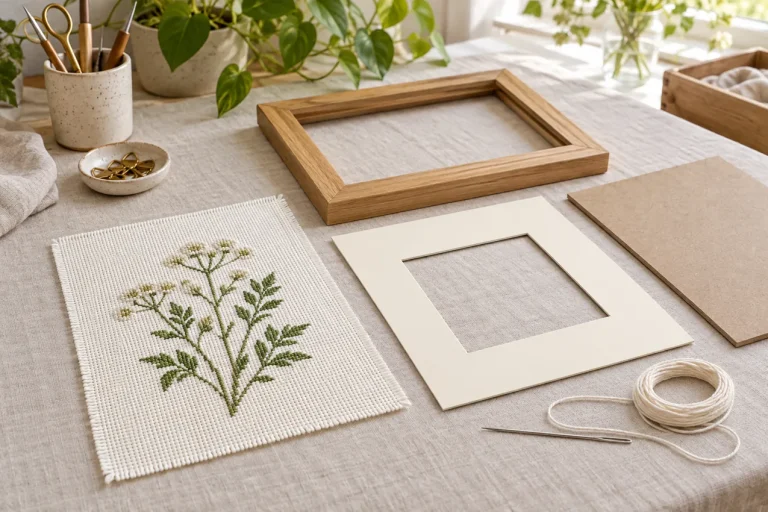
If your chosen mounting method requires 3 inches per side, the original plan no longer fits that requirement. A neat overcast border can prevent further loss, but it cannot supply the missing half inch. Review the board, frame or display approach before committing to more cuts. Our cross stitch framing guide helps separate the visible design opening from the hidden fabric used for mounting.
Prevent the same damage while you finish the project
Keep the secured margin away from bag zips and hook-and-loop fasteners. Roll or lay the work with a clean protective covering rather than stuffing the raw edge into a small pouch. If you rotate a hoop, check that the screw and rings are not catching the same corner repeatedly.
Deal with tape cautiously. If an old strip resists removal or lifts yarns, stop pulling; do not experiment with solvents on the embroidery. A liquid seam sealant also needs a matching-fabric test and the manufacturer’s instructions. Neither adhesive nor a sewn edge can replace material that has already unraveled.
Once the project is complete, decide on washing from the actual fabric and thread care information. Avoid vigorous rubbing or wringing of a weak border. See our washing and pressing instructions and, for a different finish, the hoop finishing guide.
Frequently asked questions
Should I cut away every loose thread?
No. Secure the sound cloth first. A cosmetic trim is optional afterwards, and only outside the protective stitches where you can see that cutting will not remove useful weave.
Can I glue the missing margin back together?
Loose yarns do not become dependable Aida again simply because they are coated with glue. Preserve the remaining grid and reconsider the mount if the margin has become too small.
Will a larger hoop solve the problem?
Not by itself. A different hoop may change where the fabric is gripped, but it does not restore missing rows or secure the raw outer edge. Check that any frame holds sound cloth without pulling on the weakened area.
Can I still make something from an unstitched offcut?
Possibly. Measure the sound area after securing it, then choose a chart with its finishing allowance included. Our guide to mini patterns on fabric scraps explains how to plan a smaller project from usable fabric.
Photo credits and reuse terms: Unsplash License. For more preparation advice, explore our cross stitch tools and guides.
 English
 French
 Spanish
 German
 Arabic