

Use these free cross stitch charts for gift tags to make a small leaf or acorn in full crosses. Both original designs use a 16 × 16-square chart area, with numbered grids and symbol keys below. Choose the tag opening first so the finished embroidery has enough room and secure fabric around it.
Plan one tag from chart to cardstock before making a batch
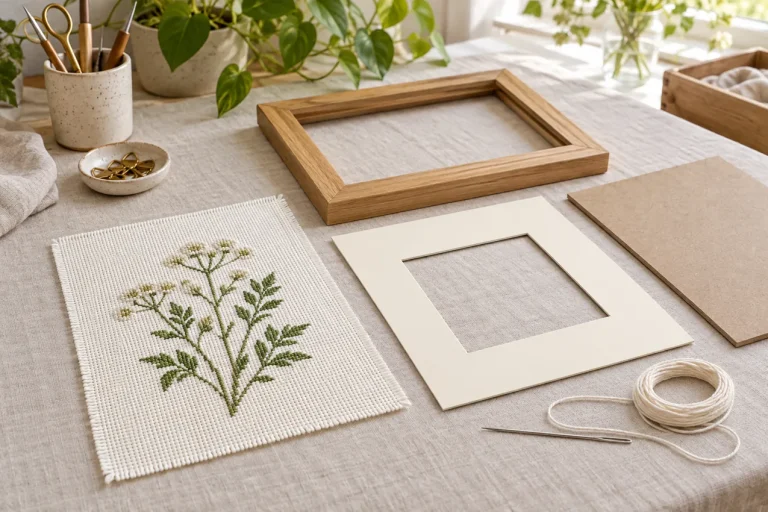
Cut a paper window the same size as your intended tag opening and lay it over the chart or a correctly sized paper outline. Check the entire motif, including the leaf stem or acorn tip. A design that almost fits may lose its recognizable shape when the cardstock covers one row. Adjust the opening or choose a different fabric count before stitching.
Use the chart’s full grid as a placement reference, then allow additional cloth for mounting. Sixteen squares occupy about 1.14 inches on 14-count Aida or 1 inch on 16-count. A 1-inch paper window therefore cannot show a complete 16-square area on 14-count fabric. The actual marked motif may occupy less than the full grid, so check its outermost stitches rather than assuming the two sizes are identical.
Prepare the back as carefully as the front. Secure short thread ends beneath existing stitches and avoid knots or long dark carries behind open fabric. When assembling a paper tag, test the selected adhesive on scrap card and fabric; use it outside the visible stitched area and follow its drying instructions. Keep a textile you want to preserve separate from a disposable glued-paper construction.
Make one complete sample before repeating ten tags. Record the fabric count, thread choices, opening size and mounting allowance so the set stays consistent. Our stitched card mounting guide explains aperture planning, and the Aida edge protection guide helps preserve small offcuts while you work. For another theme, use the cloud and teacup charts. DMC’s fabric guide is a reference for choosing the counted cloth.

Choose the tag size before cutting your cloth
Start with the tag’s visible opening or the area where the stitched fabric will sit. A small motif still needs enough fabric around it to mount securely. Cut the cloth generously at first and trim only after you have checked how it sits against the cardstock.
Both charts use a 16 × 16-square area. On 14-count Aida, that area is about 1.14 inches or 2.90 cm square; on 16-count it is 1 inch or 2.54 cm square. Those figures describe the complete grid, including its blank squares, not the size of the finished paper tag.
Print the leaf and acorn charts
The numbers identify rows and columns. Each marked square is one full cross; dots remain unstitched. The chart center is between rows 8 and 9 and columns 8 and 9. Use those references when positioning the chart on the fabric rather than centering only the first row that contains stitches.
Choose X in green for the leaf. For the acorn, use X for a darker cap and o for a lighter body. Brown and tan are suggestions, not required thread numbers. A single-color version is also possible, although the cap and body will read as one silhouette.
Leaf symbol chart
| r/c | 1 | 2 | 3 | 4 | 5 | 6 | 7 | 8 | 9 | 10 | 11 | 12 | 13 | 14 | 15 | 16 |
|---|---|---|---|---|---|---|---|---|---|---|---|---|---|---|---|---|
| 1 | · | · | · | · | · | · | · | · | · | · | · | · | · | · | · | · |
| 2 | · | · | · | · | · | · | · | X | · | · | · | · | · | · | · | · |
| 3 | · | · | · | · | · | · | X | X | X | · | · | · | · | · | · | · |
| 4 | · | · | · | · | · | X | X | X | X | X | · | · | · | · | · | · |
| 5 | · | · | · | · | X | X | X | X | X | X | X | · | · | · | · | · |
| 6 | · | · | · | X | X | X | X | X | X | X | X | X | · | · | · | · |
| 7 | · | · | · | X | X | X | X | X | X | X | X | X | · | · | · | · |
| 8 | · | · | · | X | X | X | X | X | X | X | X | X | · | · | · | · |
| 9 | · | · | · | · | X | X | X | X | X | X | X | · | · | · | · | · |
| 10 | · | · | · | · | · | X | X | X | X | X | · | · | · | · | · | · |
| 11 | · | · | · | · | · | · | X | X | X | · | · | · | · | · | · | · |
| 12 | · | · | · | · | · | · | · | X | · | · | · | · | · | · | · | · |
| 13 | · | · | · | · | · | · | · | X | · | · | · | · | · | · | · | · |
| 14 | · | · | · | · | · | · | · | X | · | · | · | · | · | · | · | · |
| 15 | · | · | · | · | · | · | · | · | · | · | · | · | · | · | · | · |
| 16 | · | · | · | · | · | · | · | · | · | · | · | · | · | · | · | · |
Key: X = Leaf and stem — green cotton (61 crosses). · = leave the fabric unstitched. Full crosses only; no backstitch or fractional stitches.
Acorn symbol chart
| r/c | 1 | 2 | 3 | 4 | 5 | 6 | 7 | 8 | 9 | 10 | 11 | 12 | 13 | 14 | 15 | 16 |
|---|---|---|---|---|---|---|---|---|---|---|---|---|---|---|---|---|
| 1 | · | · | · | · | · | · | · | · | · | · | · | · | · | · | · | · |
| 2 | · | · | · | · | · | · | · | · | · | · | · | · | · | · | · | · |
| 3 | · | · | · | · | · | · | · | X | · | · | · | · | · | · | · | · |
| 4 | · | · | · | · | · | X | X | X | X | X | · | · | · | · | · | · |
| 5 | · | · | · | X | X | X | X | X | X | X | X | X | · | · | · | · |
| 6 | · | · | X | X | X | X | X | X | X | X | X | X | X | · | · | · |
| 7 | · | · | X | X | X | X | X | X | X | X | X | X | X | · | · | · |
| 8 | · | · | · | o | o | o | o | o | o | o | o | o | · | · | · | · |
| 9 | · | · | · | o | o | o | o | o | o | o | o | o | · | · | · | · |
| 10 | · | · | · | · | o | o | o | o | o | o | o | · | · | · | · | · |
| 11 | · | · | · | · | · | o | o | o | o | o | · | · | · | · | · | · |
| 12 | · | · | · | · | · | · | o | o | o | · | · | · | · | · | · | · |
| 13 | · | · | · | · | · | · | · | o | · | · | · | · | · | · | · | · |
| 14 | · | · | · | · | · | · | · | · | · | · | · | · | · | · | · | · |
| 15 | · | · | · | · | · | · | · | · | · | · | · | · | · | · | · | · |
| 16 | · | · | · | · | · | · | · | · | · | · | · | · | · | · | · | · |
Key: X = Cap and stem — dark brown cotton (37 crosses); o = Body — tan cotton (34 crosses). · = leave the fabric unstitched. Full crosses only; no backstitch or fractional stitches.
Work the leaf from a checked reference
Locate the center of the chart area on your fabric and count to the first group you plan to stitch. The leaf uses a stepped outline and a short stem. Check the number of marked squares in each row before moving up or down; do not turn a diagonal edge into a solid rectangular patch.
Keep the upper legs consistent and use a comfortable tension. A small motif can be distorted by a few tight stitches. If the holes start to pull out of shape, ease your tension and check whether the needle and thread thickness suit the cloth.

Keep the acorn cap distinct
Stitch the cap and body in the positions shown in the chart. The change in symbol separates them without backstitch. If your two colors look similar on the fabric, choose a larger difference in lightness before you begin rather than outlining the shape with an extra uncharted line.
Work in small groups and secure the ends under existing stitches. Keep loose dark thread from crossing the open background behind the rounded body. A tidy back makes a paper-mounted tag easier to assemble and reduces the chance of a thread end creating a bump.
Make a matching set without repeating every detail
Use the same fabric count and a small shared palette for several tags. You can vary the cardstock, ribbon or motif while keeping the stitched scale consistent. If you swap fabrics, recalculate the grid area; an identical chart on a different count will not be the same physical size.
Write down the colors and strand count for the first tag before starting the second. For a larger batch, our fabric-scrap project guide explains how to group compatible pieces and avoid running out of a particular shade halfway through a set.
Mount the finished fabric without crushing it
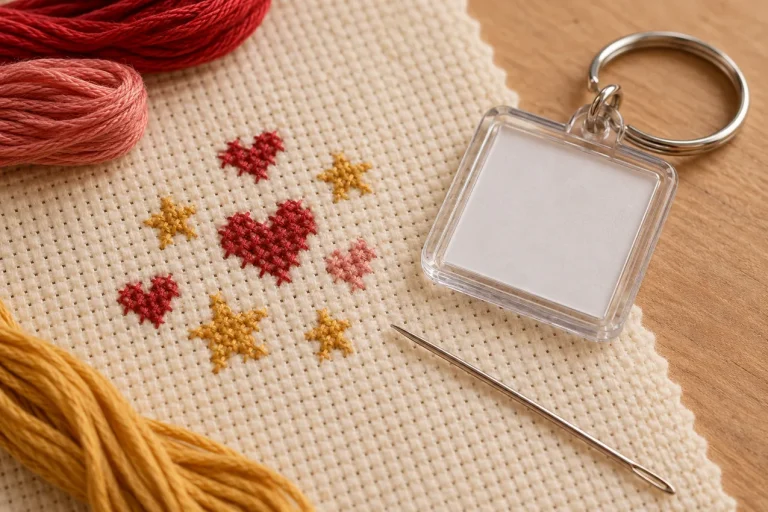
Check the stitched motif against the opening before applying any adhesive. Keep glue away from the visible stitches and choose mounting materials suitable for fabric and paper. Allow the assembly to dry flat, following the adhesive manufacturer’s instructions.
A folded cardstock backing can cover the reverse neatly. If you want to preserve the stitching for longer-term display, choose a removable or conservation-minded mounting method instead of permanently gluing the textile. Our mini cross stitch card guide covers layout and mounting choices in more detail.
Read the key before adapting the colors
Keep the symbols unchanged when trying a new palette. A color change is easier to track when the chart itself still matches the original. Test light colors on the actual fabric and keep a note of every substitution beside the working copy.
For the relationship between Aida count and stitched size, consult DMC’s fabric guide. For another small project with a different theme, try our rain cloud and teacup charts or the existing beginner mini charts.
Questions about these free tag patterns
Do I need a PDF download?
No. The grids, key and instructions are visible here. Use your browser’s print preview and select the chart pages; check that no rows are clipped.
Can I give away the finished tags?
Yes. These original XStitchPattern charts are free for personal stitching and handmade gifts. Please share the page link rather than reselling or redistributing the charts.
Can I stitch directly through the cardstock?
These grids are written for counted fabric. Stitching through paper needs a suitable perforated material and different handling, so do not assume ordinary card will behave like Aida.
Lead image: AI-generated editorial illustration. In-article photograph: Benjamin White, used under the Unsplash License.
 English
 French
 Spanish
 German
 Arabic