

Your first cross stitch does not need to be a complicated sampler. A small motif, a piece of 14-count Aida and two or three thread colours are enough to learn the essential movements. This guide takes you from choosing a chart to finishing the last stitch—with practical checkpoints so you can spot mistakes early.

A beginner-friendly supply list
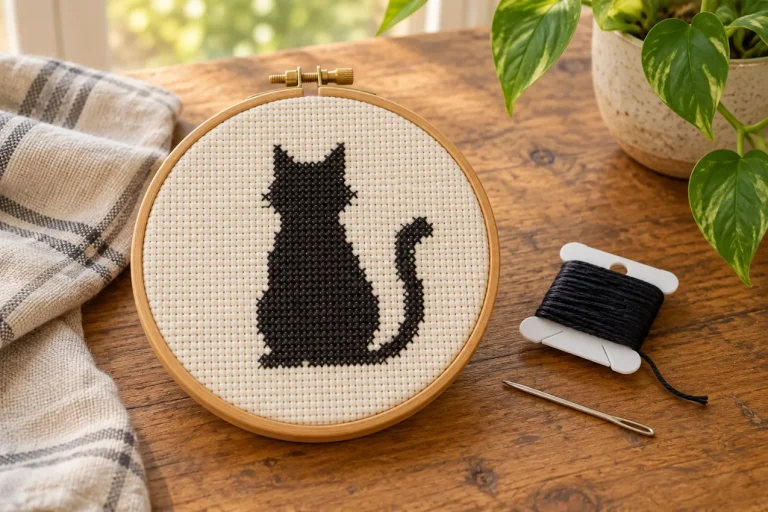
Begin with 14-count Aida: its count describes the number of stitches per inch, and its regular holes are easy to see. Choose a small blunt tapestry needle (many stitchers use size 24 for 14-count Aida), six-strand cotton embroidery floss in the chart’s listed colours, sharp embroidery scissors, and a printed or digital counted cross stitch chart. A hoop is optional but can help keep your tension even. You do not need an expensive kit or a dozen specialty tools to start.
Use good lighting and sit with the fabric supported rather than pulling it hard in the hoop. If you buy floss individually, identify shades by their actual DMC numbers, not by how they look on a phone screen: lighting and monitors can make close greens, blues and creams seem identical.
Choose a project you can finish
Look for a simple design around 40 × 40 stitches or smaller, with large blocks of colour and minimal backstitch. A leaf, star, heart or single flower is a friendlier first project than a realistic photograph with thirty near-identical shades. A pattern’s photograph is not enough: check that the listing shows the stitch count, chart symbols and thread list.
For example, a 40 × 40 design on 14-count Aida measures roughly 2.9 × 2.9 inches of stitched area, before a border for finishing. Add generous margin to every side. Our separate Aida fabric size guide explains how fabric count changes the finished dimensions.
Prepare your fabric and find the centre
Cut the fabric with at least two to three inches of extra fabric on each side of the motif if you plan to frame or hoop it. To protect an edge that sheds threads, use a simple zigzag stitch, painter’s tape kept clear of the stitching area, or another suitable temporary edge finish. Wash your hands before handling white Aida; it picks up natural skin oils easily.
Fold the fabric gently in half vertically, then horizontally. The intersection marks the centre. Find the centre arrows on the pattern and line those up. You can also start in a corner if you carefully calculate the margins, but centre-starting reduces the risk of running out of fabric on one side.

Make your first neat cross stitch
Embroidery floss generally contains six separable strands. Pull the number your chart recommends—often two strands on 14-count Aida—while keeping the remaining strands aside. Thread your needle without tying a bulky knot. To anchor the thread, leave a short tail at the back and trap it beneath the first few stitches, or use a loop start when your floss setup allows it.
- Bring the needle from the back through the lower-left hole of one square.
- Insert it into the upper-right hole to make the first diagonal.
- Come up through the lower-right hole.
- Go down through the upper-left hole. You have made one X.
Keep the top diagonal running in the same direction across the whole design. When stitching a row in one colour, many people work all the bottom diagonals left to right, then return along the row for the top diagonals. That technique is often called the Danish method; it can be quicker on repeated blocks.
Follow the chart without losing your place
A counted chart is a map of the fabric grid: one square typically corresponds to one cross stitch, and each symbol connects to a floss colour in the legend. Count from a stitch you have already completed rather than jumping across a large blank area. In a complicated section, use a magnetic board or digital highlighting tool to mark the squares you’ve stitched.
If a line looks wrong, stop and recount before continuing. Correcting two misplaced stitches is easy; unpicking several completed rows is frustrating. When changing colours, secure the thread beneath several stitches on the back and trim the tail rather than dragging it across a large empty area. For more chart tips, see how to read a cross stitch PDF pattern.
Finish neatly and plan your next project
When the design is complete, check it against the chart in good light. Secure and trim all thread ends. If you want to wash the piece, first confirm that the fabric and threads are suitable and colourfast. Let the piece dry flat before pressing it from the back over a soft towel: the towel helps stop the stitches being flattened by the iron.
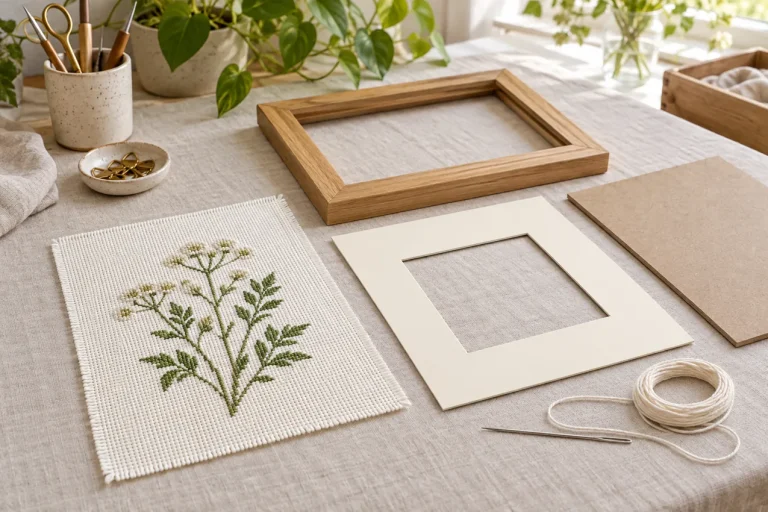
For display, decide whether you prefer a small frame, hoop or fabric-backed card. Our cross stitch framing guide walks through a framed finish. Your next project can add just one new skill—backstitch, more colour changes or a slightly smaller fabric count—rather than trying everything at once.
Frequently asked questions
Can I start without a hoop?
Yes. Some stitchers prefer holding a small piece of Aida in hand. A hoop helps others maintain even tension. Try both and choose the method that feels comfortable.
Do I use all six strands of floss?
Usually not. The chart should state a suggested strand count; two strands on 14-count Aida are a common starting point, but coverage depends on the fabric, colour and effect.
Further reading
For technique demonstrations, the DMC cross stitch introduction covers tools, fabric and basic steps. Explore XStitchPattern’s design collection for inspiration; check each listing’s availability and pattern details before purchasing.

 English
 French
 Spanish
 German
 Arabic