

Choosing cross stitch patterns of cats is easier when you compare the chart rather than only the display photograph. Start with the pose and finished size, then check the symbols, stitch types and thread palette. A small silhouette, striped tabby and detailed pet portrait each ask for a different stitching plan.
Compare three cat charts with the same practical checklist
First, choose the feature that makes the cat recognizable to you. In a silhouette, that may be the curve of the tail and the spacing between the ears. In a tabby, the face markings and stripe direction do more of the work. In a portrait, eye placement and the transition between muzzle and cheek can matter more than adding another background color.
Next, calculate the physical design size before buying a frame or cutting Aida. A chart that is 84 stitches wide measures 6 inches across on 14-count fabric and 5.25 inches on 16-count fabric, when worked over one square. The stitch layout stays the same; the finished dimensions change. Keep the mounting allowance separate from those measurements.
Then inspect the chart’s difficulty. A one-color design can still contain many isolated stitches, while a larger two-color motif may consist of easy blocks. Check for backstitch, fractional stitches, blended threads and large areas of confetti. For a first project, choose readable symbols and techniques you already understand rather than judging difficulty by the number of colors alone.
Finally, compare fabric contrast under the light where you will stitch. A dark outline can disappear against dark Aida; a white cat may lose its edge on bright white cloth. Use the black-cat contrast guide or the cat coat palette guide for the next decision. DMC’s cross stitch introduction explains the relationship between Aida count and stitches per inch.
Start with the kind of cat you want to stitch
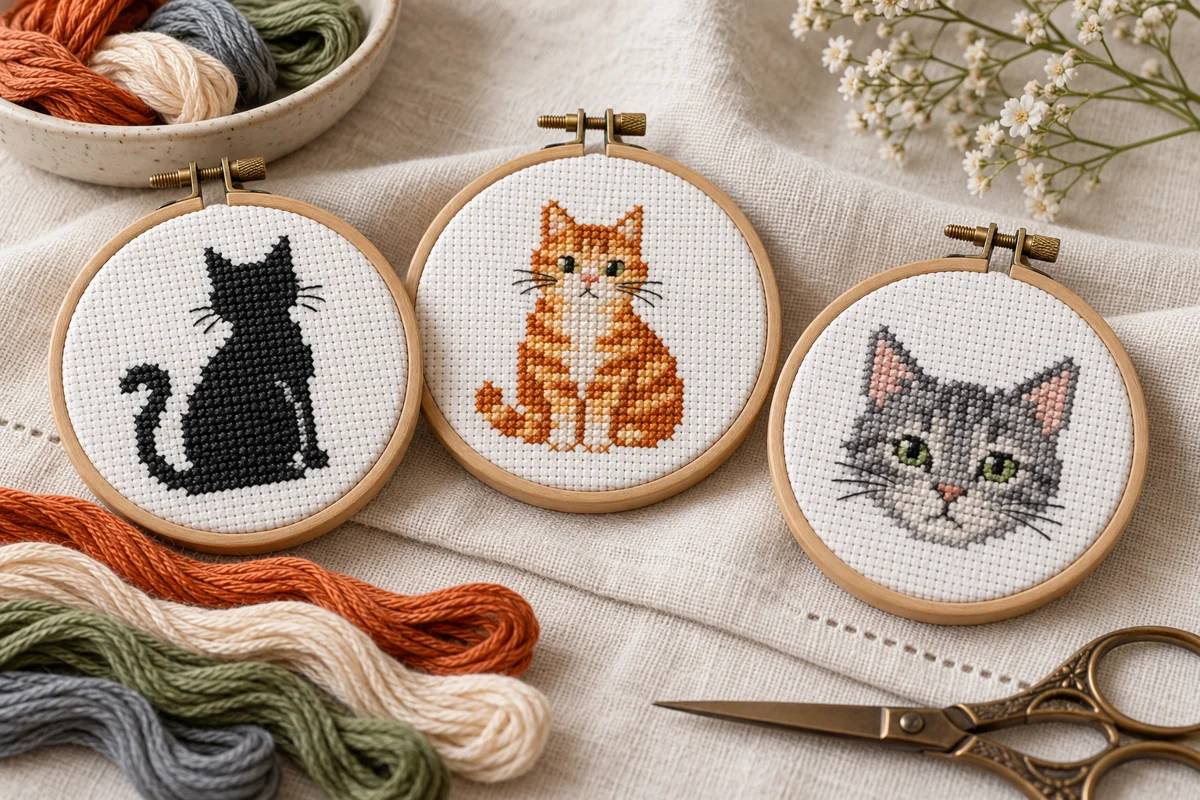
A silhouette puts the emphasis on outline. It can be a good first animal project when the chart uses full crosses and a readable shape. Check the ears, tail and gap between the front legs: if those features are distinct in a small preview, the design has a stronger starting point than a large block with an indistinct edge.
A tabby or calico chart adds another task: following markings without losing the underlying body shape. A portrait goes further, using small changes in tone around the eyes, nose and cheeks. Choose according to the kind of counting you enjoy, rather than assuming that a small finished picture must be easy.
Compare the chart, not just the mockup
Look for a stitch count, a symbol key and a clear explanation of stitch types. The fabric count changes the physical size; it does not reduce the number of stitches in the chart. A full-coverage portrait with frequent color changes can take much more attention than an open design of the same width.
Inspect the eye area at chart scale. A single misplaced stitch can alter a small cat’s expression. Check whether whiskers and facial outlines use backstitch, whether fractional stitches are required, and whether the preview shows the actual charted design. A decorative room mockup alone cannot answer those questions.
Match the design to the display size
Work from stitch dimensions before buying a hoop or frame. For a design worked over one square of Aida, divide the number of stitches by the fabric count to find the stitched size in inches. Multiply inches by 2.54 for centimeters. Add the fabric needed for holding, mounting and finishing separately.
For example, an 80 × 96-stitch cat measures 5 × 6 inches on 16-count Aida. That is the stitched area, not the fabric cutting size. On 14-count it is about 5.71 × 6.86 inches; on 18-count, about 4.44 × 5.33 inches. A tighter count makes the same design smaller without changing its chart.

Keep coat markings readable
Identify the darkest outline, the main coat color and the lightest highlight before starting. If neighboring shades look almost identical under your stitching light, label them carefully and keep the original key nearby. Do not combine colors simply because their skeins look similar: their positions may be what define a cheek, stripe or ear.
For a stylized tabby, check a completed stripe against the surrounding body before repeating it elsewhere. For a white chest or muzzle, compare the lightest thread with the fabric. White stitching can lose definition on white fabric, while very dark fabric may make counting less comfortable. A small coverage swatch helps you decide.
Choose between a ready-made cat and a custom portrait
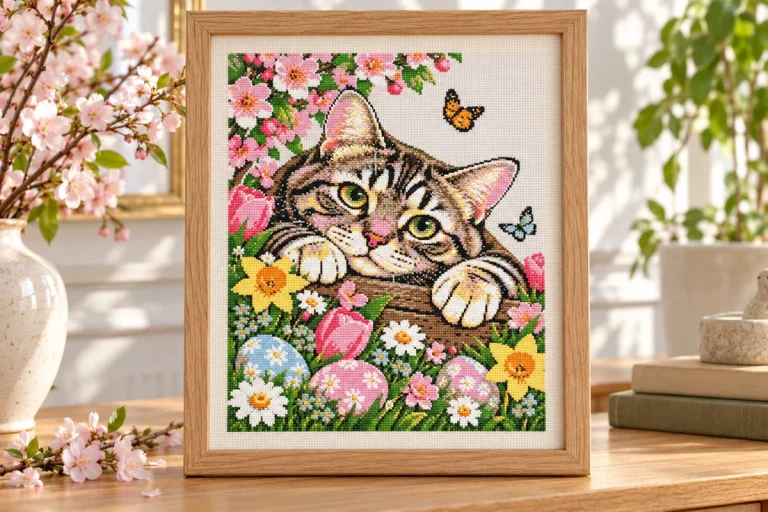
A ready-made chart is useful when you want a particular mood or style: a sleeping cat, a playful silhouette or a seasonal scene. A custom portrait is more appropriate when the exact markings, eye shape or head angle matter. Before ordering, ask what size, palette, revisions and delivery arrangement are included.
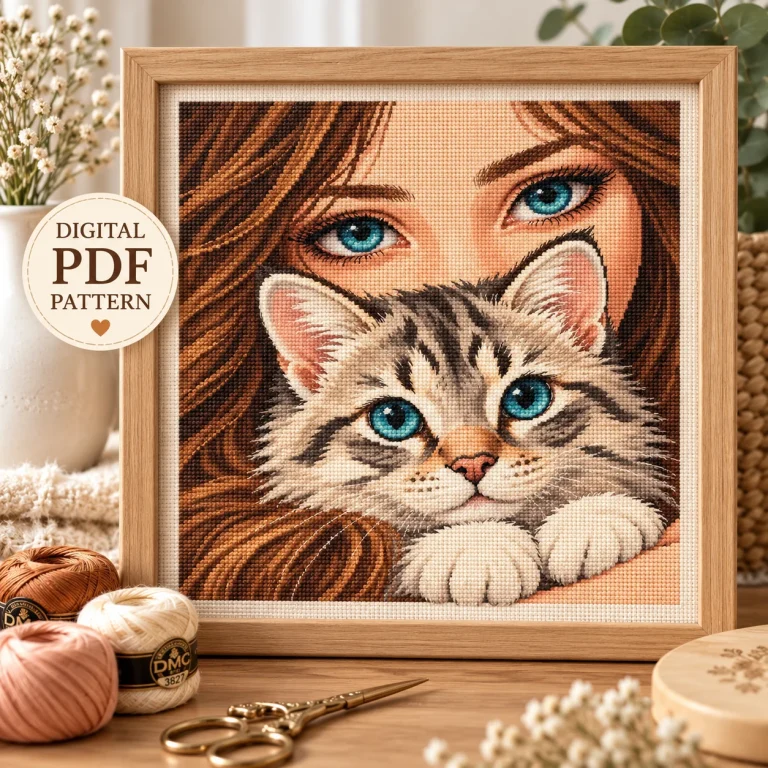
Use a sharp, well-lit reference photograph for custom work. Keep the eyes and muzzle visible, and avoid heavy filters that change the fur colors. Our pet portrait photo guide explains how to select a useful reference without confusing image resolution with chart detail.
Make a realistic first-project plan
Pick one small area as a checkpoint, such as an ear and the adjacent outline. Count its position from two reliable landmarks before filling a large patch. Keep the top leg of every cross facing the same direction, and end long carries that might show through unstitched fabric.
Gather the chart, labeled floss, suitable needle, fabric and a way to mark progress before you begin. If you are still comparing fabric sizes, use our Aida count guide. DMC’s fabric guidance is also a useful reference for how counted fabrics work.
Questions stitchers ask
Are black cat patterns always the easiest?
Not necessarily. A simple full-cross silhouette can be approachable, but black-on-black fabric, fractional stitches or scattered highlights may add difficulty. Our black cat fabric and contrast guide explains what to check.
Can I change a chart to match my own cat?
You can adjust colors for your own stitching where the pattern’s terms permit it, but changing the markings is a design task. Keep an untouched copy of the original and test the altered area before committing to the full project.
Where should I start browsing?
Explore the cat pattern collection, then compare the actual specifications of individual listings. Choose the design that fits your intended finish and your preferred level of detail.
Cover illustration generated with AI. In-article photograph: Mel Poole, used under the Unsplash License.
Choose your next cat project
A cat chart is easier to assess when you separate three decisions: the shape, the colors and the intended finish. First compare the outer contour at the actual stitched scale. Then check the coat palette against your fabric. Finally place a paper template inside the real frame or card opening before cutting the cloth.
For a focused next step, use our cat pose and composition guide, plan a personalized name sampler, or learn how to adapt cat coat colors. If you want a one-color practice piece, the free easy cat silhouette chart includes a counted grid rather than asking you to copy an illustration.
These guides address different parts of the same project. A detailed portrait is not inherently better than a silhouette; choose the chart whose information stays readable in your available space and whose stitch types you are comfortable working.
Browse more cross stitch guides for your next project.
 English
 French
 Spanish
 German
 Arabic