

UN full coverage cross stitch portrait rewards careful preparation: the eyes, hair and fur depend on small changes in colour and accurate counting. Before the first stitch, check the chart dimensions, read every page of the floss key and decide how the complete square will fit your fabric and display.
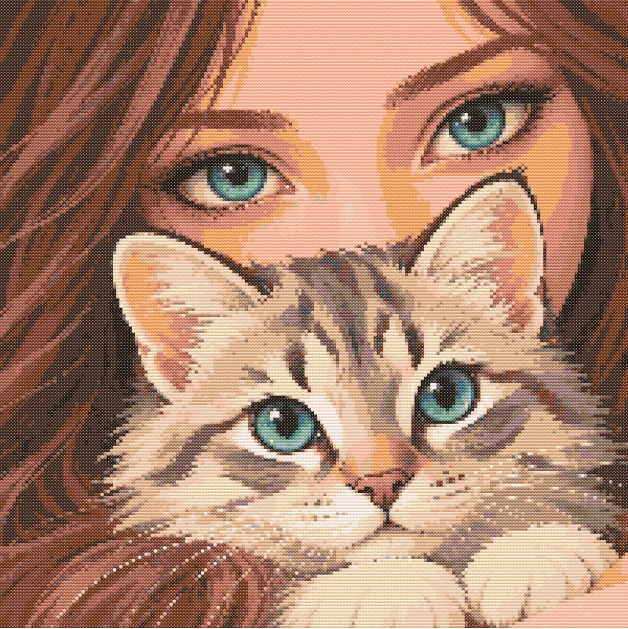
This guide uses the Miradas girl-and-kitten chart as a worked example. Its supplied PDF contains 200 × 200 stitches, 30 DMC colours and twelve chart pages. The thread counts add up to 40,000 crosses, matching the whole grid. These are document checks, not a claim that a physical sample has been stitched.
In this guide
- Check what full coverage means
- Calculate fabric and finishing allowance
- Organise similar thread colours
- Keep eyes and facial landmarks aligned
- Cross chart-page boundaries accurately
- Choose a finish without cropping the portrait
- Common portrait-stitching questions
Check what full coverage means
A full coverage chart fills its design rectangle with stitches. A pale area can be cream thread rather than exposed fabric, so check the legend instead of treating light squares as blanks. Compare the stated stitch total with width multiplied by height, then inspect the chart for any special stitches or unworked cells.
For this 200 × 200 example, 200 multiplied by 200 equals 40,000. A smaller fabric count changes the finished dimensions; it does not remove any charted crosses. Thirty colours also does not make the project small: related shades can be scattered through cheeks, hair and tabby markings.
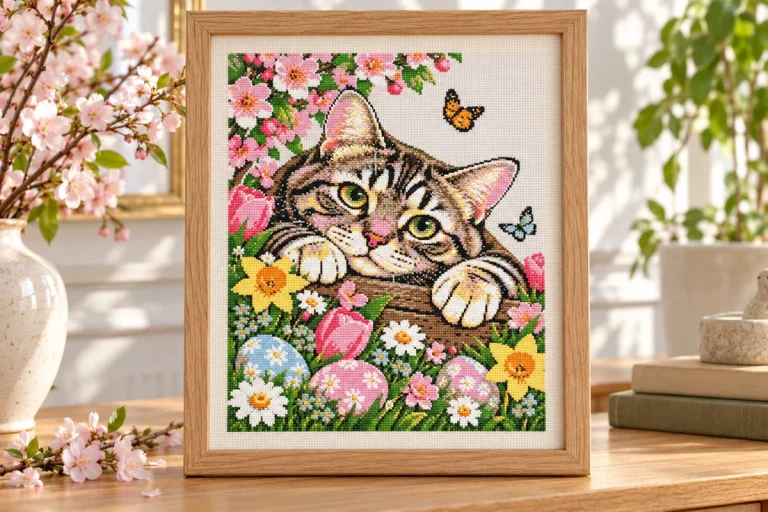
Compare the actual chart preview with lifestyle imagery before choosing a portrait. A mockup shows a possible presentation; it cannot establish the exact texture or colour of finished needlework. Keep that distinction in mind when deciding how much detail you expect.
Calculate fabric and finishing allowance
For Aida worked with one cross per square, divide the stitch width and height by the fabric count. Convert inches to centimetres by multiplying by 2.54. These calculations describe the stitched design, before adding margins.
| Aida count | Design size | Design size in cm |
|---|---|---|
| 14 count | 14.29 × 14.29 in | 36.29 × 36.29 cm |
| 16 count | 12.50 × 12.50 in | 31.75 × 31.75 cm |
| 18 count | 11.11 × 11.11 in | 28.22 × 28.22 cm |
Allow room on every edge for the support, handling and mounting method. For example, choosing three inches on each side adds six inches to each dimension: the 14-count example needs approximately 20.29 × 20.29 inches before rounding up to a practical cut size. Three inches is an example, not a universal framing requirement; confirm your finisher’s needs first.
A finer count reduces the finished area but gives smaller holes and crosses. Test a patch with the specified thread before committing to the whole portrait. For fabric-edge preparation, see our guide to stopping Aida cloth from fraying by hand.
Organise similar thread colours before stitching
Read the entire floss key. In the Miradas PDF it continues onto a second page, with DMC 3864 appearing on the final page. Missing that page means missing part of the palette. Label bobbins or thread cards with both DMC numbers and symbols, keeping the key beside the working chart.
This chart specifies two strands for full crosses. DMC stranded cotton has six separable strands; two strands does not mean two complete six-strand lengths. DMC’s cross stitch overview explains the fabric and thread used for this technique.
Separate and recombine the working strands, check that they lie smoothly and maintain comfortable, even tension. Test coverage under ordinary room lighting. Do not automatically add strands to every fabric count: extra thickness can make dense areas difficult to stitch and change the appearance of small features.
Keep neighbouring browns and peach shades distinct even when they look almost identical on a screen. Substituting one throughout a cheek or hair section can flatten the shading. For scattered single stitches, our confetti stitching guide covers counting and thread organisation that also apply to portraits.
Keep eyes and facial landmarks aligned
Choose a starting point from measured chart coordinates. The middle of an even 200-stitch dimension lies between the two central columns, so a centre mark is a reference line rather than an extra stitch. Count from that line to the actual starting symbol.
Work in manageable areas and check a new feature against two established references. An eye might be checked against the nearest grid line and the bridge of the nose. Compare chart coordinates rather than judging symmetry by eye: a tilted head and a kitten’s face can be intentionally asymmetrical.
If something looks displaced, stop before filling the surrounding area. Check the last confirmed grid intersection, locate the first error and correct it while the section is small. Keep the direction of the top leg consistent across colour changes so reflections and texture remain even.
Cross chart-page boundaries accurately
Identify the chart’s page order before joining sections. Check printed coordinates, any overview and repeated rows or columns at the boundary. Where overlap exists it is a counting aid, not an instruction to stitch the repeated area twice. Do not assume every publisher uses the same overlap system.
Mark completed stitches on a working copy or in a suitable PDF reader. Before changing pages, write down the next chart coordinate and symbol. Scarlet Quince’s multipage chart tutorial illustrates page navigation for its own charts; use the layout instructions in your purchased PDF for the actual page sequence.
If using a fabric grid, test the chosen removable marking method on spare cloth and follow its removal instructions. Never assume a pen will wash out after months in storage. A gridded fabric does not replace counting at page joins.
Choose a finish without cropping the portrait
A square frame can display the full 200 × 200 composition. Check the visible aperture as well as the nominal frame size, because a mount or inner lip can conceal the outer stitches. Arrange any cleaning and mounting around the materials actually used.
A round hoop needs enough internal diameter for the square’s diagonal if every corner must remain visible. For the 14-count example, a 14.29-inch square has a diagonal of approximately 20.21 inches, before allowing for the hoop’s inner edge and mounting. A smaller hoop may crop the corners even when its diameter exceeds the square’s width.
Cushion finishing requires additional sewing fabric, seam allowances and construction decisions. A counted chart does not automatically include those instructions. Decide on the finish before cutting the Aida, then store the work clean and protected from snagging during longer breaks.
Common portrait-stitching questions
Is full coverage suitable for a first project? It can be learned gradually, but a 40,000-cross portrait is a substantial commitment. Complete a smaller counted project first if you are still learning to read symbols and maintain tension.
Can I finish it in a weekend? No reliable completion time follows from the image alone. Your pace, colour changes, counting and available sessions determine the schedule. Plan around manageable sections rather than a promised deadline.
Can I import this PDF into a stitching app? Check compatibility for the exact file and app. A PDF opening in a reader does not prove that an app can recognise and track its symbols. No specialised app compatibility is claimed for this example.
Where can I see the example chart? Le girl and kitten cross stitch pattern PDF product page gives the verified dimensions, download contents and gallery. Browse the cat cross stitch collection if you would prefer a different feline composition.
 English
 French
 Spanish
 German
 Arabic