

An embroidery hoop can be more than a tool for holding fabric while you stitch: it also makes an attractive, inexpensive display. With a little planning, the back can look nearly as intentional as the front. Here’s how to centre, tighten and finish a small cross stitch design without distorting it.

Choose a hoop that fits the stitched design
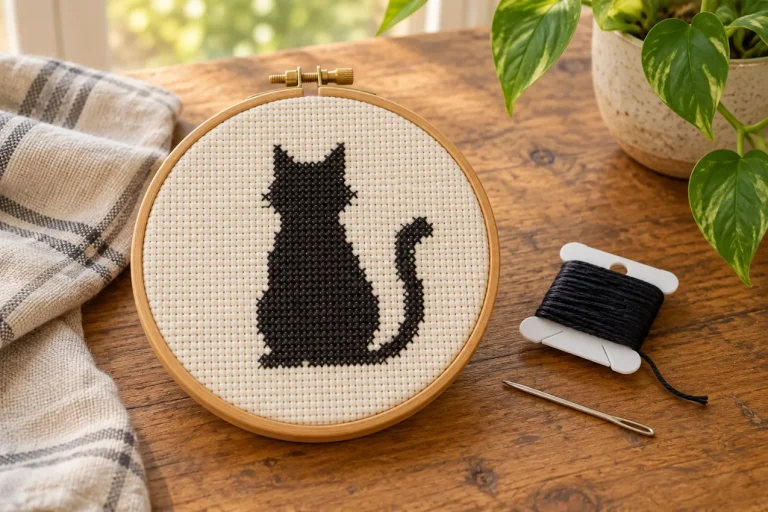
Measure the actual stitched area before buying a finishing hoop. Leave visible fabric around the design so the ring does not touch the outer crosses; a little breathing room makes a floral or modern motif look more balanced. Test the placement with both inner and outer rings before trimming any fabric.
A 4–6 inch wooden or bamboo hoop is often a comfortable size for a mini motif, but there is no universal rule. A wide border may be part of the design. Make sure the hoop is smooth, free from splinters and able to hold the fabric without the screw becoming excessively tight.
Prepare the finished embroidery
Remove any temporary tape from the fabric edges and tidy long loose tails on the reverse. If the materials are washable, follow their individual care instructions; otherwise press gently from the back on a soft towel. A clean, flat piece is easier to position without creating wrinkles around the centre.
Do not rush trimming. You need enough spare cloth outside the hoop to gather at the back, often at least about an inch or more depending on hoop size and technique. It is safer to trim excess material after you have centred the embroidery than to discover the remaining edge is too short to secure.
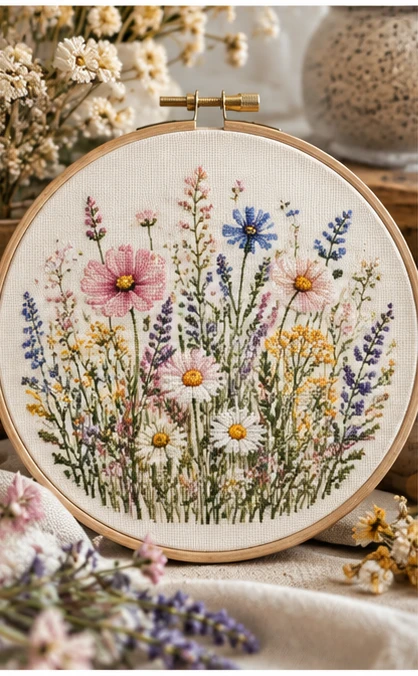
Centre the motif and tighten evenly
Loosen the outer ring and place the inner ring on a flat surface. Lay the stitched fabric face-up over it, align the motif, then set the outer ring on top. Tighten the screw gradually while gently pulling the fabric at opposite sides. Aim for the woven grid to stay horizontal and vertical.
Pulling hard in one direction can turn a square motif into a diamond. Check that the design remains centred after every adjustment. If there are gaps or puckers, loosen the ring slightly and repeat; tightening the screw harder rarely fixes poor alignment by itself.
Gather the remaining fabric at the back
Turn the hoop over and check the excess fabric all the way around. Trim it to a reasonably even width while leaving enough for stitching. Using sturdy sewing thread, make long running stitches around the fabric margin behind the hoop. Pull the thread gradually so the edge gathers towards the centre, then knot it securely.
The gathering should be snug, not tight enough to pull the front design off centre. If the hoop will be hung where its reverse can be seen, take time to lay the gathers flat. Some makers prefer two rounds of gathering stitches for a more even finish.
Add felt backing or leave the reverse open
For a tidy, durable reverse, cut a felt circle roughly matching the outside of the inner hoop and carefully sew it to the gathered fabric with a blanket or whip stitch. This conceals tails and keeps dust from catching in loose threads. Use a felt colour that complements the front without showing through pale Aida.
Leaving the back open is also acceptable for a temporary display or if you want the embroidery to remain accessible. Avoid gluing felt directly onto delicate stitched areas, particularly if you might wish to reframe the piece later. A sewn backing is often easier to remove.
Hang and care for a finished hoop
Use the hoop screw at the top as the natural hanging point, or attach a small ribbon loop securely. Display away from direct sunshine to reduce fading and away from damp kitchens or bathrooms where humidity may affect wood and textiles. Light dusting with a soft brush is usually better than frequent wet cleaning.
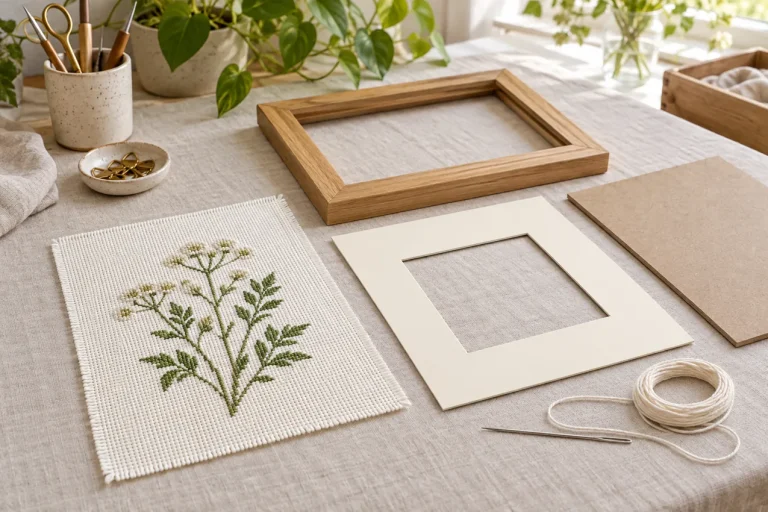
If you’d prefer a traditional frame instead of a hoop, compare the mounting options in our cross stitch framing guide. Mini hoop finishes also work well for gifts, but check that all stitches and attachments are secure before wrapping.
Frequently asked questions
Should I glue the fabric to the hoop?
It is usually unnecessary. Gathering stitches and a sewn felt back can hold excess fabric without permanent glue.
How do I stop my hoop finish looking crooked?
Centre the design before tightening, straighten the Aida weave and adjust the cloth evenly in opposite directions.
Related resources
Find more useful cross stitch guides and tools. For technique fundamentals, see DMC’s cross stitch resource. Explore our pattern collection only once you have checked each design’s availability and materials.

 English
 French
 Spanish
 German
 Arabic